Edit photos with Threshold, brushes, and a layer mask in Photoshop
Today we will learn how to edit photos, apply a Threshold effect and a Layer Mask, as well as use special types of brushes to create a stylish design and add the required text to the design. Using all of these features are the basics of editing photos in Photoshop to create brochures, flyers, and even cover photos for Facebook, Twitter, and more.

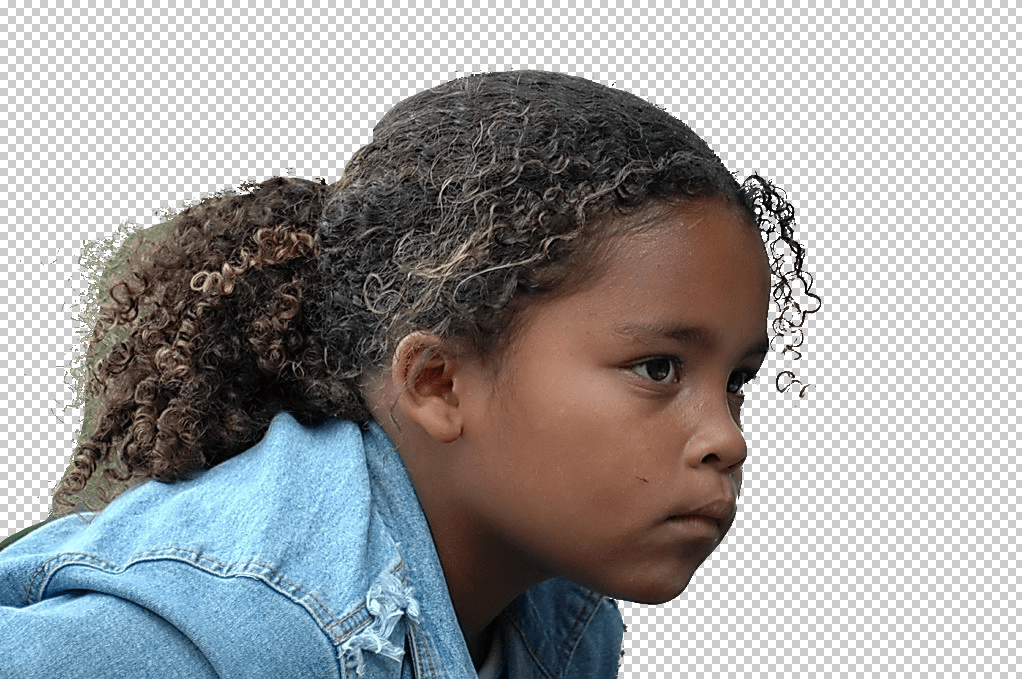
We will first need the basic idea through which we will start by looking for sources to obtain design materials, and the basic idea here is to design a picture of a young girl looking with a look of optimism and aspiration so that we will add the text “Looking towards a better future” so that it can be used in the issues of suffering of children who are going through difficult circumstances. Whatever it is. For this we will need a picture of the little girl with a distinctive look (sources are listed at the end of the lesson).

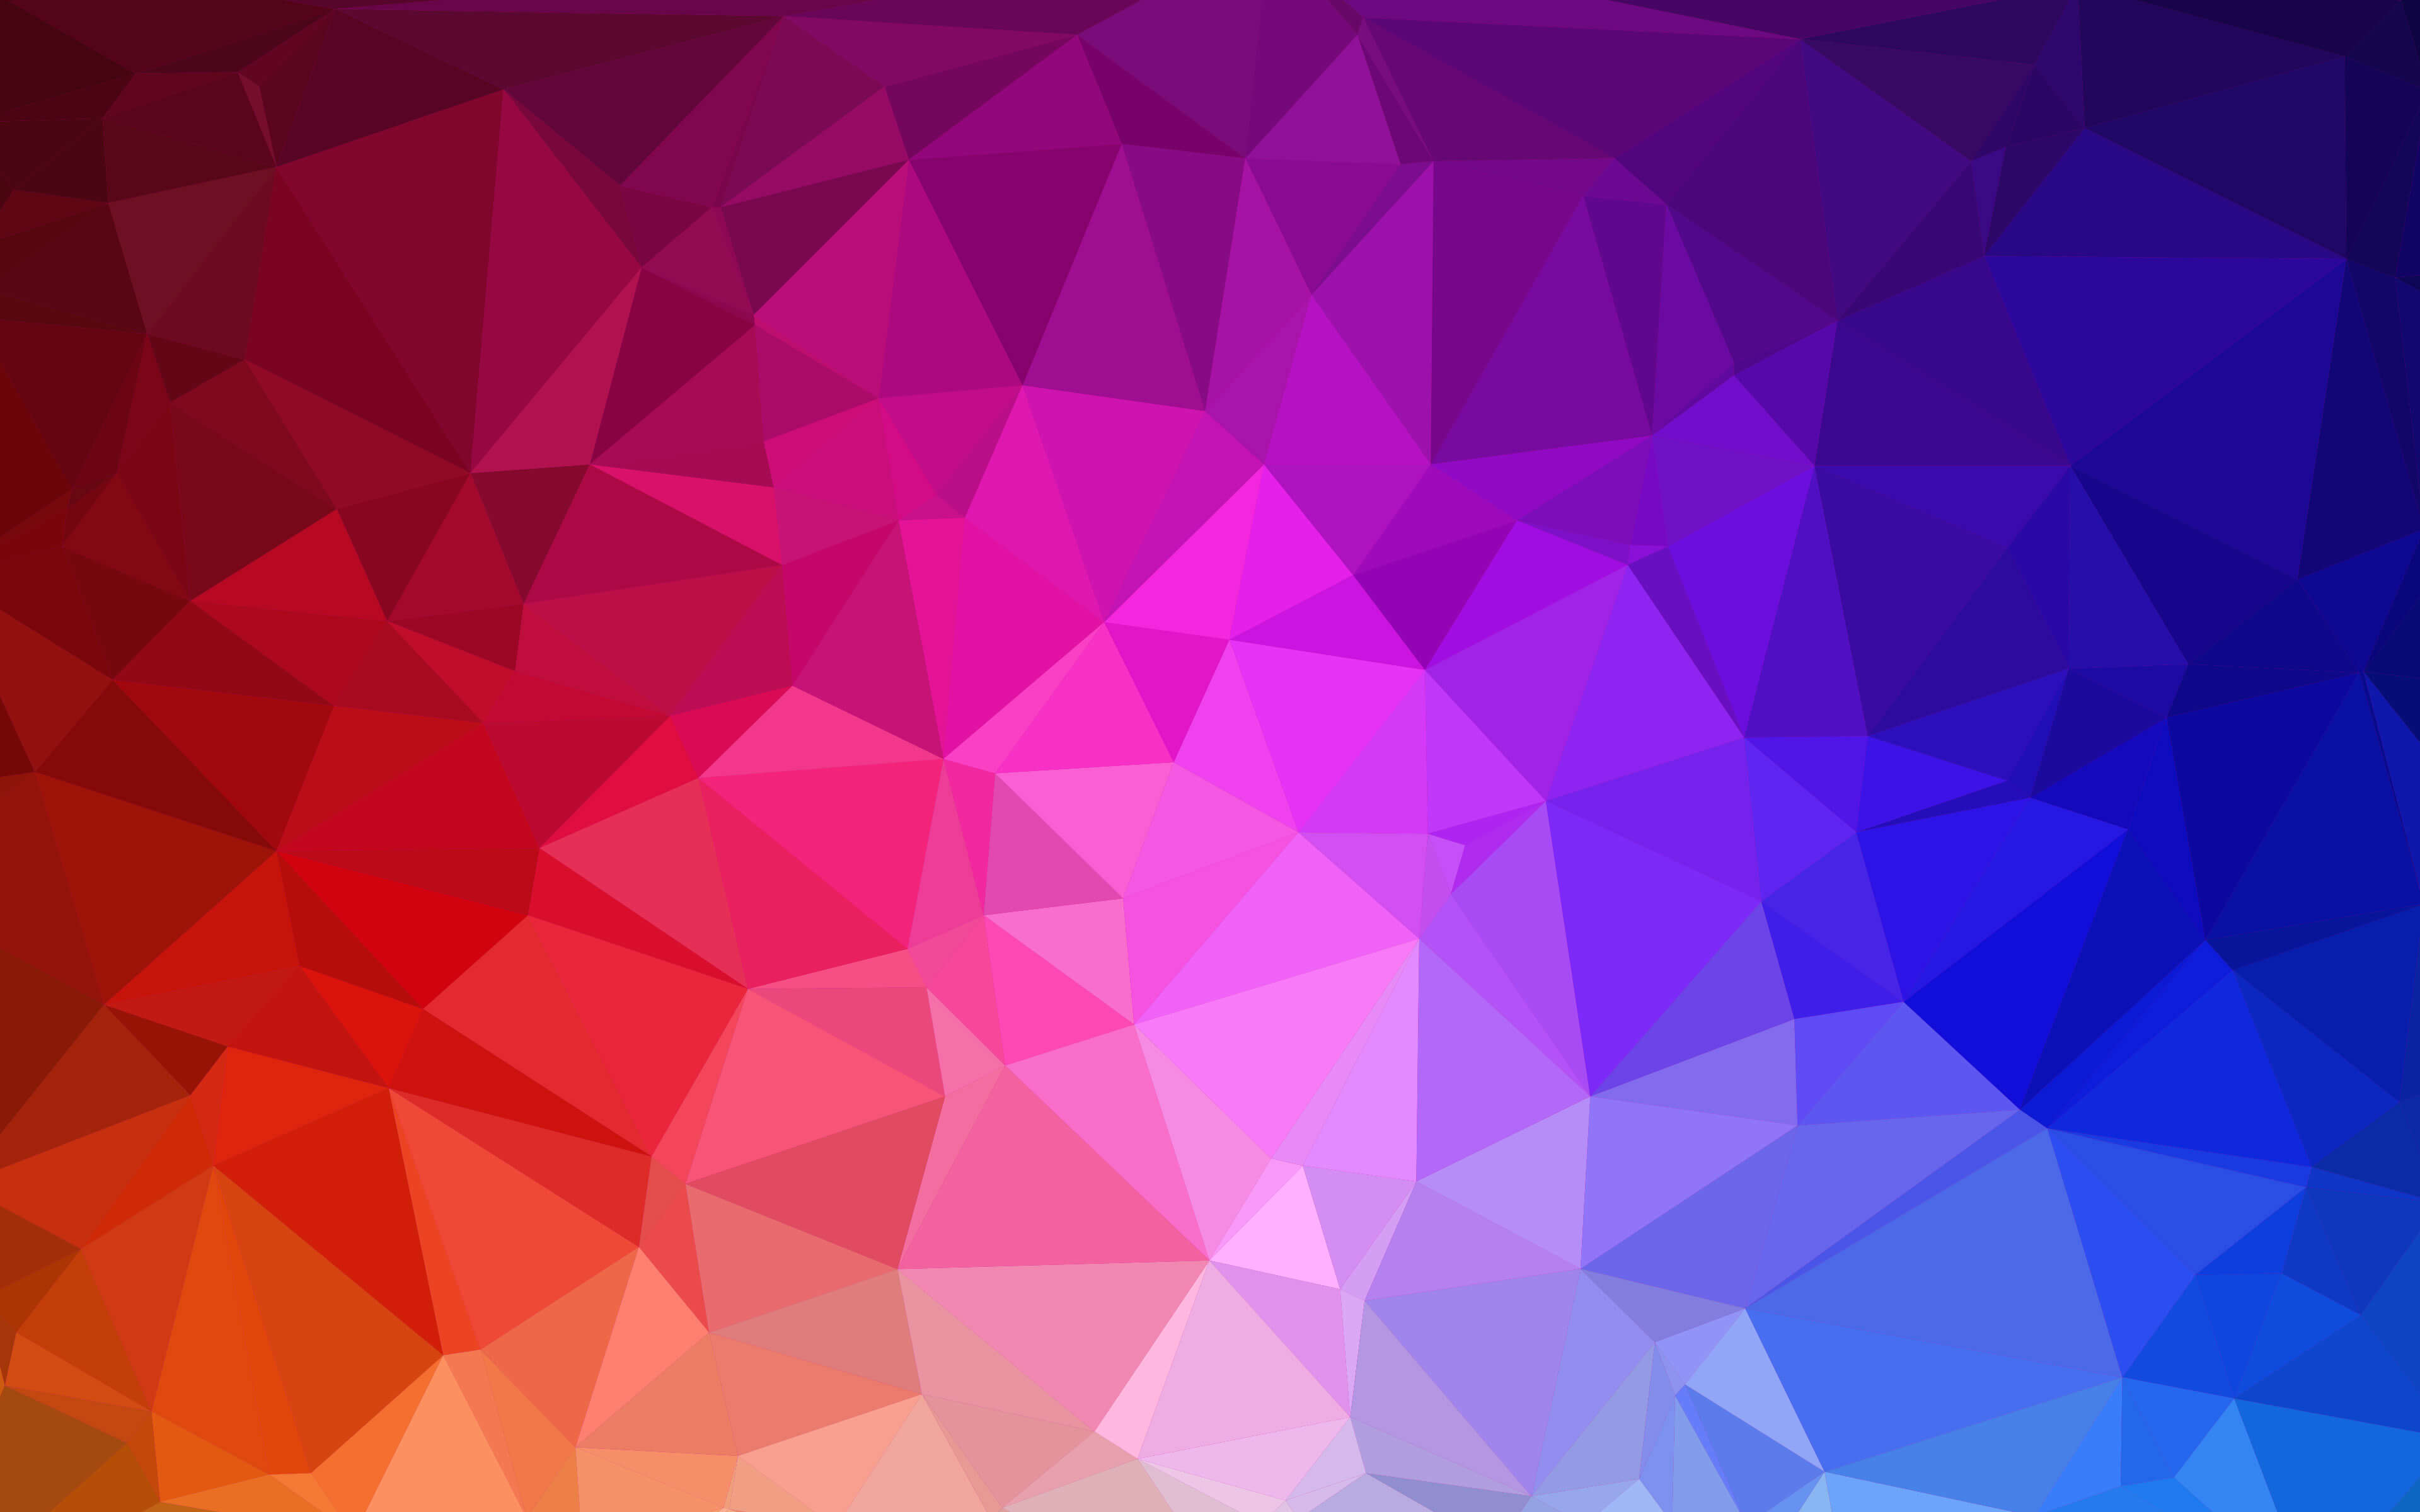
We'll also need to apply the optimism color effect as a layer mask, so I also got the image full of attractive color.
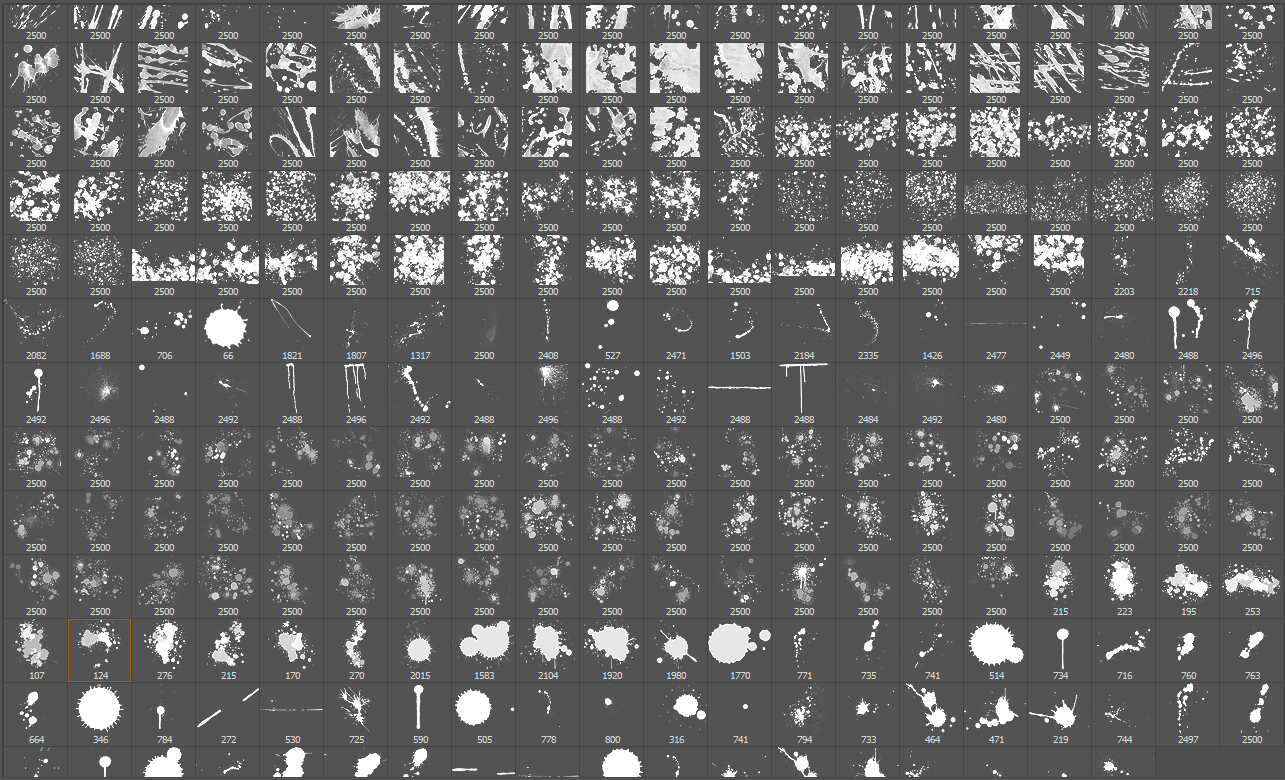
In addition to a special set of brushes, such as smudges of paint or ink, which can be obtained on the Internet for free.
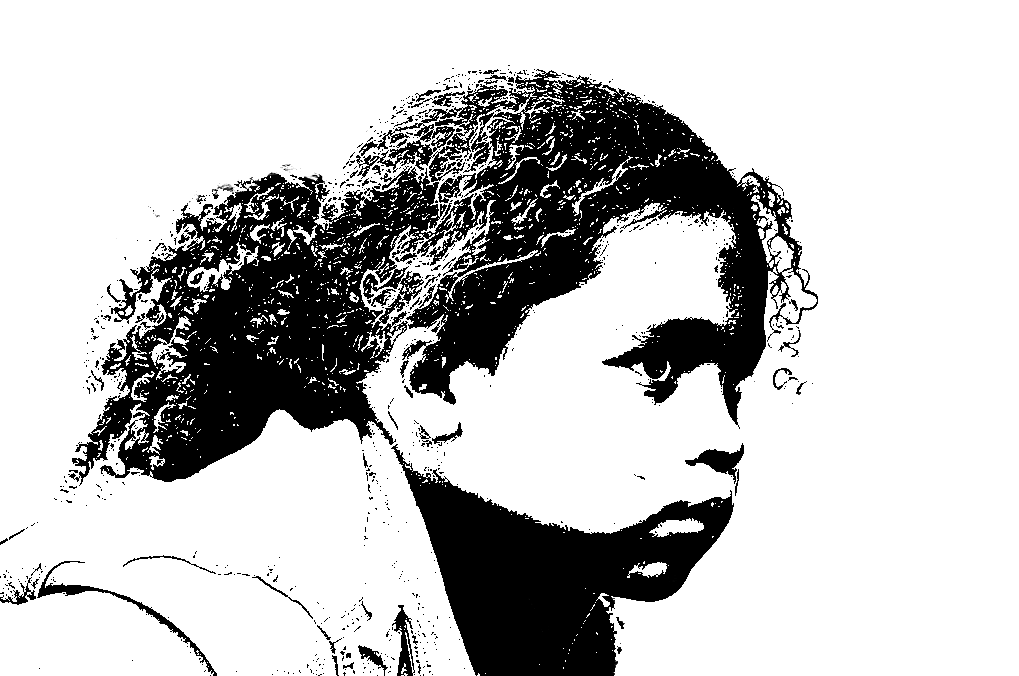
Open the image in Photoshop. Cut the girl’s body from the background, in order to shorten the time, you can learn about the different cutting techniques that you can use by studying the complete guide to cutting things in Photoshop, and we will get the following look after completing the cutting process.
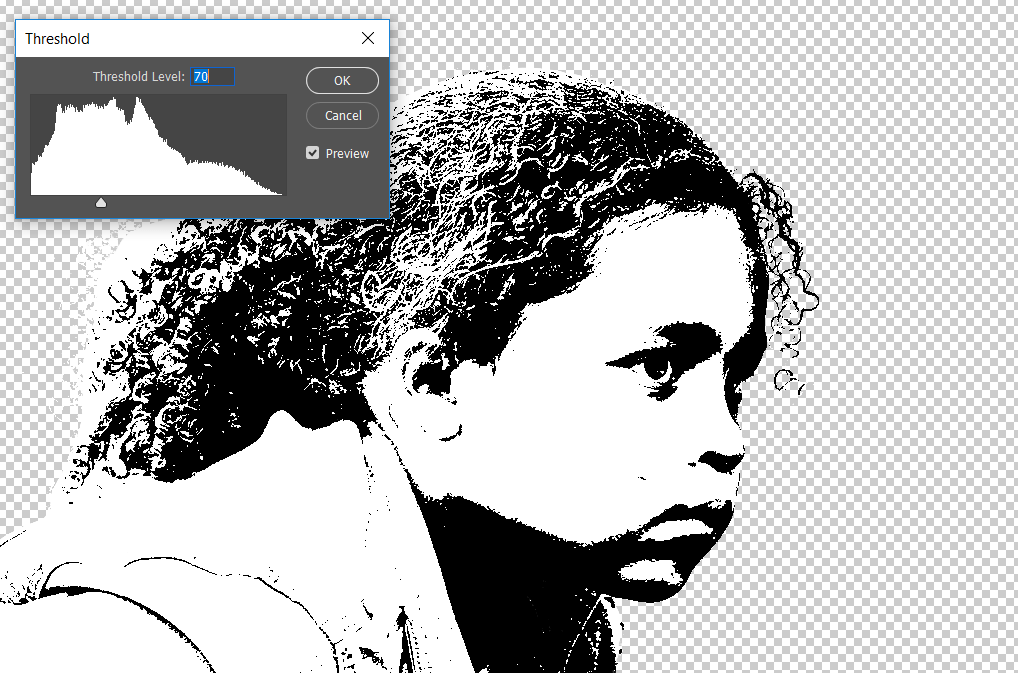
Select the girl cropped image layer, then go to the menu
Image > Adjustments > Threshold
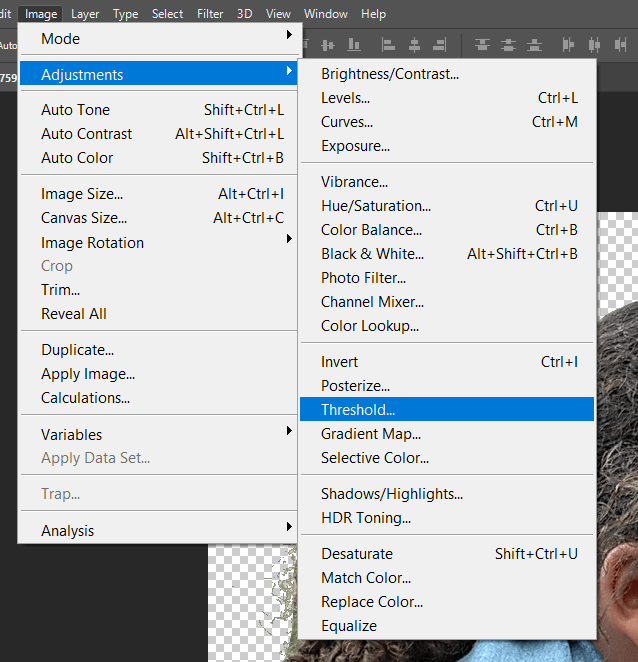
And we'll start by applying the Threshold effect to the image. Put 70 in the Threshold Level field and click OK.
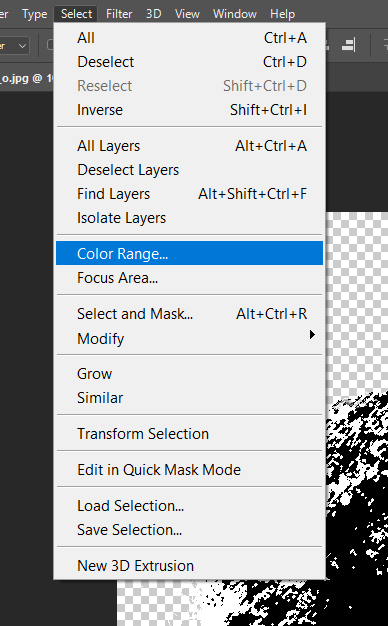
We do not need white spaces in this type of design, but only for black areas, and the best way to define these areas accurately is through the Color Range option, so go to the list.
Select > Color Range
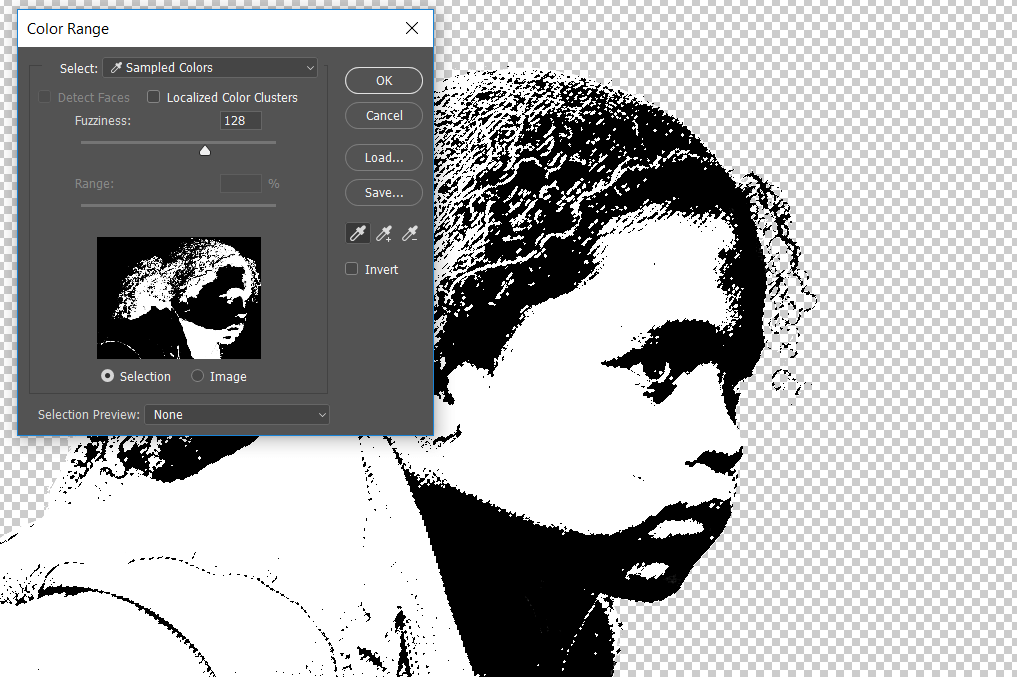
Use the color sucker tool, which will be activated automatically with this option and choose a black area within the image of the girl’s face, then put the value 128 in the Fuzziness field to specify the largest possible black color within the image.
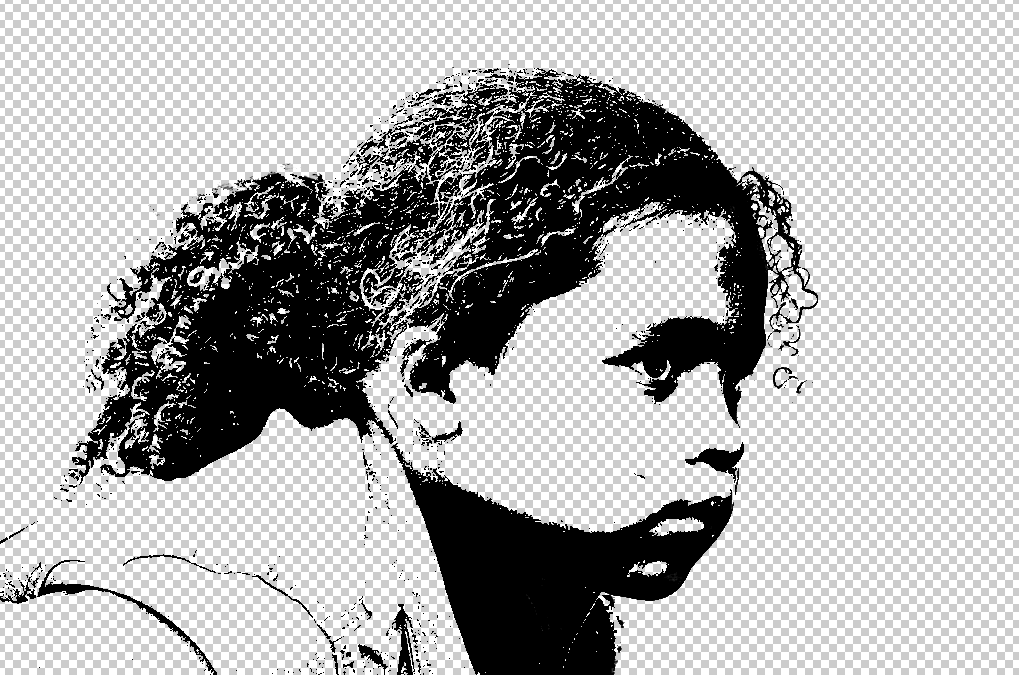
Click on the shortcut Ctrl+Jto automatically copy the selected black areas to a new layer without having to do the steps of copying and pasting and creating layers, then hide the old layer, leaving the new black layer with the transparent background.
Create a new white layer and place it below the girl's face layer as the default design background.
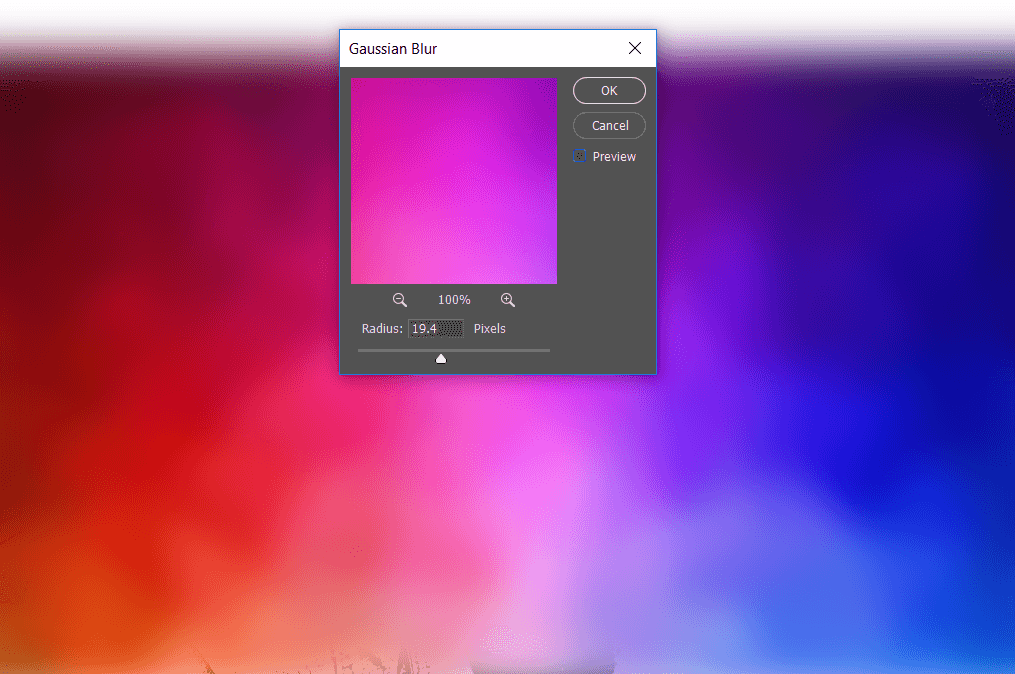
Paste the colorful polygon design image on top of all layers. Then apply a blur effect to it through the menu
Filter > Blur > Gaussian Blur
Put 19.4 in the Radius field.
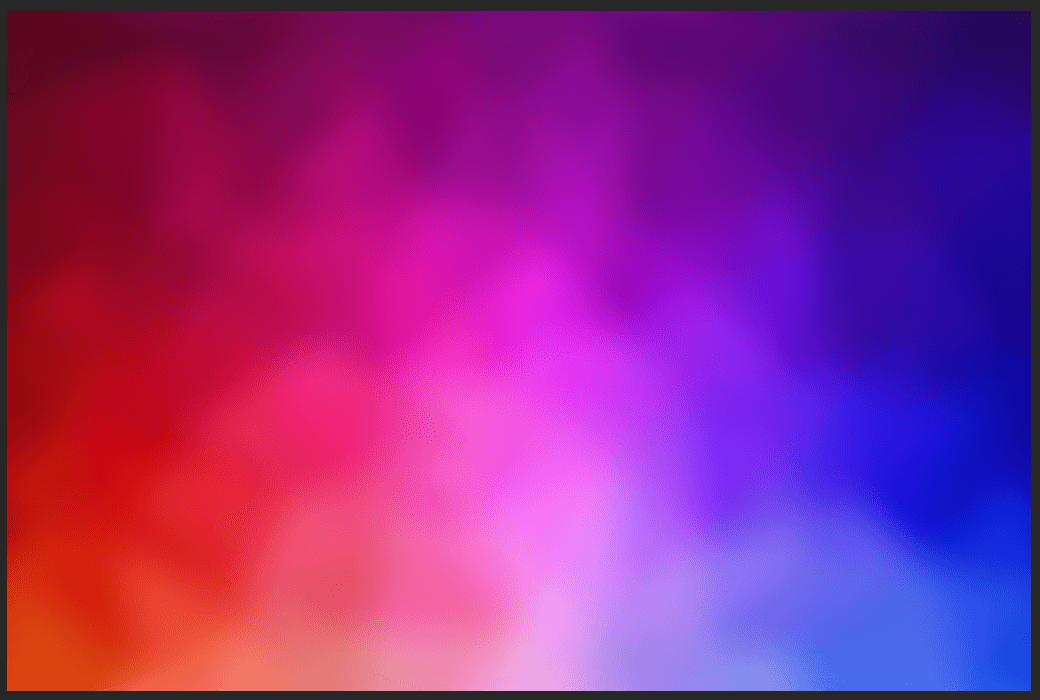
Resize this last image by using the shortcut Ctrl+Tso it covers the entire design area.
This is what the design image will look like up to this point.
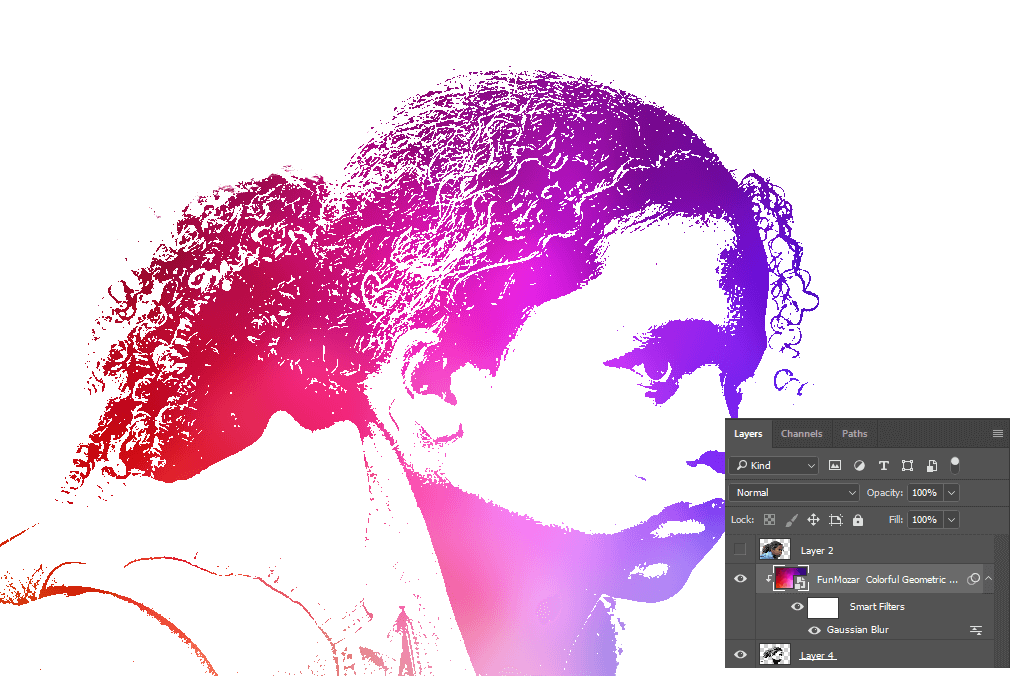
To get an idea of what the design will be like after applying these colors to the girl’s image, click with the right mouse button on the color layer and choose the Create Clipping Mask option to make this layer a mask layer for the layer directly below it, in this case the girl’s layer with black areas only.
Use the shortcut Bto select the brush tool, use a paint splash brush or ink stains, start by picking a color close to your brush usage, and paint various different spots each time on different edges of the girl’s picture.
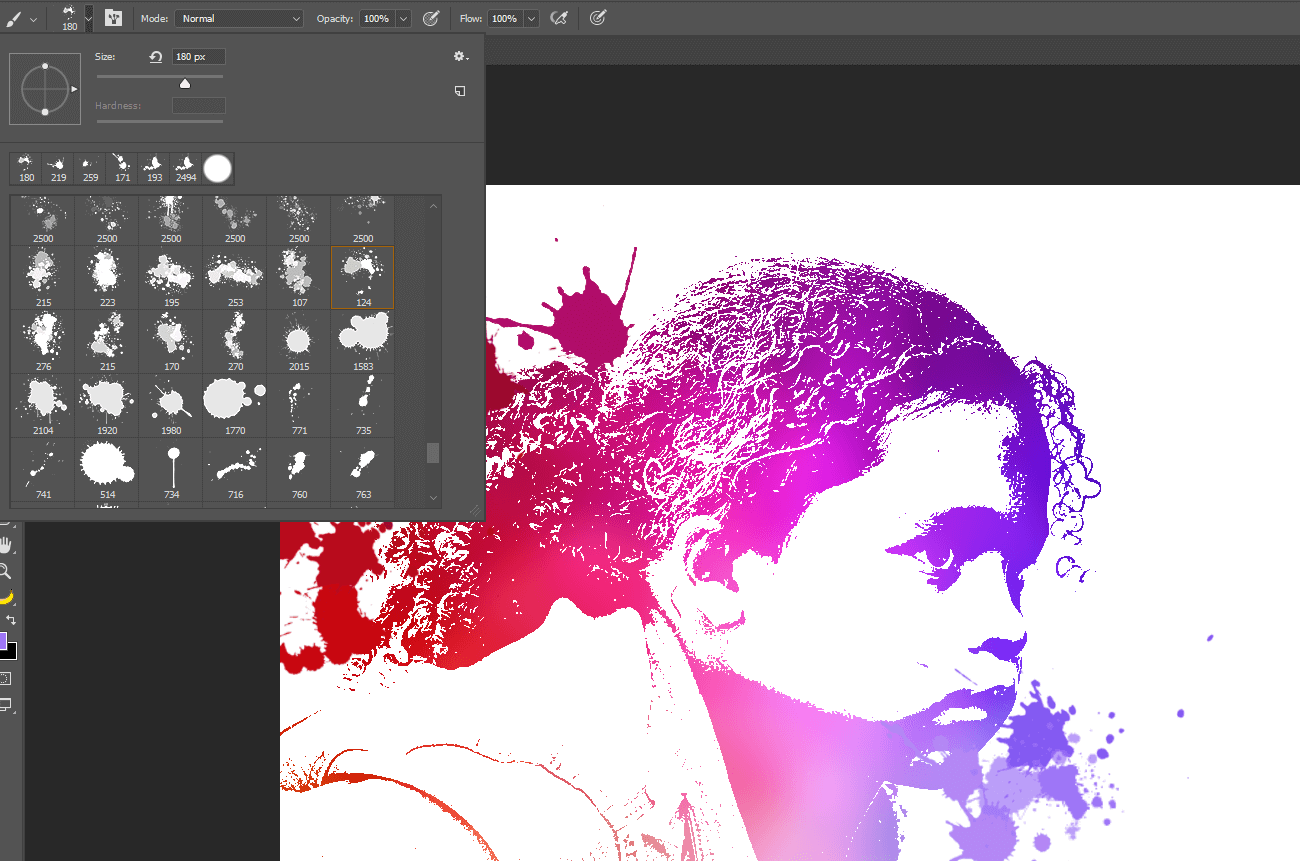
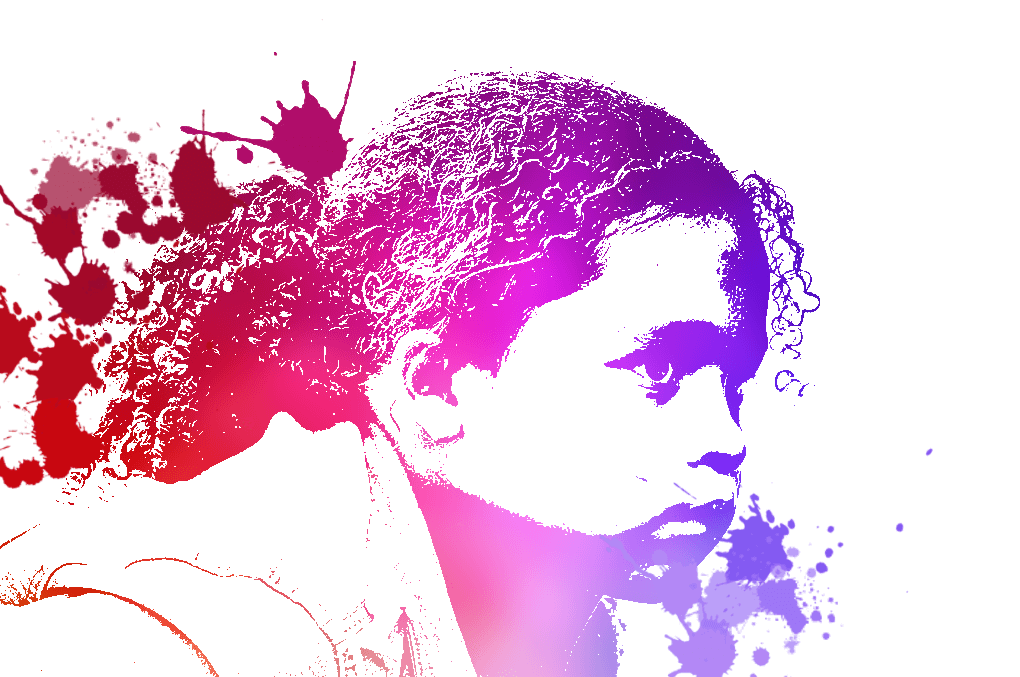
This is what the design will look like after you finish drawing the splashes around the girl's portrait.
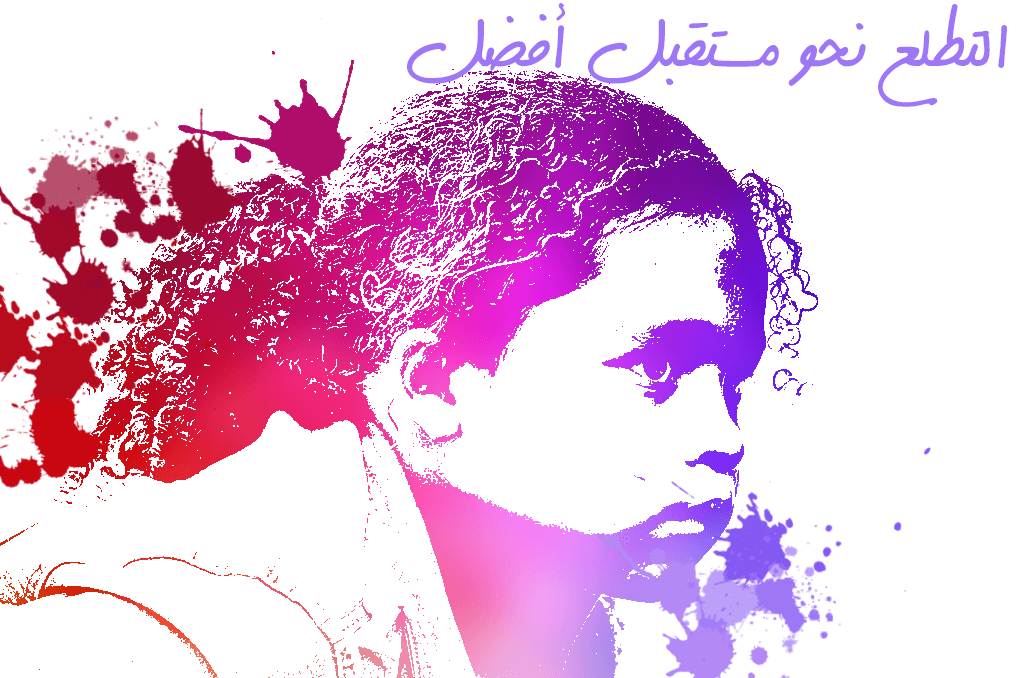
Using the text tool through the shortcut, Tthen write the phrase that we agreed upon at the beginning of the lesson, which is "looking towards a better future" and choose a suitable font. Here, I chose a handwriting font that is consistent with the idea of hand drawing the painting and dropping color spots on the board and then writing by hand.
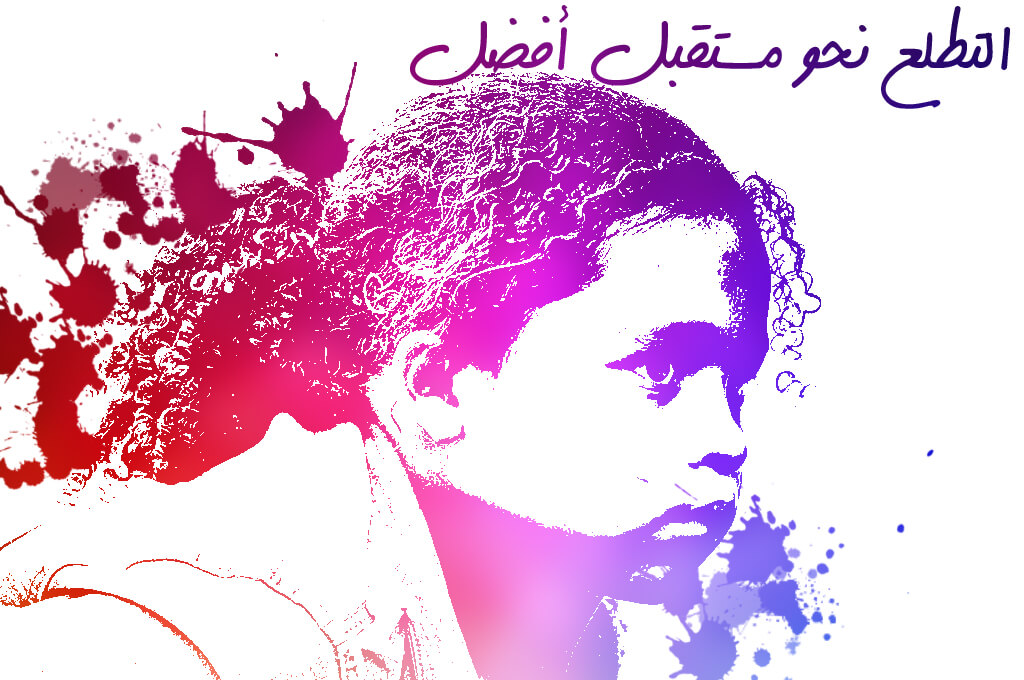
Finally, select the girl layer, the blur layer, the paint splash layer, and the text layer and click on the Group button at the bottom of the Layers panel to place all of these layers into one group. Then right-click on the color layer and choose Create Clipping Mask to make this layer a mask layer for the entire group and its effect will be applied to all the layers within this group.

This is the final form of design that fulfills the basic idea that we talked about at the beginning of the lesson.
You can search for your own resources and create similar designs that serve your ideas and goals and add more effects such as setting a non-white rigid background, adding different types of brushes and a distinctive color mask layer to get amazing designs.
تعليقات
إرسال تعليق