Create a simple dynamic light effect in Photoshop
We'll start away from the computer as we'll be using some household tools to make some photographic resources. Then follow this Photoshop lesson to learn how to manipulate images with various tools and techniques to produce a vibrant design made with the effect of intense streams of light.

We'll start by working away from the computer and putting together the resources to work on it later. If you prefer to skip this stage and get ready-made digital resources, here is a set of six high-resolution glowing streams of light images on this page that you can use.
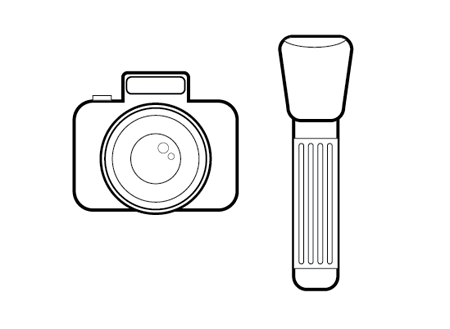
To start, we'll need two tools, a digital camera and a flashlight. SLR cameras would be an ideal choice for this task as we will be setting small aperture settings during long shooting. As for the flashlight, it is possible to simply use any type of household, and feel free to experiment with several types to choose the best results.
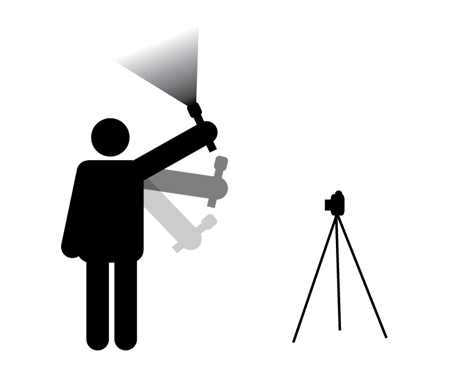
Find a large area, drop the curtains and turn off the lights to get the darkest possible. Mount the camera on a tripod or any fixed surface and manually set the camera to the high F aperture to increase the depth of field and increase the shutter locking speed to 20-30 seconds.
With the flashlight in your hand and the camera on, wave the flashlight in a crazy way until the shutter shuts off. Try different camera settings and different animation techniques as well to record a group of photos and choose the best among them.
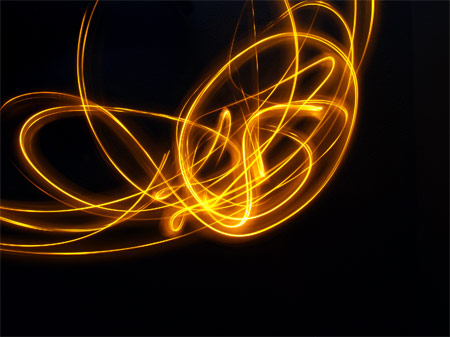
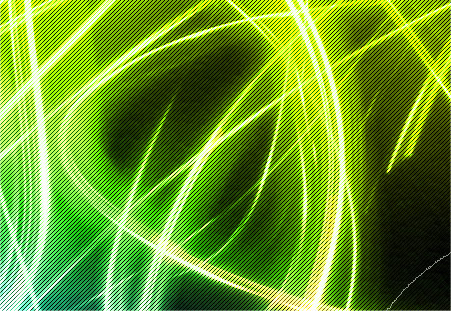
After a few tries you will have a bunch of good photos to work on. Here is an example picture I made myself and you can download it if you like.
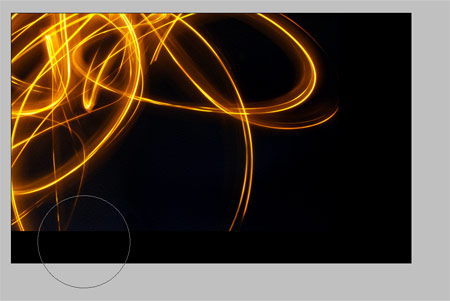
Open your chosen image in Photoshop and adjust Levels, Curves, and Hue / Saturation to darken the background and brighten the lights. Import the image into a new document and erase its edges to blend smoothly with the black background.
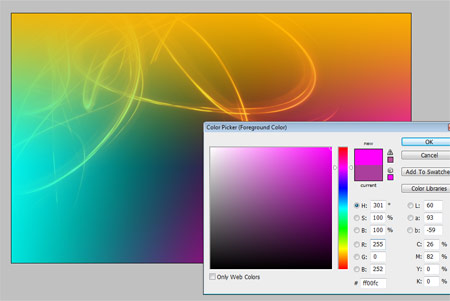
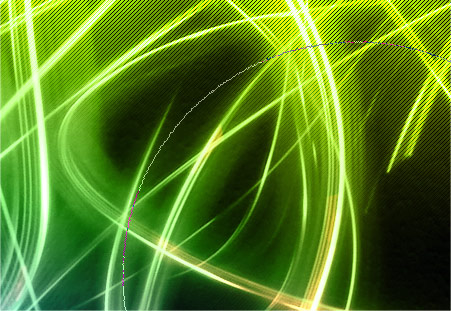
On a new layer, use the Gradient Tool to blend three bright colors from the edges of the image. Change the layer's blending properties to Color.
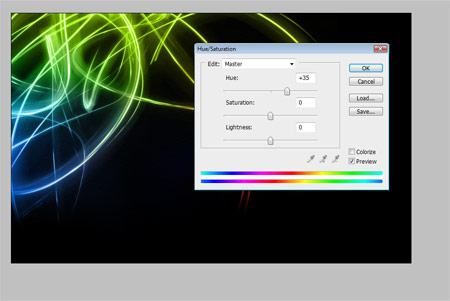
Press to CMD+Uopen the Hue / Saturation tools window and move the latch to adjust the colors until the hue you prefer.
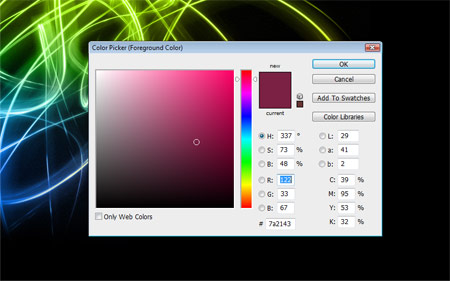
Choose a deep purple, then choose a soft brush.

Create a New Layer and change its blending mode to Color Dodge. Brush over the lighting areas to intensify these areas, looking like a process of connecting two points. The Color Dodge settings make the colors interact and create a dynamic effect.
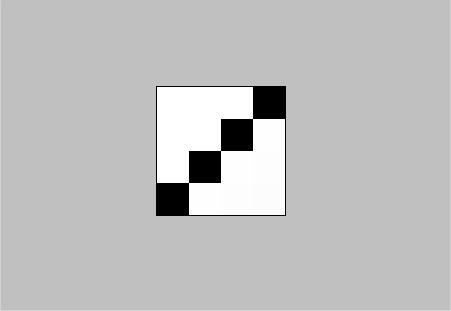
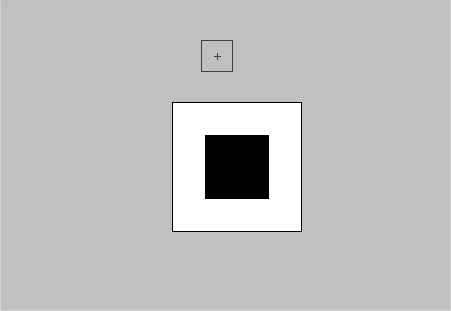
Create a new 4x4px document. Zoom in on the perspective and draw a diagonal line across the document with the Pencil Tool. Go to the menu
Edit > Define Pattern
Go back to the main document and fill in a new layer with this pattern we created using the Fill Tool while modifying the fill settings to Pattern from this tool's settings bar. Change the blending mode to Overlay and lower the Opacity to 25%.
Create a mask for this layer and color the black areas in the mask to erase the raster segments.
Create a new pattern, this time based on one square, which will be repeated to form a small dotted pattern.
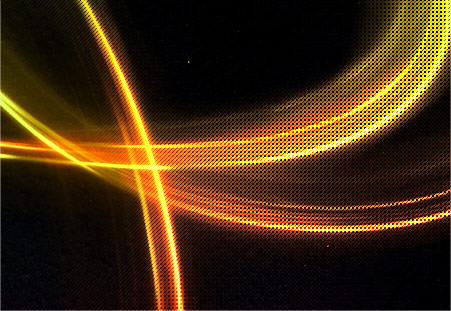
Fill a new layer with this new pattern with the blending properties Overlay, 25% Opacity, and also anoint the areas with the Layer Mask as in the previous step.

Draw a large dark purple gradient on a New Layer and reduce the Opacity to 15%. We'll need this for the next step since the Color Addition technique won't work on pure black so we added purple to allow that effect to stand out.
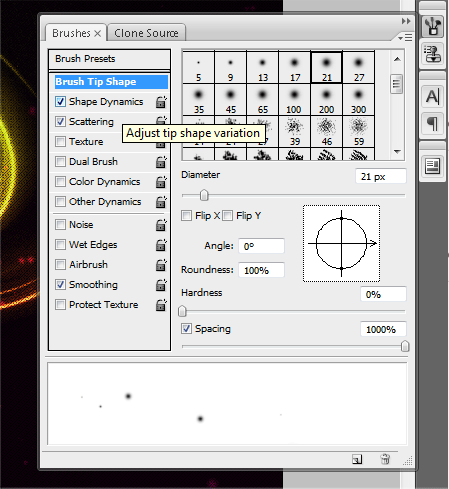
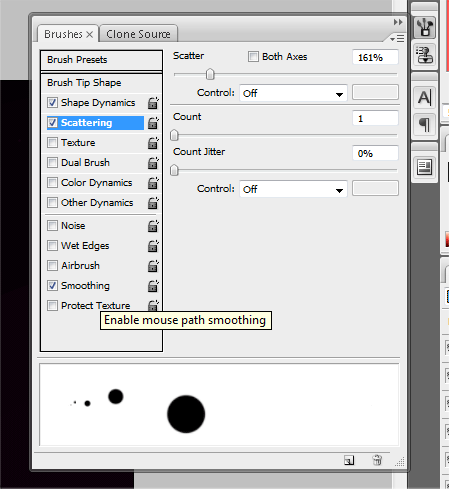
In the Brush Properties panel, create a custom brush that will consist of several parts. Start by softening the hardness of the standard round brush to 0 and setting the spacing to 100.
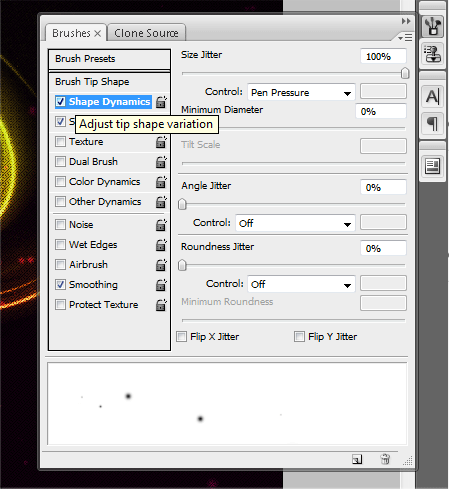
In the Shape Dynamics section, set the Jitter size to 100%. If you are using a pen tablet, the pen pressure options will allow the brush effect to appear depending on the force applied to the pressure on the palette tool.
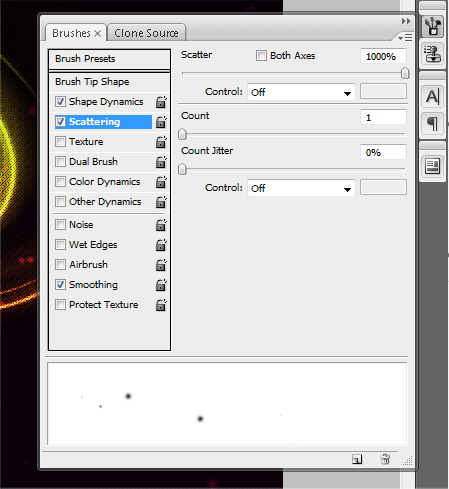
In the Scattering section, set Scatter to 1000%.
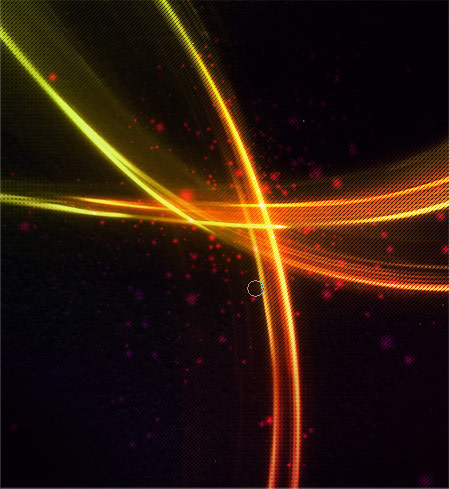
On a New Layer, change the blending mode to Color Dodge and draw over the light lines areas to add a group of particles, adding a vibrant style to the design.
Create a new brush with similar settings but this time with a bigger, stiffer brush.

Take a light blue color from the design and draw an array of shapes with the lens brightness pattern. Use the Blur Tool to add depth by blurring some of these highlights.

Change the layer style to Color Dodge and lower the Opacity to 60%.

Use the same color to fill in a series of diagonal stripes that you drew with the Polygonal Lasso Tool.

Erase the edges of the strips to blend with the rest of the document.

Change the blending properties of the strips layer to Soft Light to allow the colors to blend to add life to the design.
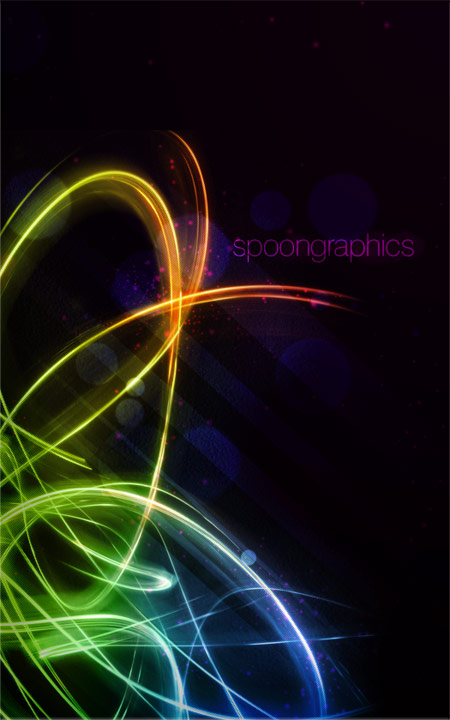
Make any final adjustments and adjust the design to your liking. I simply added some text using the Color Dodge blending feature to balance the design.
Generally speaking, although we can design light lines using a computer, I believe that using external tools such as a camera and a lamp gives an additional element to the design details.
تعليقات
إرسال تعليق