How to mount a car on a new background in Photoshop
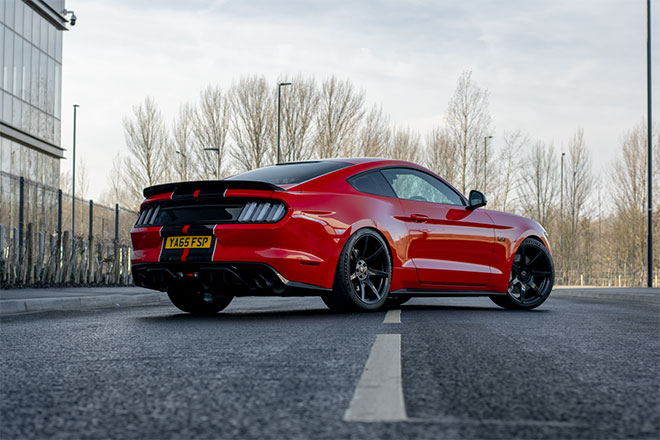
I've been using car photography as a creative director lately and it's a great opportunity to integrate my hobbies with Photoshop, photography and driving my car into a fun activity. And in today's lesson, I'll share my photo-editing process and explain how to take a car photo and turn it into an inspiring car painting, by superimposing it in a new background and mixing it with the new environment, using a variety of Adobe Photoshop technologies.

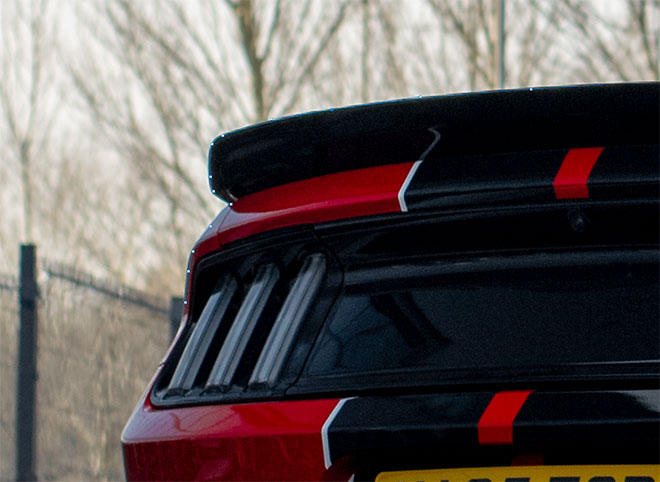
Composition techniques can be applied to any type of image, but are particularly effective for vehicle images. And since cars are easy objects to work with, reflections are the biggest factor that determines their suitability for installation.
While using a circular polarization filter on your camera can reduce reflections in the car body and windows, the remainder can be modified either by using the Stamp tool in Photoshop, or by combining it with the new environment. For example, in this image there is a reflection of a building along the side of the car, but it will complete the location of the new city.
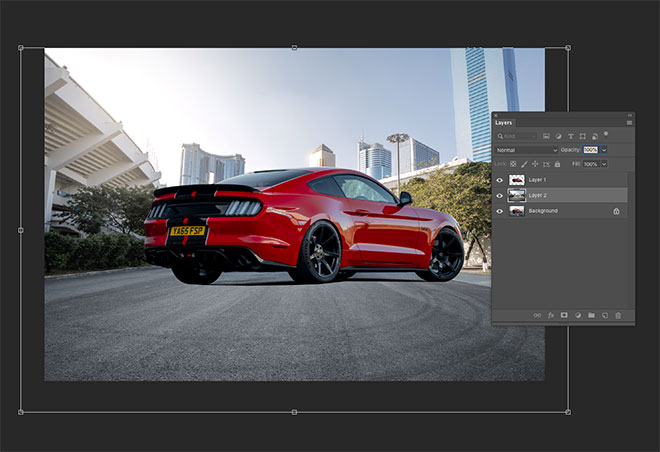
Upload the image from your camera and make the necessary adjustments for color correction and balance.
The car must be clipped first in order to place it in a new background. Use the Pen tool to draw a line around the car, but keep it slightly off the edge to avoid picking up anything from the background.

Generally, create a path underneath the vehicle, and then follow the drawing to the starting point to form a continuous path.
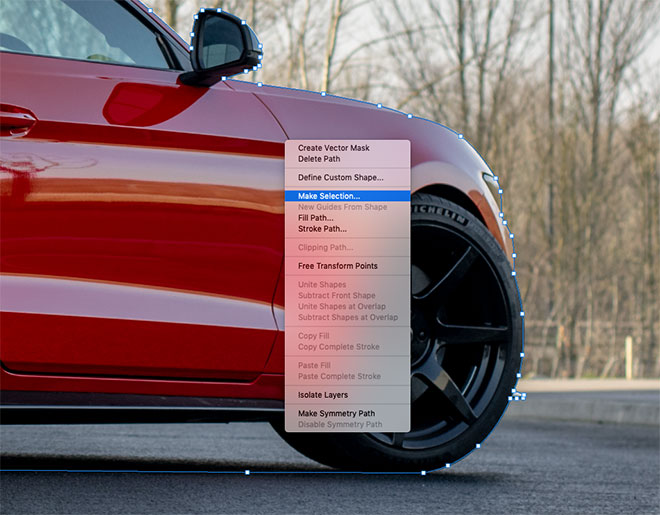
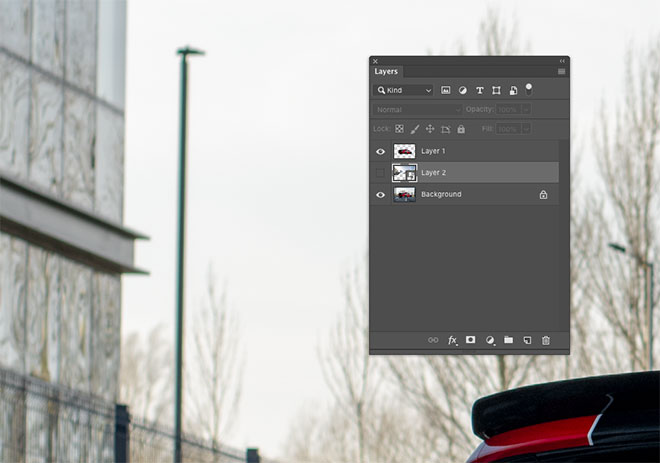
Right click and choose Make Selection, then copy and paste the car onto a new layer.
A new background can now be pasted between the original background layer and the car. The new photo should be taken at an angle that matches the original, and it must match the lighting of the scene. This photo by Jimmy Yan from Shutterstock shows a city road in the same direction as my original photo, and the area is shaded exactly as it is in the original photo.
To accurately match the corners, lower the Opacity of the new background and move it to the right place so that the horizontal lines overlap.
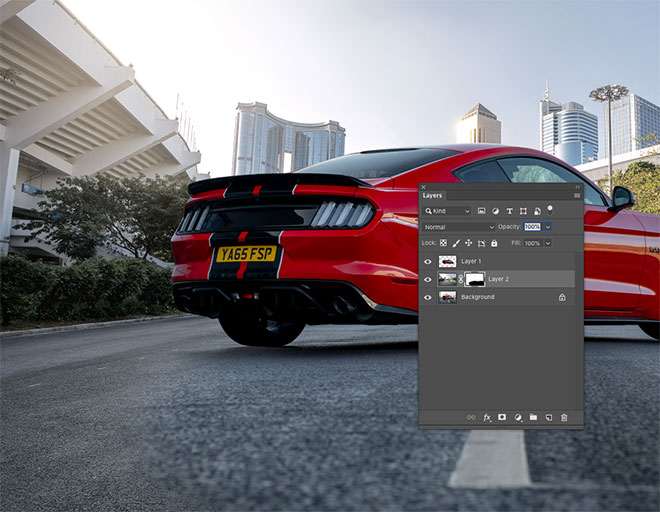
The installation process becomes much easier if the original road is left in the last modification, because the car is already positioned with the correct shadow and angle. Apply a mask to the new scene layer and start painting it black with a soft brush to erase the front end, recreating the original path.

The sidewalks are a feature of all road photos that can be used as a mixing point for the two hindquarters. Adjust the size of the brush, then press X, to switch between black and white to erase and restore the mask.
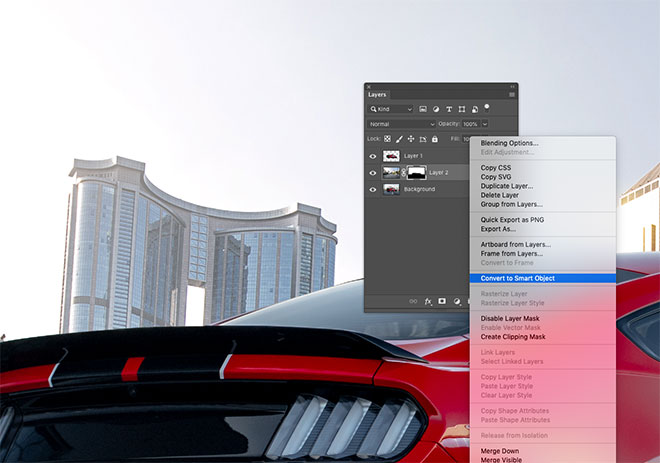
The new background will need some adjustments to make the composition look more realistic. First convert the layer to a Smart Object so that the applied effects are not subverted and modified as needed.
Turn off the new background layer to compare it with the original showing the depth in field. The elements of the first image also look dull, while the image uploaded from Shutterstock was taken with a much smaller gap.
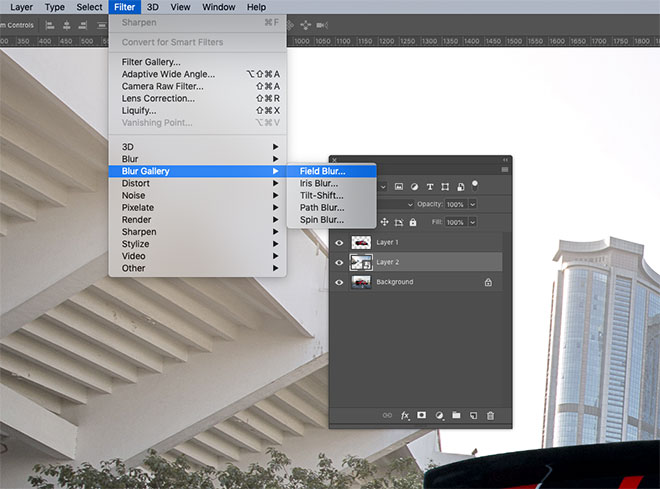
Take a mental image of the Blur degree from the camera image, then re-enable the layer and go to Filter> Blur Gallery> Field Blur.
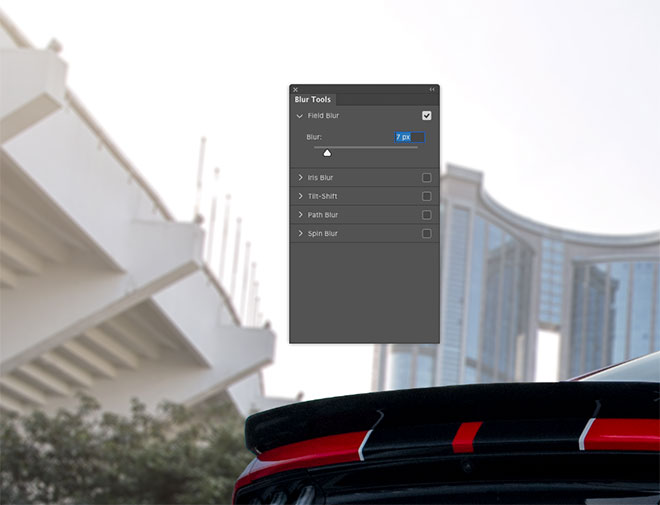
Increase the Blur value to simulate the depth of field effect of the original image. Naturally, it will be a small value of no more than 10 pixels.
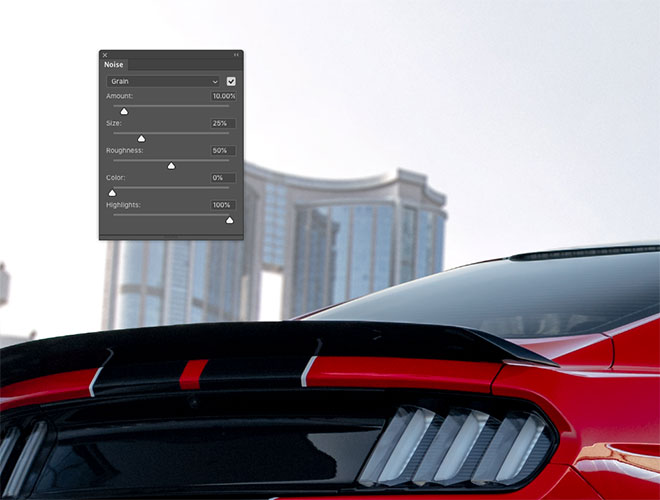
Some of the Blur Gallery effects have additional tools, that should help match the two images. The car shows a bit of ISO Noise, while the background looks cleaner. Increase the Grain score in the bar to simulate some background Noise as well.
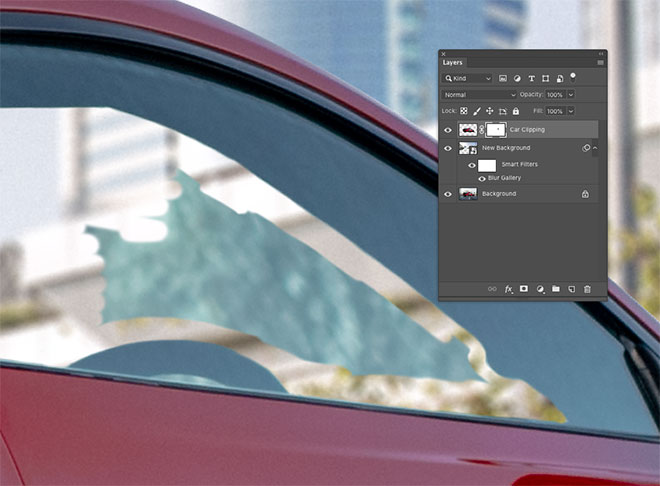
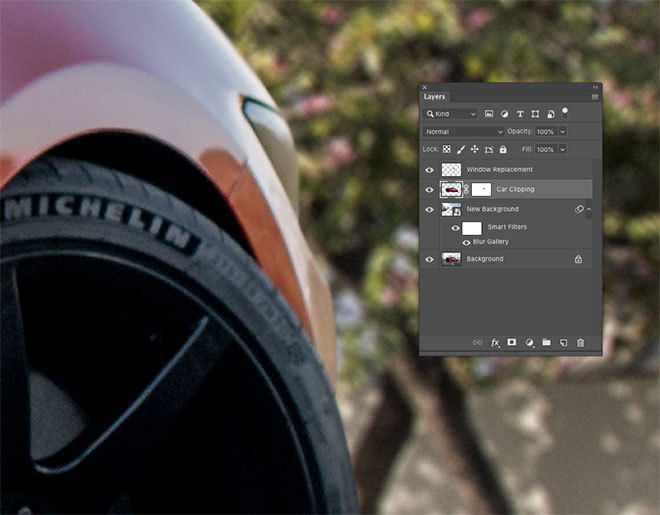
The car has been clipped, but the area inside the window still shows the original wallpaper. Apply a mask and use the Brush tool to erase the unwanted portion to bring out the correct background. By setting the Hardness of the brush to a moderate degree, it will help you avoid edges that do not look real.

The area of the glass won't be shiny and clean, so draw a path around the window with the Pen tool and select it.
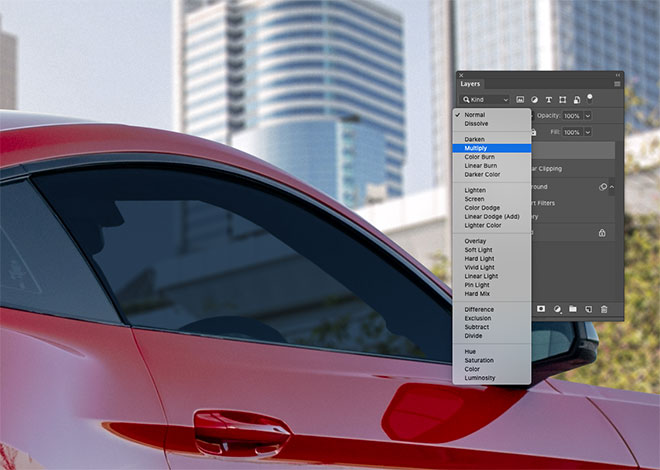
Add a new layer and fill the selection with a color taken from the nearby window. Change the Blending Mode of the layer to Multiply so that you can see through the background.
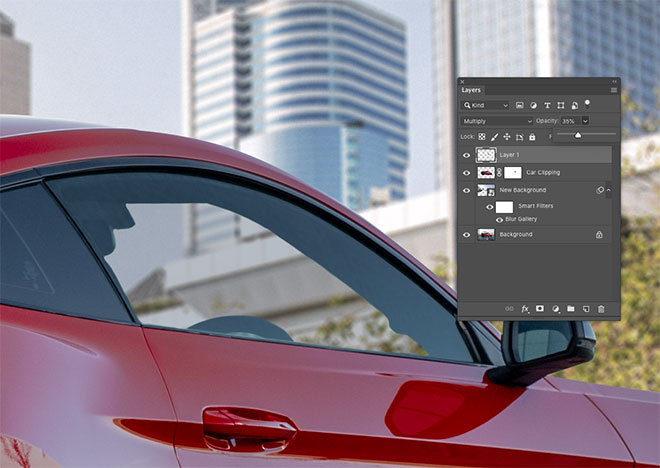
Lower the Opacity of the window so the background appears realistically through the glass.
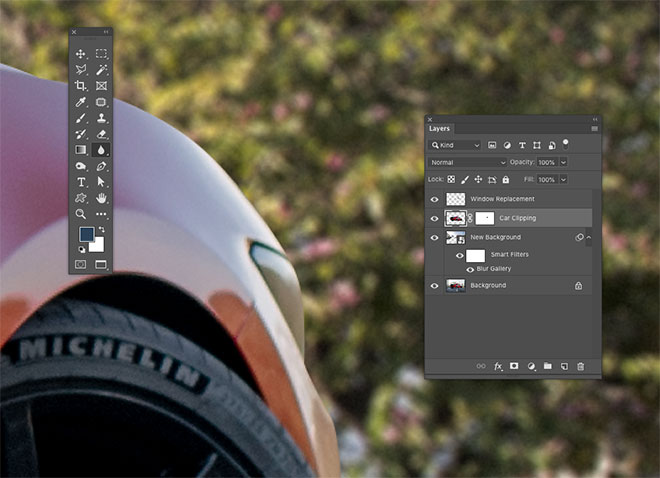
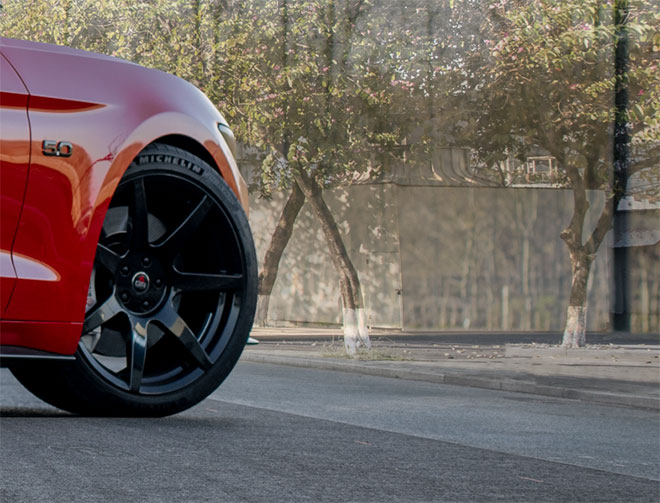
Looking at the image up close reveals that it does not look realistic due to the sharp edges created when cutting the car with the Pen tool. Select the car layer, then choose the Blur tool.
Reduce the strength of the tool from the toolbar to about 50-70%, then use a small brush and paint around the edge of the car so it looks natural. Blur on the back edges should also be more intense than the front.
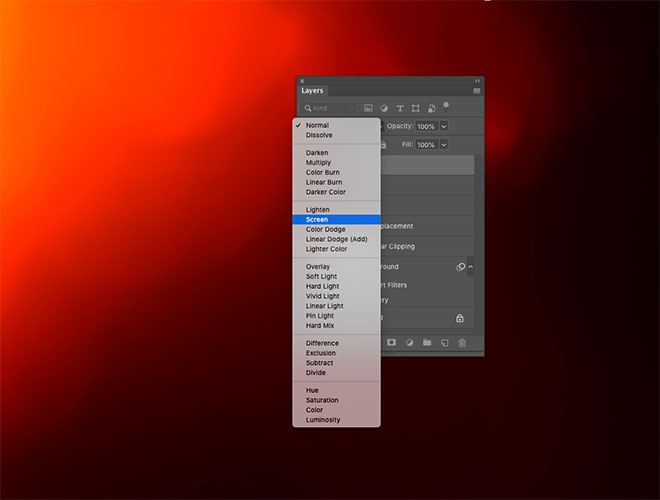
To finish off the image in a great way with some natural color gradations and lighting, use a Free Light Diffusion composition. Open one or more files, then copy and paste them into your folder and adjust its size. Change the Blending Mode to Screen to make the dark background invisible, allowing the colored part to interact.
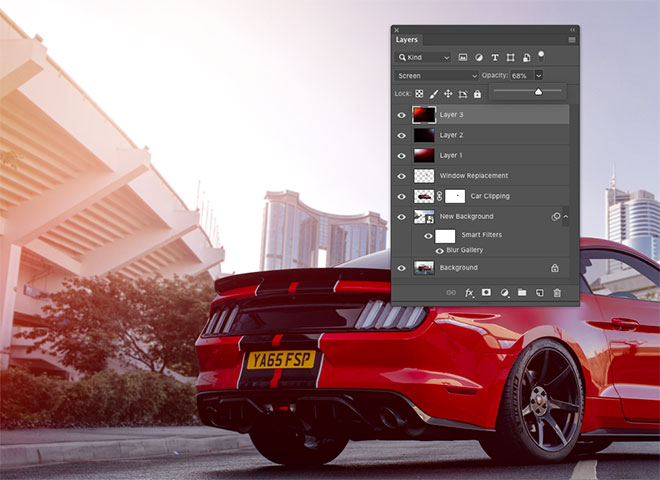
Lower the Opacity layer to adjust the Overlay effect. Lifting the Overlay layers will add some lighting to the image.
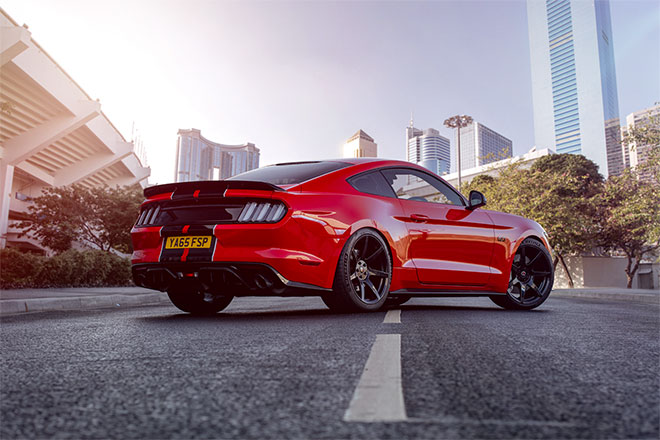
The end result is a refreshed photo with cool background that enhances the atmosphere of the photo. The retention of the main road ensures that the car is positioned realistically on the asphalt, after which the Blur and ISO effect match the new visual effects with the original image.
تعليقات
إرسال تعليق