How to create a funny caricature effect in Adobe Photoshop
Have fun transforming yourself, family, or co-workers into a funny cartoon figure with a doll's head with this step-by-step tutorial for Adobe Photoshop. We will use photo manipulation techniques to exaggerate the specifications of a selfie and give it a funny cartoonish look. And since we're using a ready-made image instead of drawing it in hand, it will retain a degree of realism and strong symmetry.

Inflating a person's proportions and resizing the head and eyes will be the first step to transforming a person from a real photo into a funny caricature. Then we will use some techniques to improve the complexion, by giving it a real look, such as a vinyl toy or a 3D model.

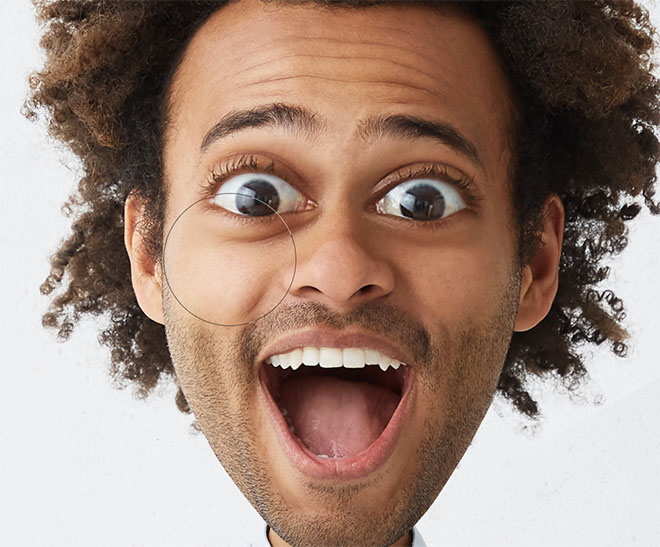
For best results, you'll need to have a little fun transforming yourself, family, or co-workers into a funny cartoon figure with a doll's head with this detailed tutorial for Adobe Photoshop. We will use photo manipulation techniques to exaggerate the specifications of a selfie and give it a funny cartoonish look. And since we're using a ready-made image instead of drawing it in hand, it will retain a degree of realism and strong symmetry. Into a high-quality image with vivid detail. I'm using an image by WayHome Studio from Shutterstock for this tutorial . Ideally, a person will have short or raised hair with a clean texture to make the cutting process easier.
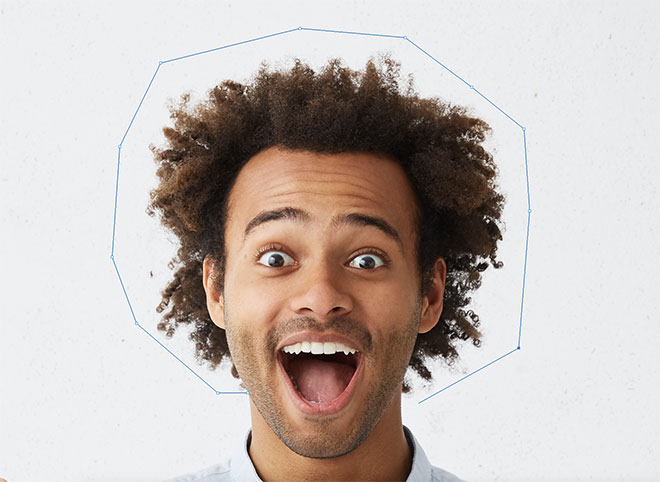
First you need to trim the head to make it larger. Use the Pen tool to draw a line around the hair, then draw around the chin carefully.
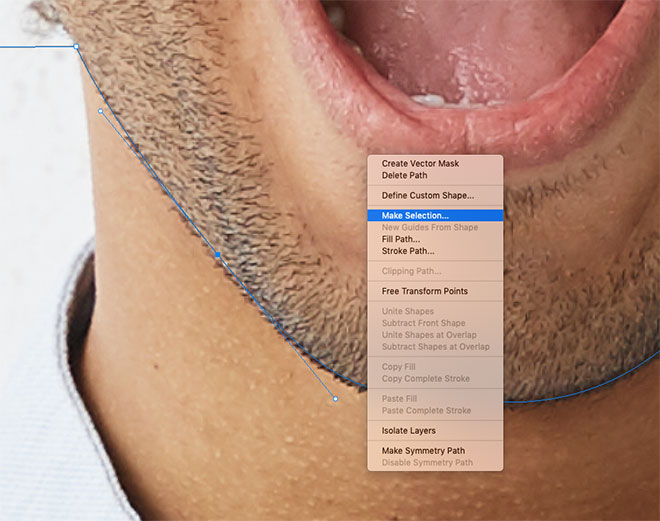
Zoom in and use Smooth Bezier Curves to create a fine line around the face, then right-click and choose Make Selection with 0 feathering. Press C + CMD and V + CMD to copy and paste the header into place.
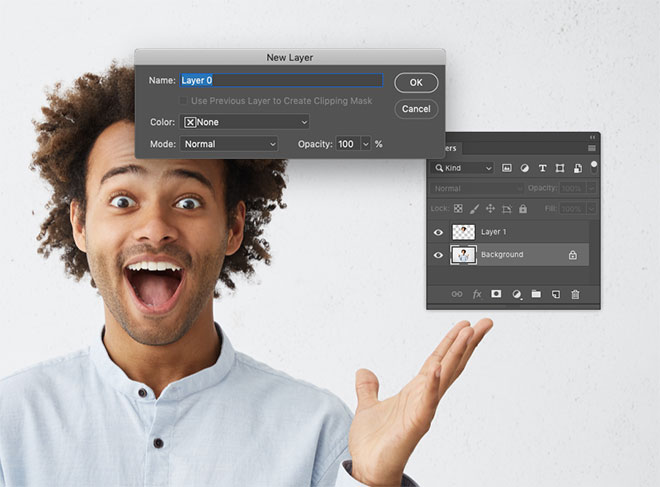
Double click on the background layer to convert it into an unclosed regular layer.
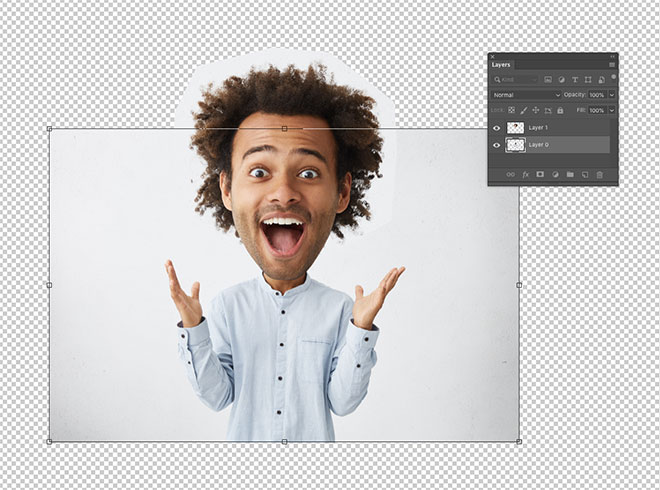
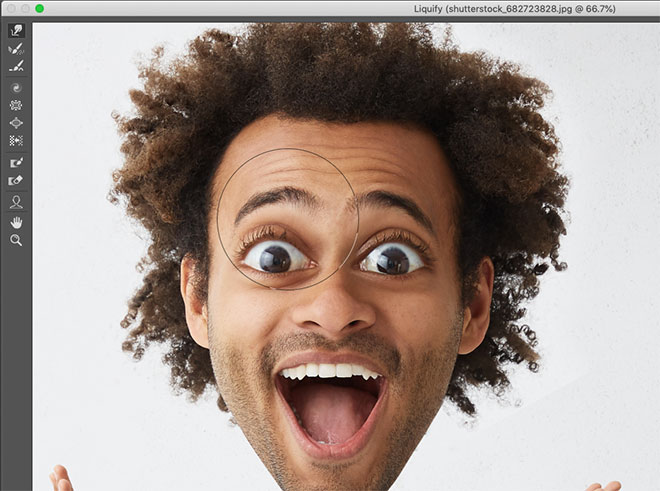
Instead of enlarging the header size which may degrade the image quality due to extrapolation, choose the original layer and scale it down using T + CMD.
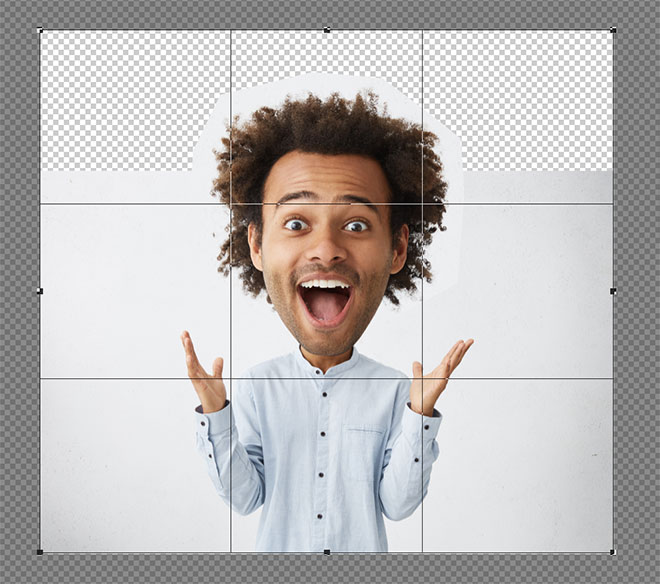
Use the Crop tool to trim the file and remove plugins.
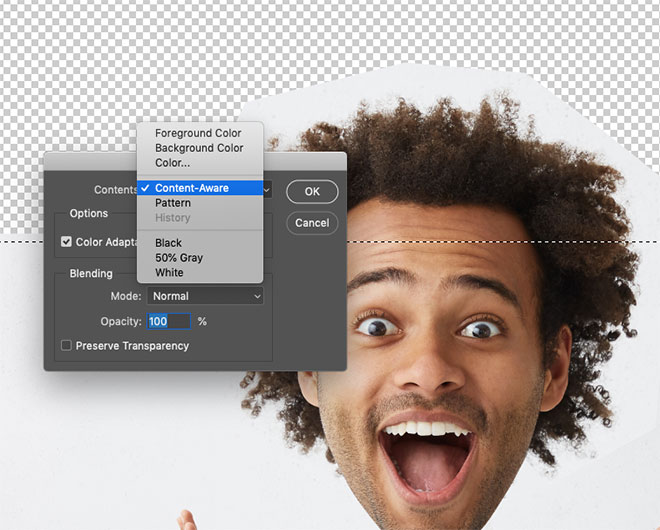
If there is any blank at the top of the image, select it with the Marquee tool, then go to Edit> Fill Menu, and choose Content Aware to fill this space with a perfectly matched background.
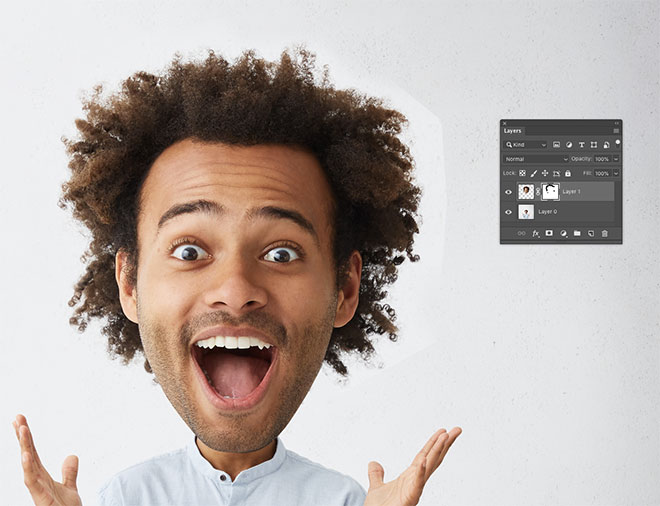
Apply a mask to the layer head, then use a Soft Tipped Brush to blend the sharp edges by painting with black inside the layer mask.
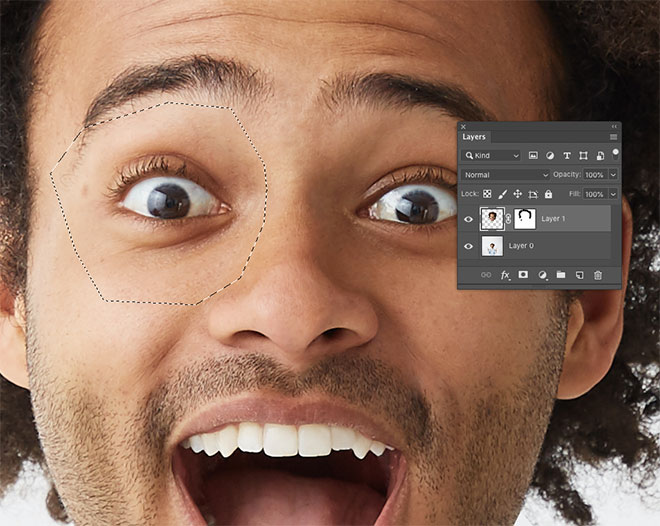
Eye enlargement happens the same way. Start by selecting each eye and copy / paste it into a new layer. Don't forget to click on the layer to reselect the storyboard, instead of the Layer Mask.
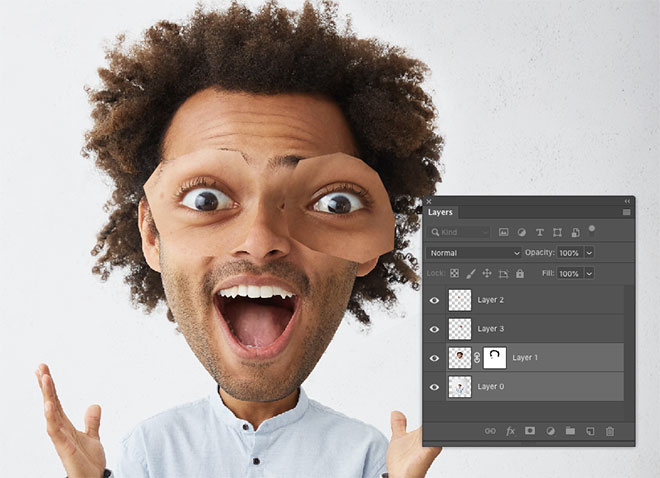
Instead of enlarging the eyes layers and lowering the image quality, select both the original image layer and the header and use CMD + T to reduce their size together.
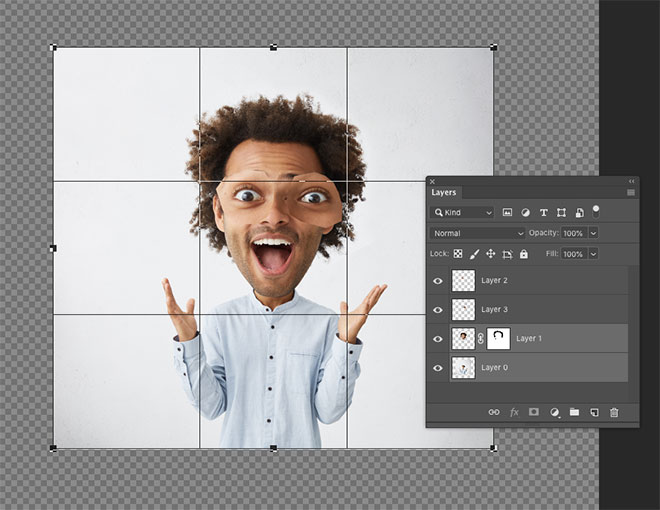
Use the Crop tool to crop the image and remove the extra points around the edge of the image.
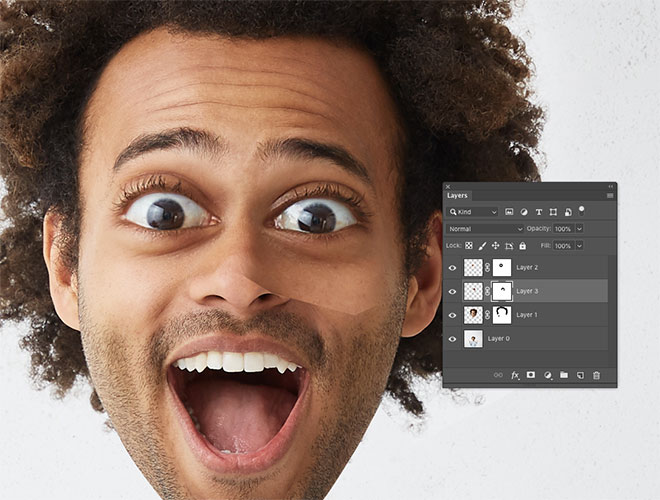
Move each eye layer to its correct location, and apply a layer mask. Then use a soft brush to wipe the edges, so the eyes blend perfectly with the face without the sharp edges appearing.
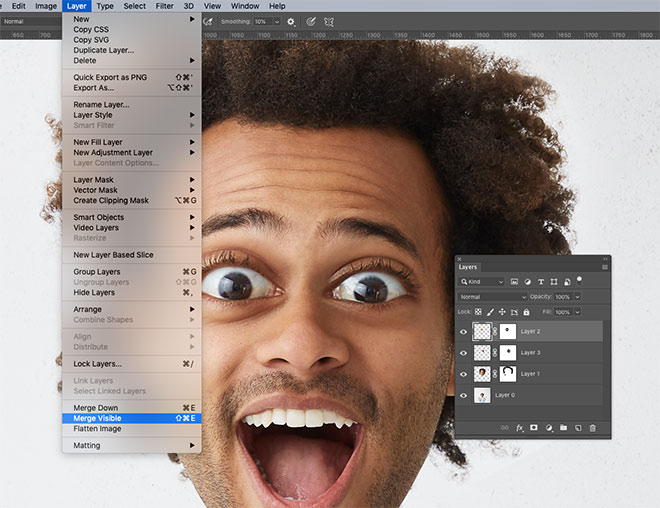
Under the Layer menu, hold down Alt and click on Merge Visible to create a flat copy of the work on a New Layer.
Go to Filter> Liquify and choose the Bloat tool. Make some light adjustments with a few clicks of the mouse to enlarge the cheeks, nose, eyes and mouth to change the parts of the face even more.
Go to the Forward Wrap tool and modify the face to exaggerate the facial expression. For example, move the eyebrows up to make the face appear surprised, or increase the smile to make him happy.
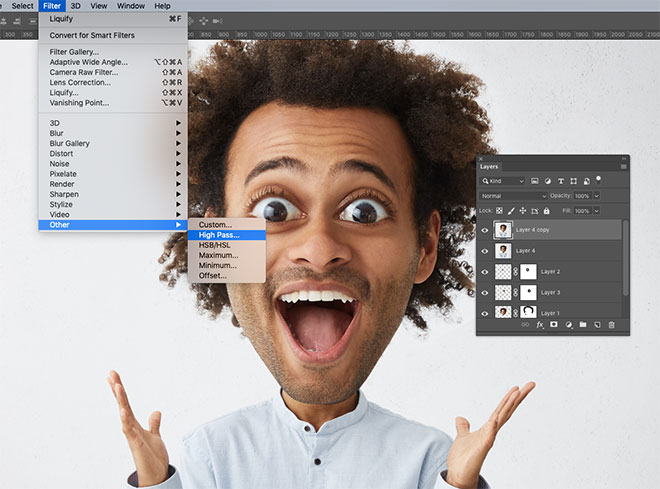
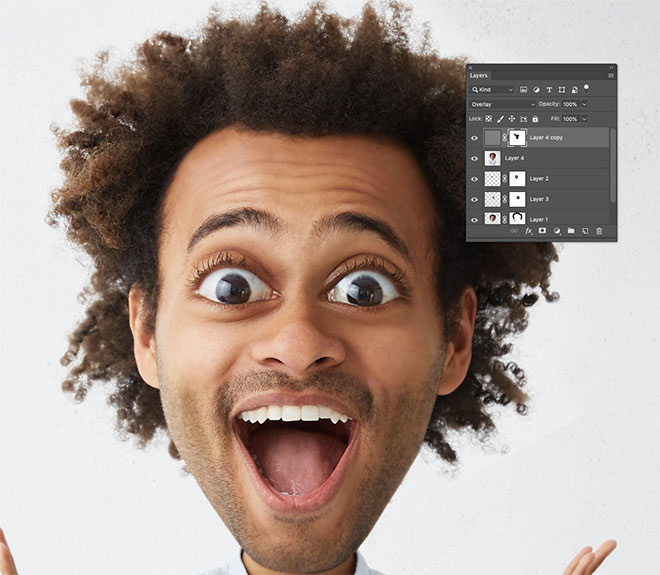
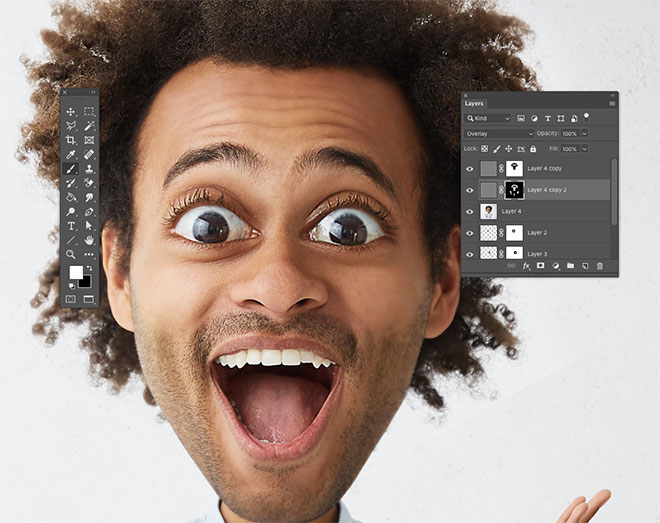
Apply the Liquify effect and duplicate the layer with J + CMD. Next, go to Filter> Other> High Pass and enter 2 pixels.
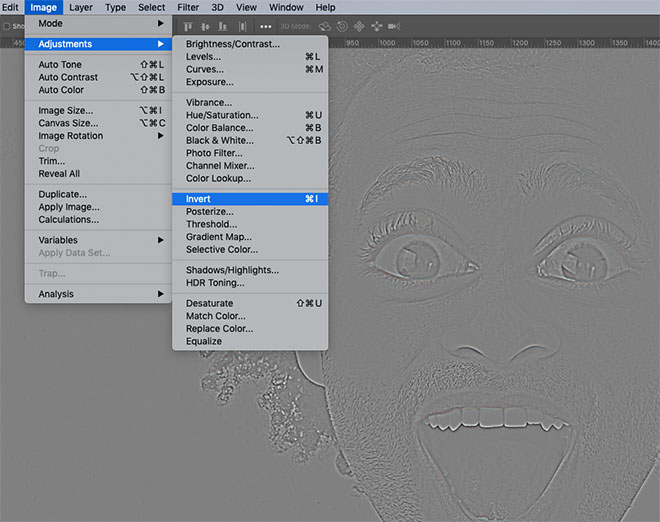
Invert this layer using I + CMD or go to Image> Adjustments> Invert Menu Option.
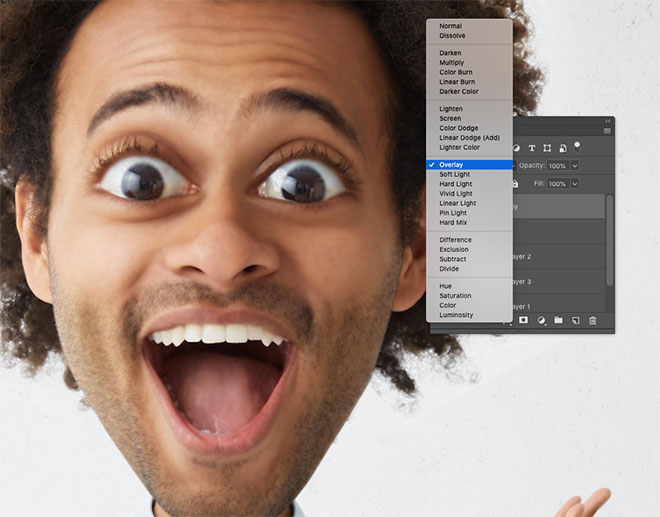
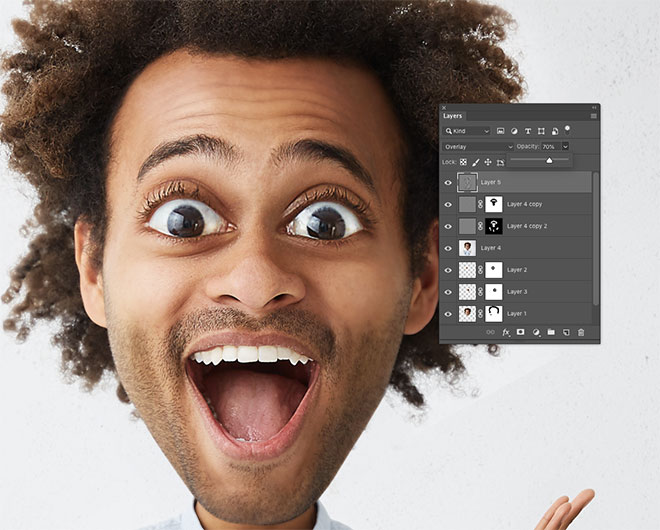
Change the Blending Mode to Overlay to soften the image with a slight blur. While this helps smooth out the complexion, we don't want to apply the effect to the facial features.
Add a layer mask and use a soft brush to erase the effect from the eyes, nose, mouth and hair, leaving the Blur effect applied to the rest of the image.
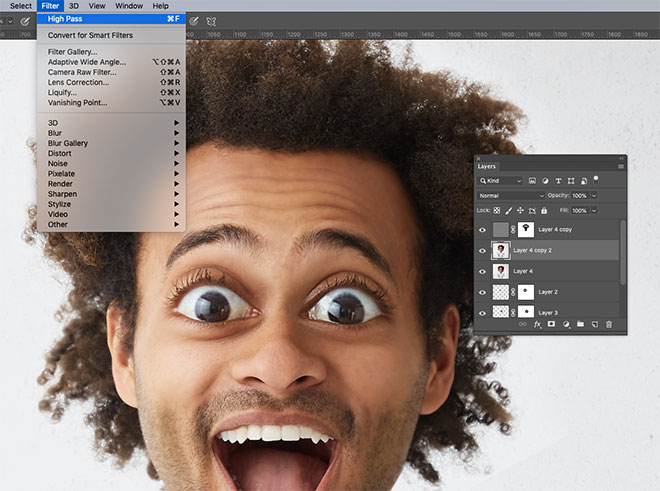
Use the Liquify merged image again and repeat. Add the High Pass Filter again by 2 pixels.
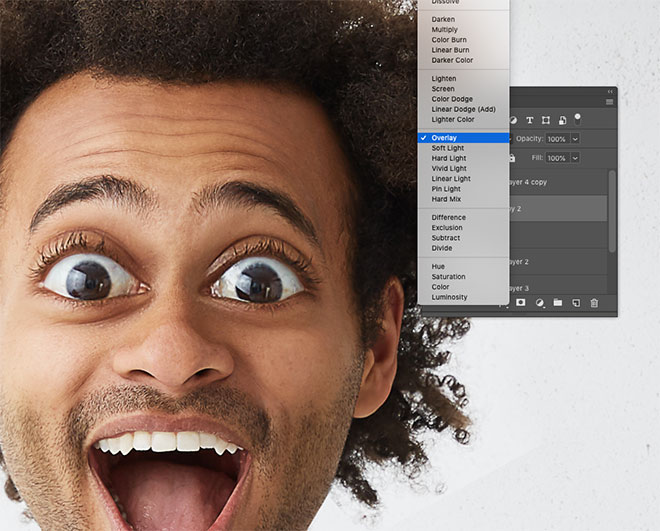
Change the Blending Mode of this layer to Overlay without inverting it first, which will smooth out the image.
Add a layer mask, but this time use Backspace + Alt to completely fill it with black, which will erase the effect completely. Now use a soft brush and paint with white to refine these key areas of the eyes, nose, mouth and hair.
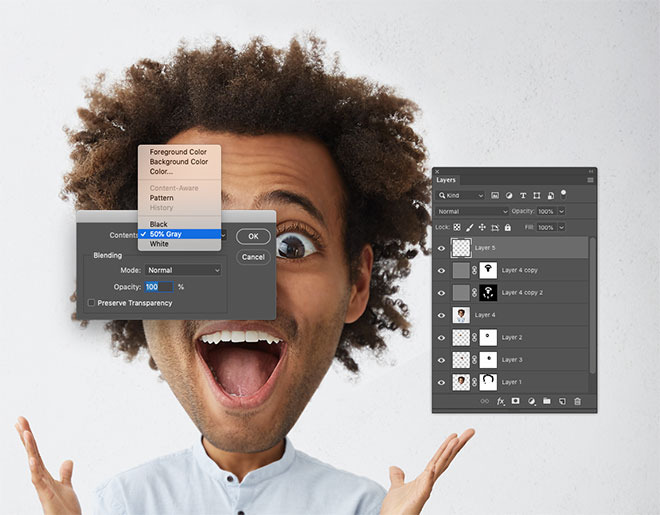
Create a new blank layer and drag it to the top of the layer group. Go to Edit> Fill and choose 50% Gray. Change the Blending Mode for this layer to Overlay.
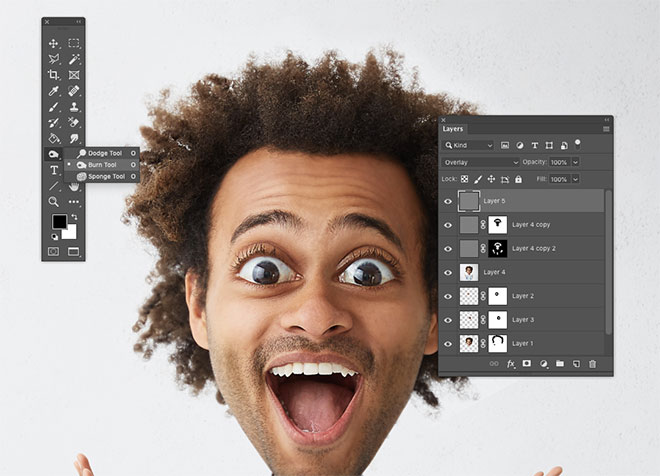
Choose Burn Tool and adjust settings in Toolbar to Shadow and Exposure by about 20%. Draw on the person and mark all the darkest areas.
Now go to Dodge Tool and choose Highlight with Exposure at 20%. Color the bright parts of the person. Then scale the brush head to precisely define the eyes and teeth and add luster to them.
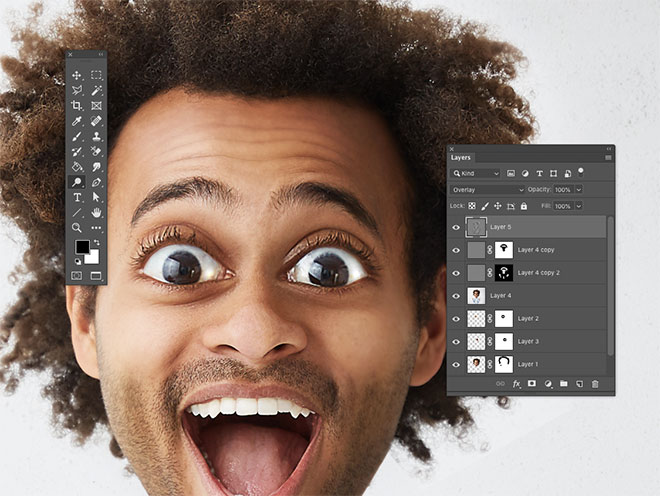
Reduce the Opacity of the Dodge and Burn layer to lower the high contrast effect so it looks more natural.

The end result is a caricature effect that transforms the character into totally exaggerated parts. Simply adjusting the size of the features is the primary effect, then it is enhanced by doing some surface adjustments that help give the artboard a real look.
تعليقات
إرسال تعليق