
How to add a rain effect to a scene using Photoshop
In this lesson, we will learn how to change the weather in an image by adding heavy rain to it, and we will choose a dark street image to give the scene a dramatic character, and we will first increase the delicate light reflections on the sidewalk to simulate the appearance of the land wet with rain, then add three layers of raindrops, each different in size from The other delusion for the beholder is that the rain scene extends into the depth of the image.
And the image that I will work on can be downloaded from here , and I have chosen the dark background in that image to highlight the raindrops more, and the dark street footage gives great results as it turns the normal image into an excellent dramatic shot.
Open the image in Photoshop, and we'll first change the look of the floor to look wet to give the scene more realism.
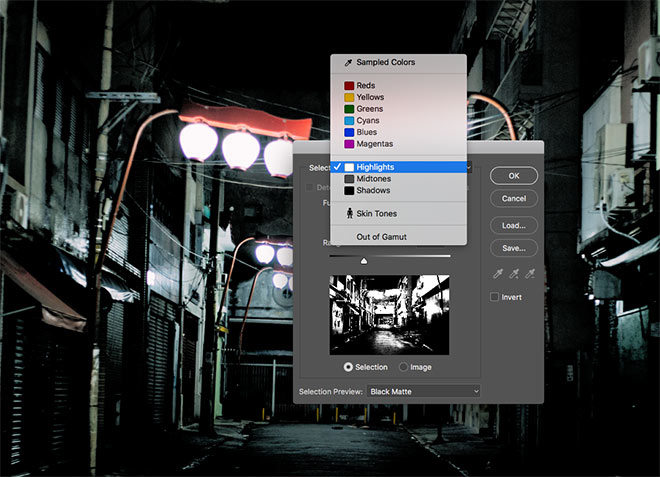
Go to the Select menu> Color Range, and choose Highlights from the Selection Method as shown in the image above.
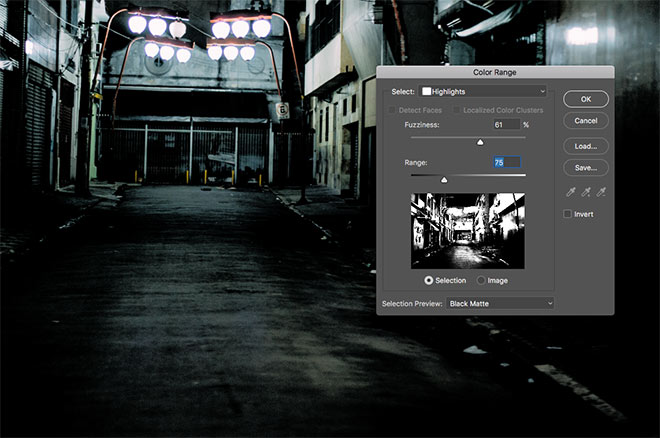
Move the Fuzziness and Range indicators while watching the live preview of the image until you get an appropriate level of the "highlights" in the image. Note that the intensity of lighting in those areas will determine how wet the road will look.
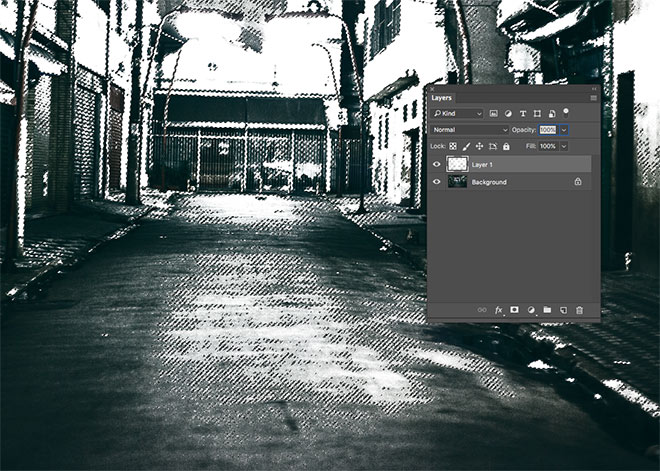
Create a New Layer and fill in the bright areas with the ctrl + Backspace shortcut, then hit ctrl + d to remove the selection.
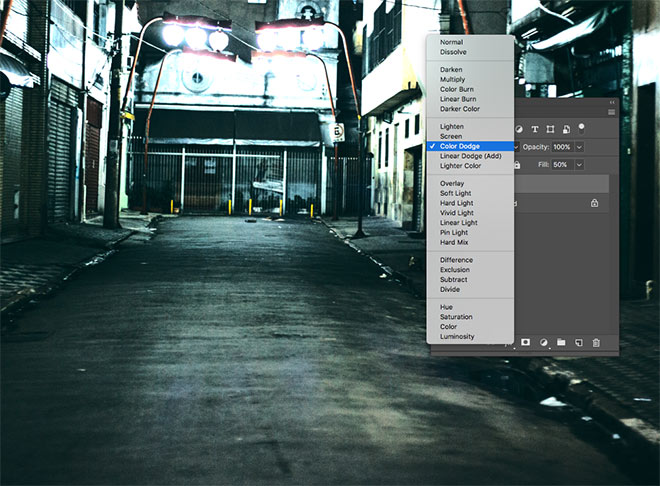
Change the blending mode of the white layer to Color Dodge, then reduce the Fill to about 50%. If you are not satisfied with the result, you can change the Fill and Transparency settings until you find the perfect shine for the asphalt.
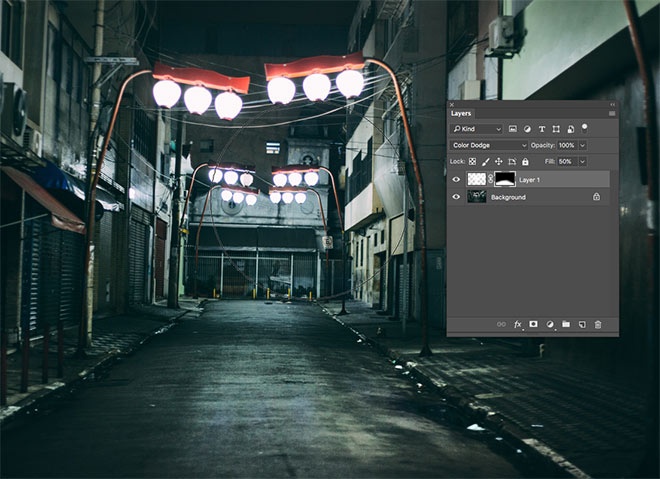
Although we need the bright areas to give the road a shiny appearance from the effect of light reflection on the rain water, we do not want the intensity of the light in the rest of the bright areas except the road to increase more than necessary. To achieve this, add a mask to this layer, "Layer Mask" and then erase the areas We don't want it with a soft brush, as in the image above.
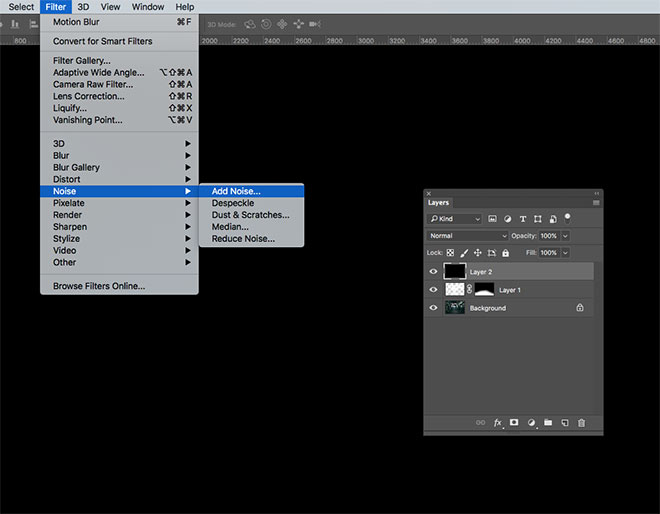
Add a new layer and fill it with black using the Alt + Backspace shortcut, then go to Filter> Noise, and there is Add Noise.
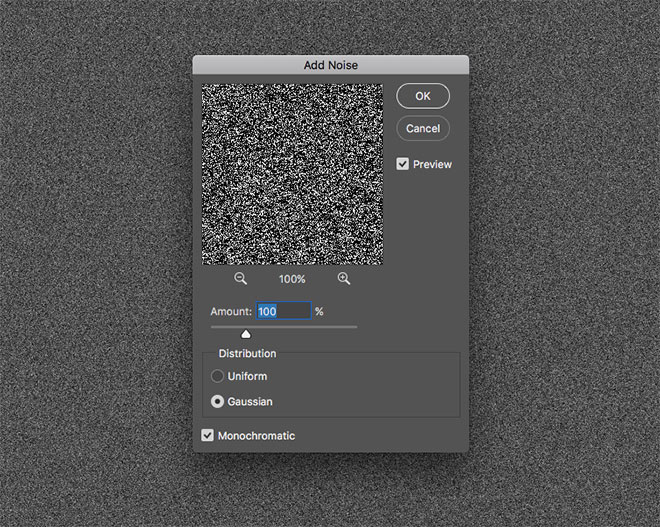
Change the Amount to 100%, set "Distribution" to Gaussian, and turn on the Monochromatic option.
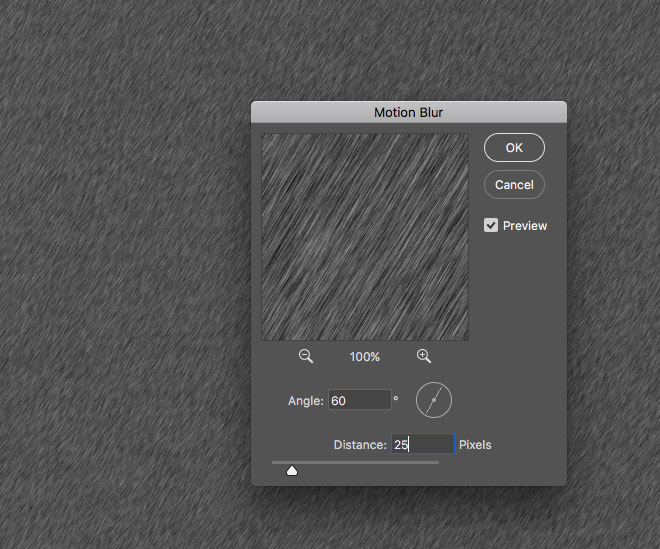
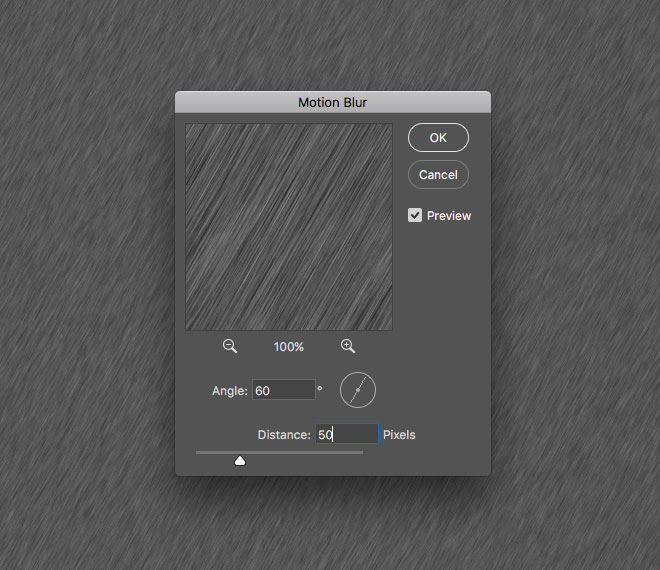
Now, go to Filter> Blur, and here is Motion Blur.
For example, set the angle to 60 degrees and Distance to 25 pixels.
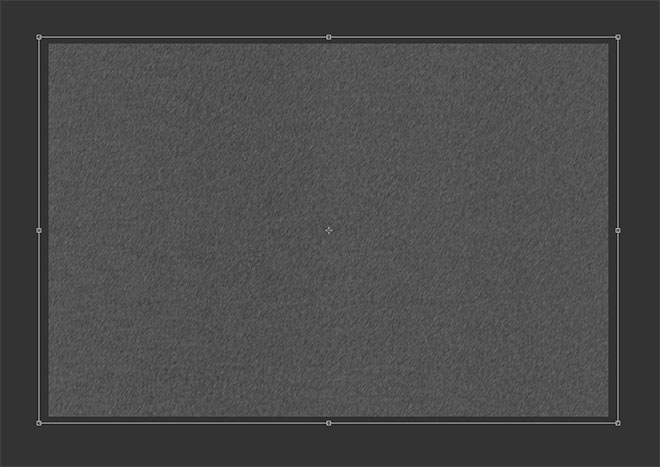
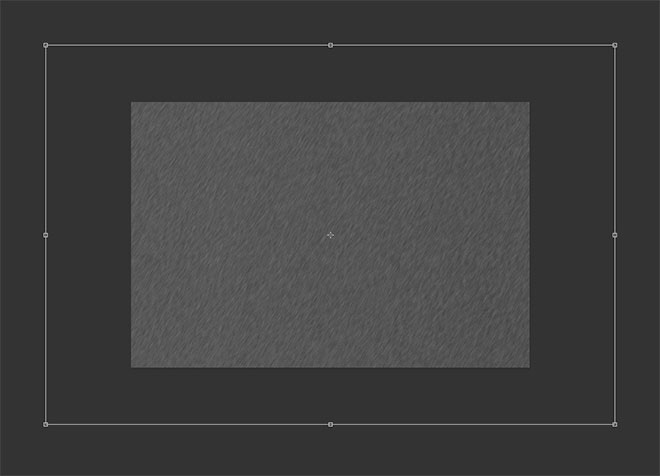
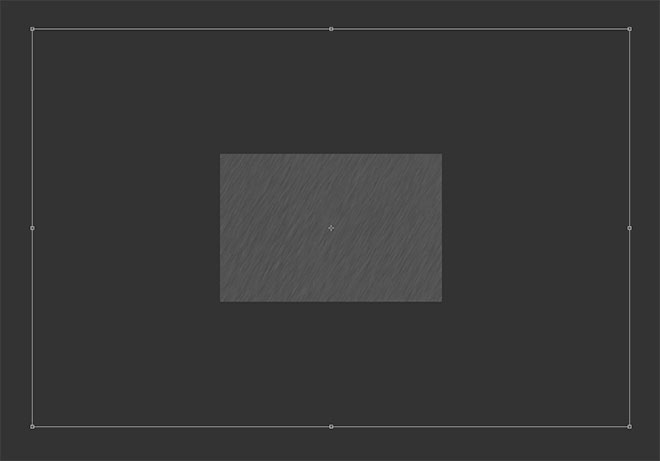
You will find a thin stripe on the edges of the layer that has no motion blur effect applied to it, hit ctrl + t and increase the size of the layer to cover this bar.

Change the Blending Mode to Screen so that we only show the white parts of the "Noise" that we have created. This allows the original image to also appear through the raindrops.
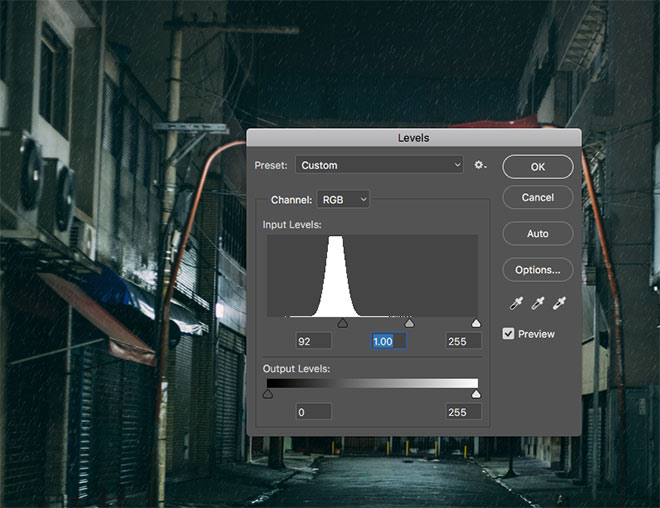
Go to Image> Adjustments> Levels - or use the shortcut ctrl + L - and drag the Shadows cursor to the right to reduce the number of raindrops.
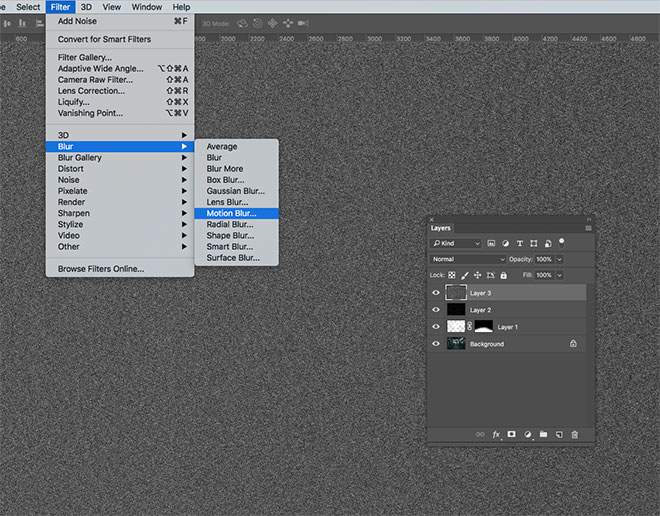
Add a new layer and fill it with black, then add a 100% Noise filter with Gaussian and Monochromatic options as before, then add a Motion Blur filter.
In the settings for this second layer of rain, increase the Distance to 50 pixels, but keep the angle the same as 60 degrees.
Also, as last time, press ctrl + t to increase the area of this layer to be a little larger than the first rain layer in order to increase the size of the raindrops, and set the Blending Mode to Screen.
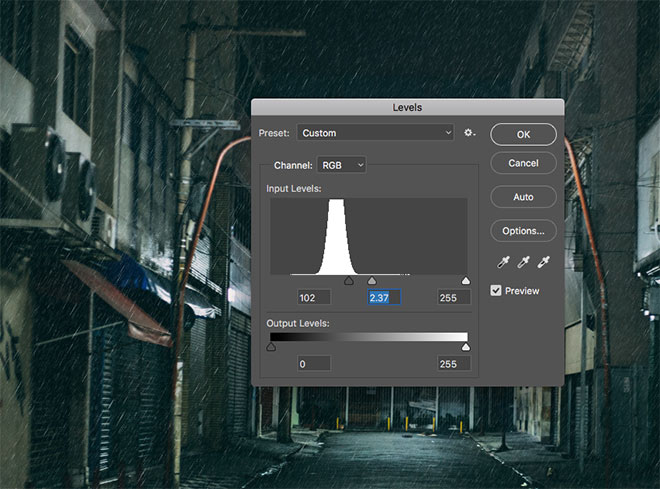
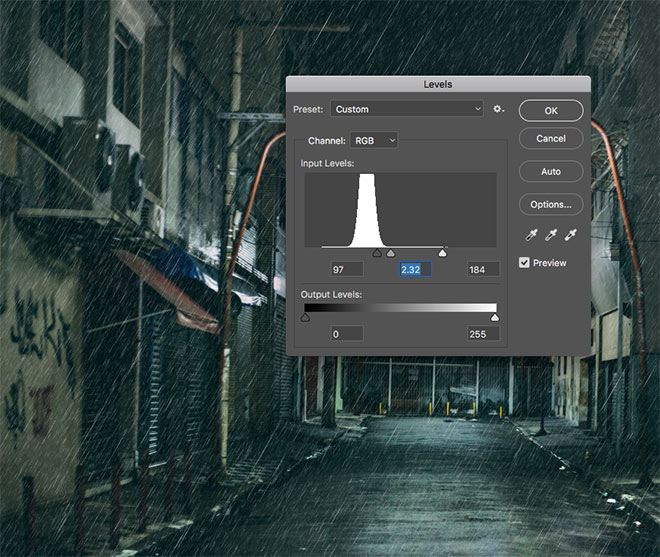
Use the shortcut ctrl + L again to open the Levels window, drag the Shadows cursor to the right, the Midtones cursor to the left, and keep your eye on a live preview of the image to set the image to an appropriate balance between scattering and intense density.
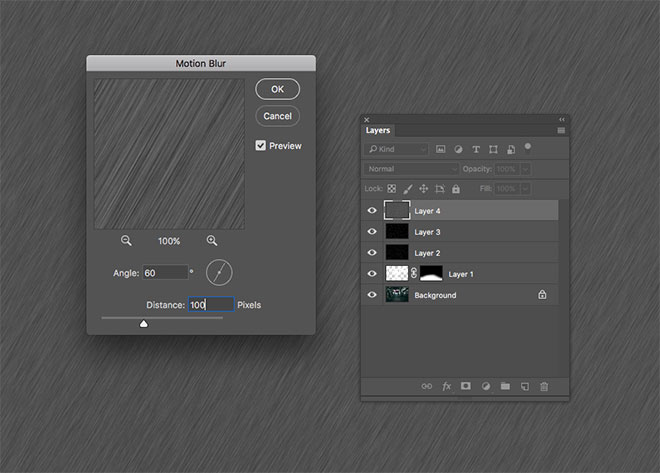
Add a third Noise Layer, then the Motion Blur Filter, but this time we'll increase the Distance to 100 pixels, and this layer will be for nearby raindrops that should look like they're moving faster than behind.
Dramatically increase this layer area using the ctrl + t shortcut to create large raindrops, and set the Blending Mode to Screen. These three layers that we created should add depth to the rain that is now falling on the street.
Reduce the amount of rain visible in the front last layer by adjusting the Levels:
Move the Shadows pointer to the right, and increase the contrast value by dragging the midtones and highlights to the left.

In this step, we will change the uniform shape of the rain layers so that they appear random and realistic:
Add a Layer mask to each of the rain layers, use a soft brush with 50% transparency, and click in gentle clicks randomly here and there.

Make sure to apply this step to the other layers of masks to wipe parts of the rain layers randomly in order to achieve the effect we want, and if you want to undo the hiding part of what you saw that the rain has disappeared in it, change the color of the brush to white and click in this part to retrieve the raindrops.
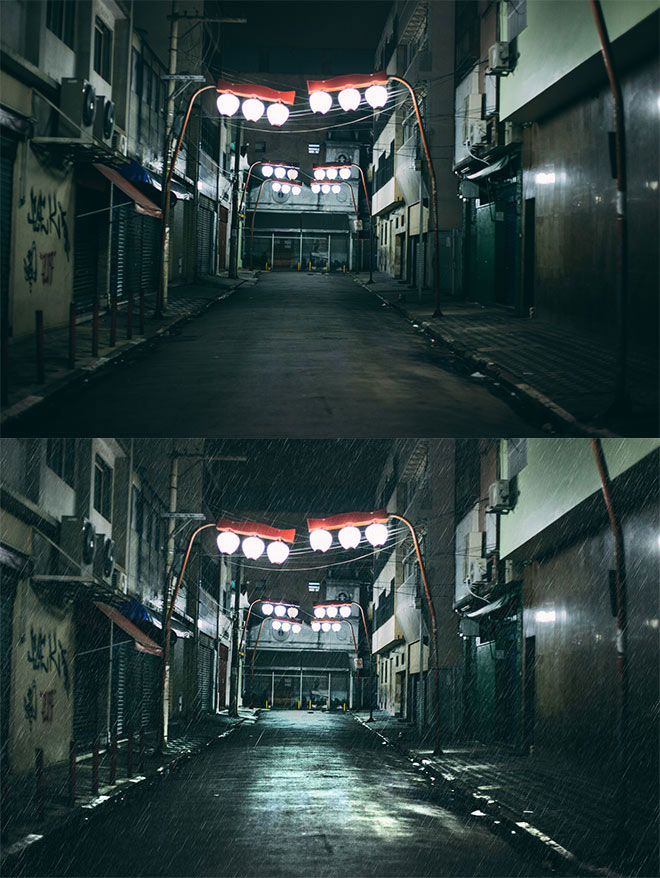
As you can see now, the new image has a dramatic character that is evident in it, and the overlapping layers of rain add depth to the showers that are supposed to fall on the scene, then leave the ground shiny from the trail of falling water on it.
تعليقات
إرسال تعليق