How to Create Vintage Effect Movie Title Text in Photoshop
In today's lesson we'll be making some fun iterations to mimic the classic movie title style from old black and white movies from the 1930s and 1940s. 3D effects were in common use at the time, along with low key lighting, to replicate these aesthetics in Photoshop. You will use the 3D feature in Photoshop CS6 and later, which will generate automatic lighting and shading of text.

The artwork I will create is based on the title of the fantasy movie “The Phantom”. Most of the hard work is done through Photoshop's 3D functions, all that is required is some initialization of the settings to produce the 3D effects and have the text face beveled, along with the associated lighting and shadows. Otherwise, these effects would have to be designed from scratch, but the 3D features provide a quick and easy way to produce life-like lighting effects.
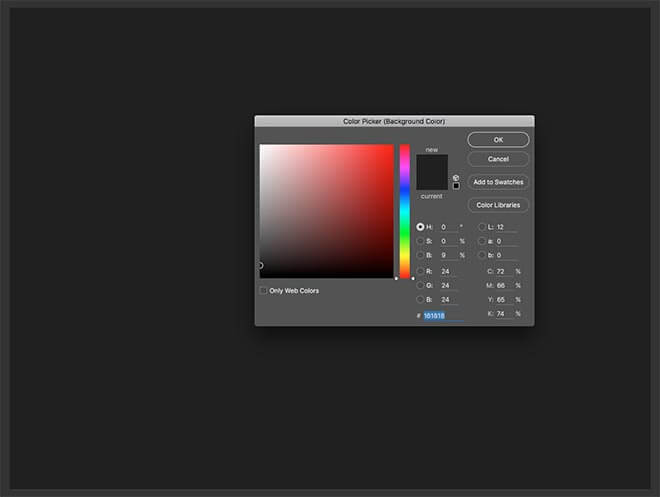
Start by creating a board in the dimensions you choose. I work with a 3000 x 2000 pixel document. Change the background color to dark gray, like # 181818, then use the shortcut CMD+Backspaceto Fill the Background layer.
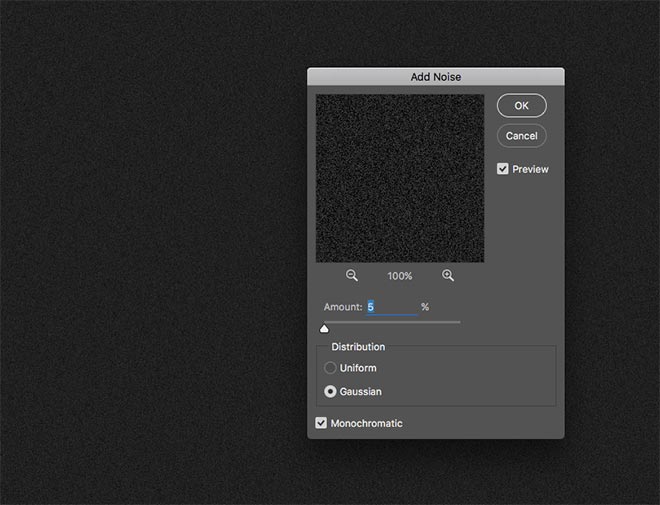
Head over to Filter> Noise> Add and configure the settings to 5%, and choose Gaussian and Monochromatic to add a heavy grainy surface to the background of the design.
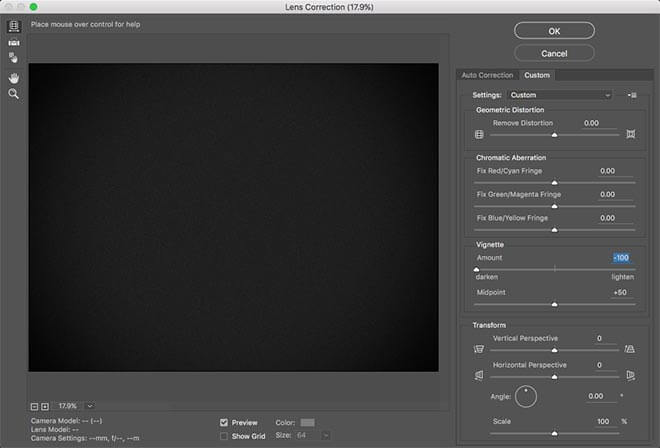
Head over to the Filter menu again and select Lens Correction. Under the Custom tab, move the Vignette Amount slider to the left to apply a dark halo around the artboard.
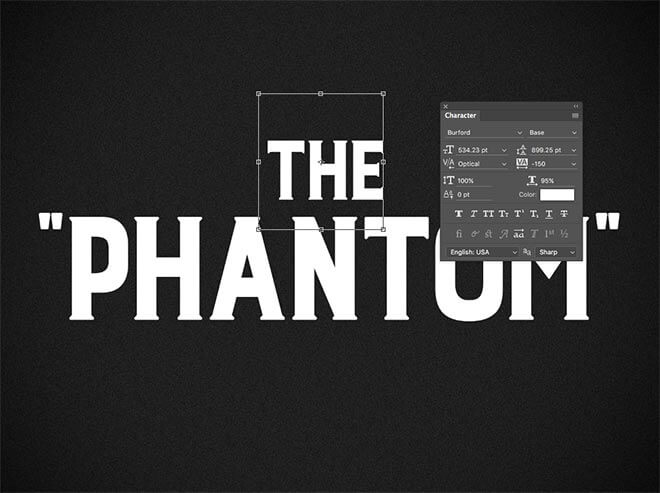
Select the Type tool to place the title of your chosen movie. I am using Buford font in this example. The first part of the headline is minimized and centered, and this can always be done in a single text element, but using multiple text layers allows for more complex layouts that may have a distorting effect.
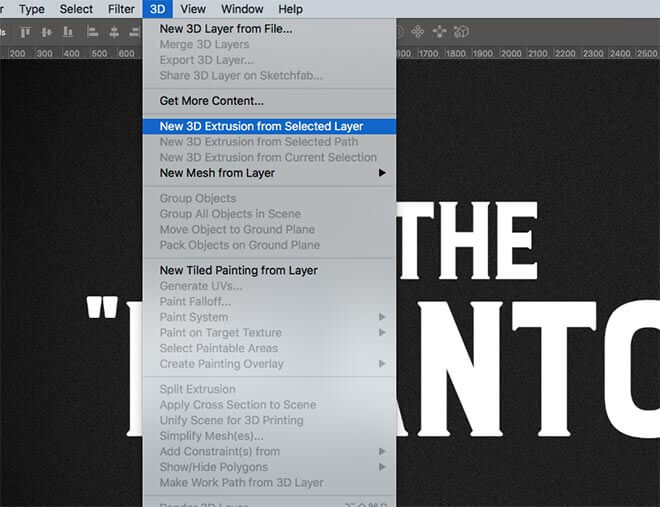
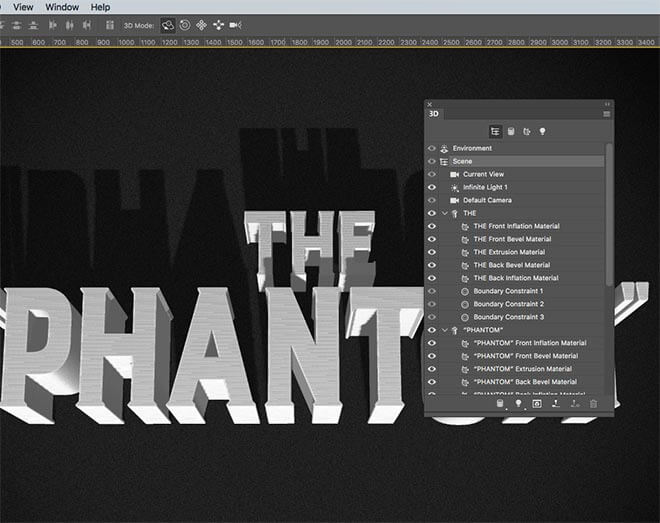
Select each text layer in turn and go to 3D> New 3D Extrusion from the Selected Layer. Doing so will change the workspace to 3D mode and create individual forms from the text.
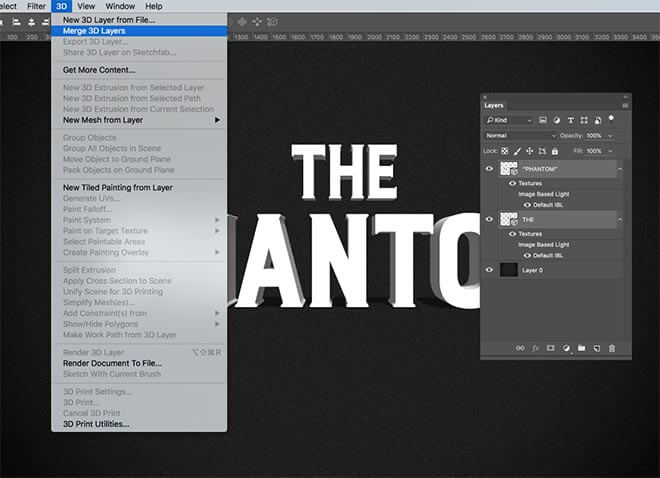
Press and hold a key Shifton your keyboard and select each of the 3D layers in the Layers panel, then go to 3D> Merge 3D Layers . This will combine the separate models into a 3D scene.
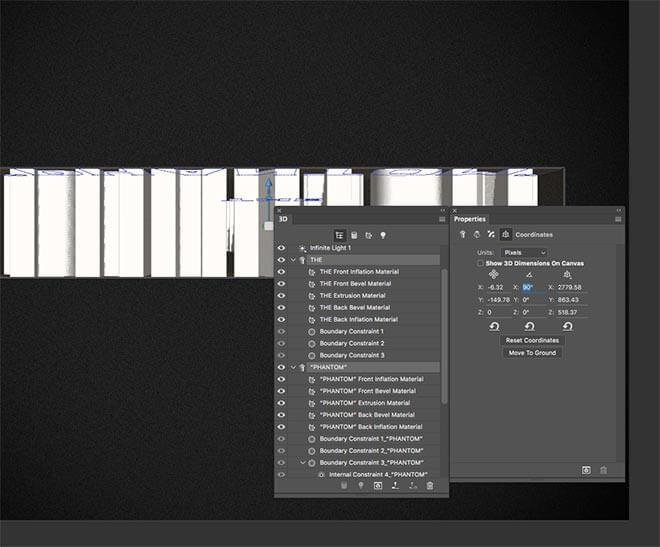
By default, the 3D text stands upright against the floor, but we want the text to have the text on the back for this effect for the movie title. Select each 3D object in the 3D panel, and then go to the Coordinates section of the Properties panel. Change the X rotation value to 90 °.
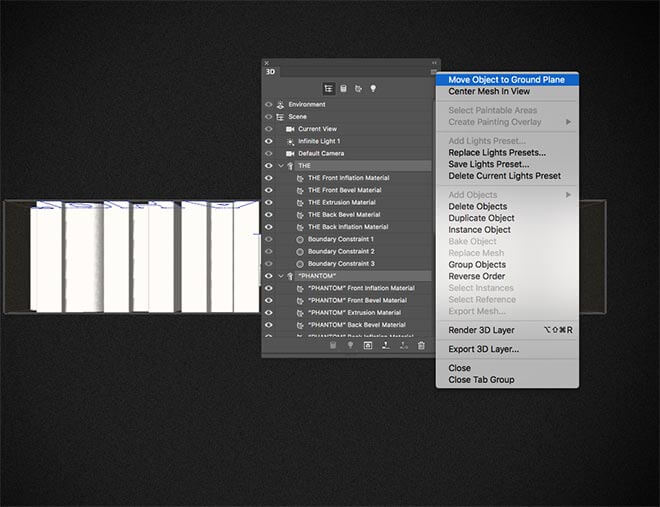
Click the small icon menu to the side of the Properties panel, then choose Move Object to Ground Plane. This option will ensure that the object does not float in 3D space.
Although you have rotated the 3D text, the default camera view now looks at the models from the side. Activate Scene in the 3D panel, then choose the 3D Rotate tool in the top toolbar. Click and drag to rotate the scene to a specific position so that the face of the text is visible, while looking at the text from a slight angle.
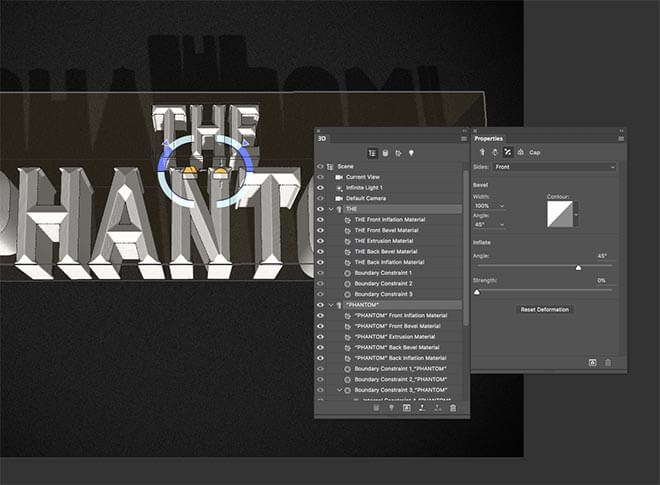
Select both 3D text models by pressing a key CMDto add them to the selection, then configure Cap options in the Properties panel to 100% view with a 45-degree angle by default. This will apply the "King Kong" streak to the front of the text.
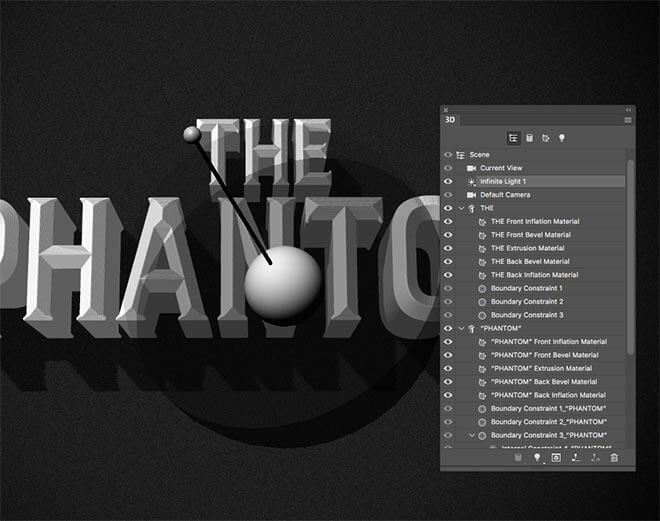
In the 3D panel, select Infinite Light 1. The interface will display a large icon that can be rotated to change the direction of the light source. Click and drag the smaller end of the graphic to generate a long shadow by highlighting an acute angle.
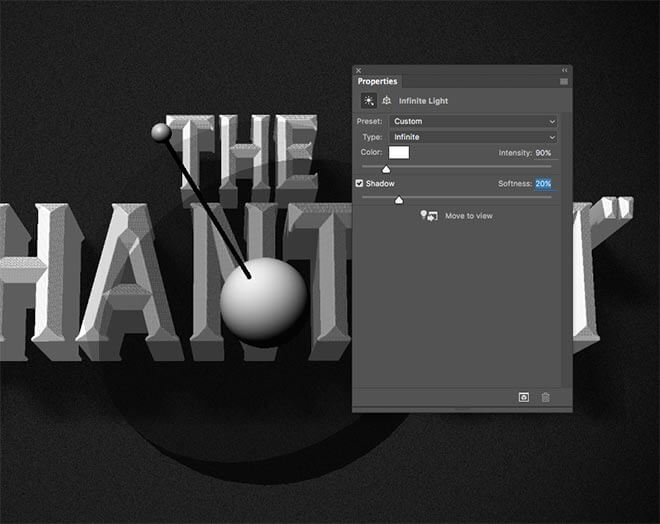
With Infinite Light 1 chosen, change the softness of the shadow in the Properties panel to blur the shadows. If the angle of your lighting settings shades text faces white, turn off Intensity within these options as well.
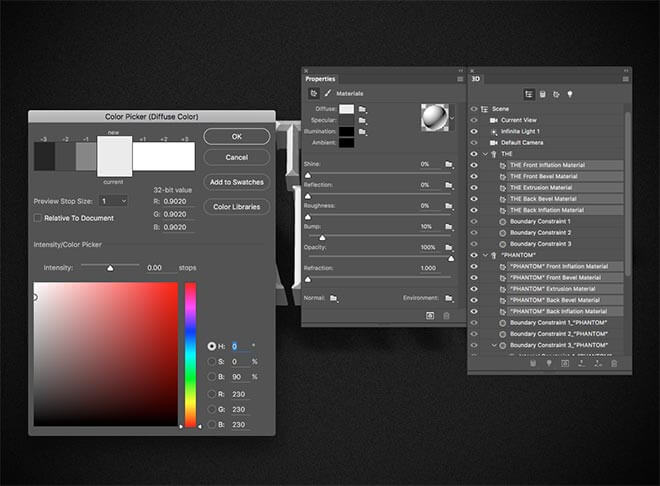
Go back to the 3D panel, move and click between all levels ending with the word Material to highlight them all. Reduce the Sparkle to zero and change the diffusion color from white to light gray from within the Properties panel.
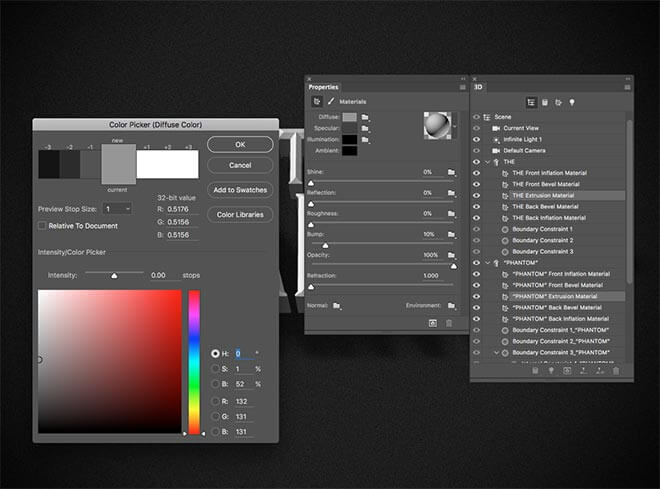
Choose only Extrusion Materials for both models in the 3D panel, and then change the diffuse color of these faces to Half Gray from the Properties panel.
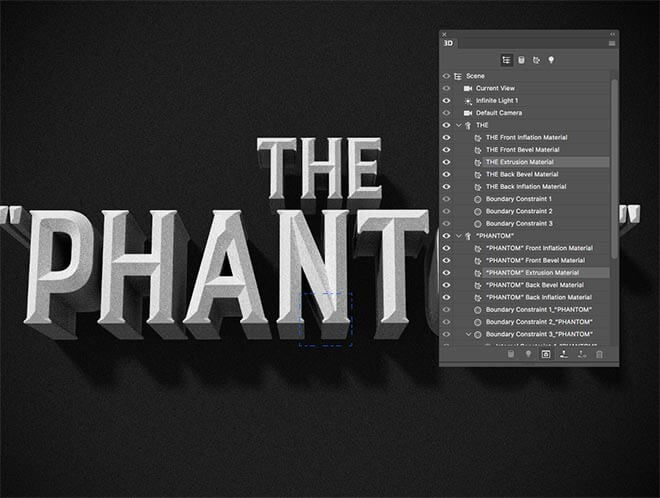
Click the Render icon at the bottom of the 3D panel to begin rendering the final 3D scene with full-quality lighting and shadows. It can take a while to finish fully rendering, so I prefer allowing the blue square to make two passes, before hitting the Escape key. In fact, the grainy result of the incomplete rendering process adds to the effect of the old movie.
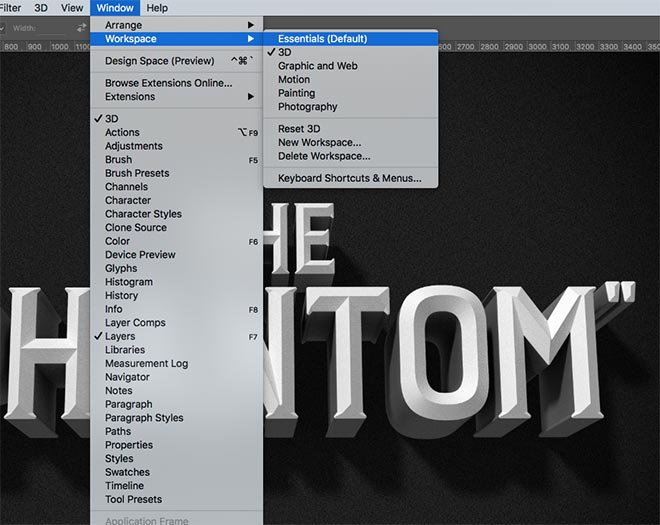
Return to the default Photoshop layout under Window> Workspace> Essentials menu to deselect the 3D tools.
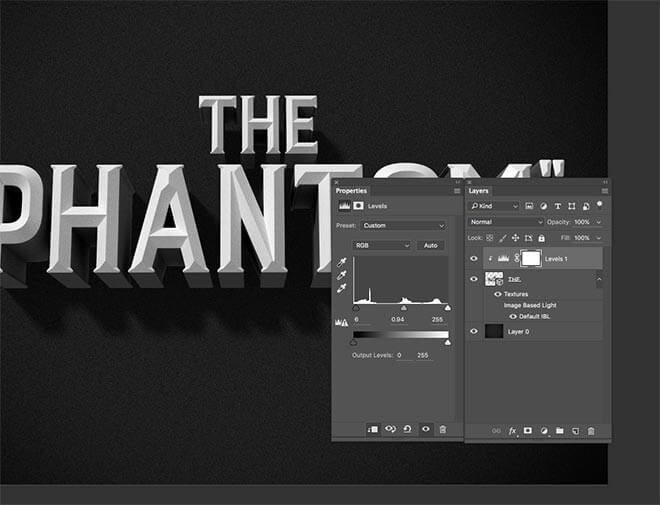
Add a Levels adjustment layer, then hold a key ALTwhile clicking between the adjustment layer and the 3D layer to make the adjustment effect only apply to the text and not to the background. Adjust the shadows and midtones bars a few units to improve the contrast of the 3D text.
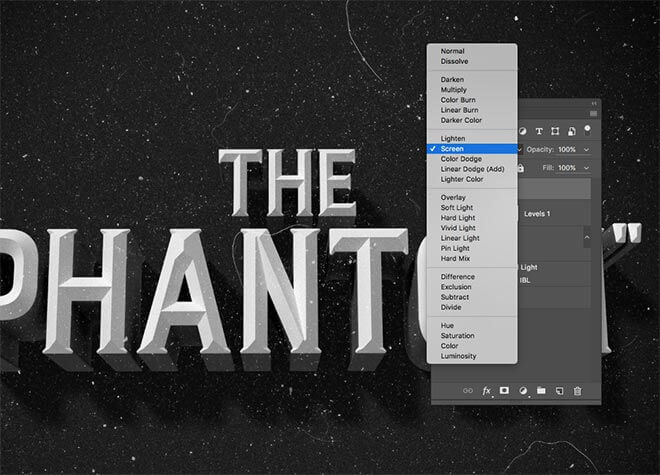
All that's left to finish off an old design title is to apply grainy texture. The “ free Dust and Scratches ” texture fits perfectly into the classic movie style. Paste, rotate and equalize one of the textures on the artboard, then change the Blending Mode to Screen and reduce the Opacity to match. I chose 15% to leave some grainy texture.
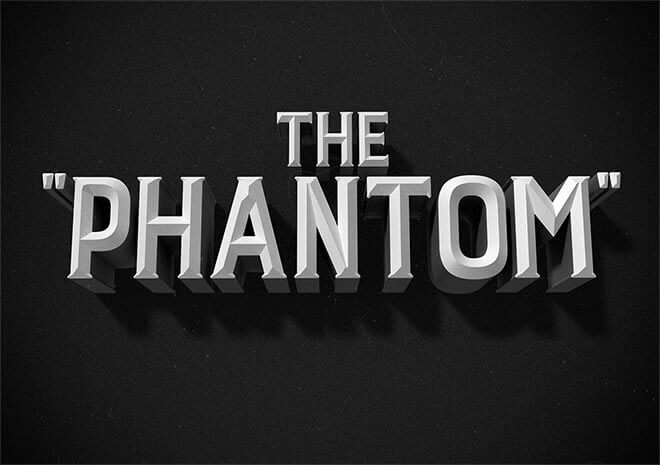
The end result completely replicates the style of old movie titles with a 3D text effect and grainy textures. Photoshop's 3D tools do a great job of producing realistic lighting effects with natural shadows that can be difficult to create by hand, especially in areas where each individual letter casts shadows on the next letter.
تعليقات
إرسال تعليق