How to apply different lighting effect to selfie photos in photoshop
It is very nice to apply various effects to selfies to give these pictures vitality, beauty and elegance. In this lesson, we will learn how to apply different lighting effects to a little girl's portrait using Adobe Photoshop.

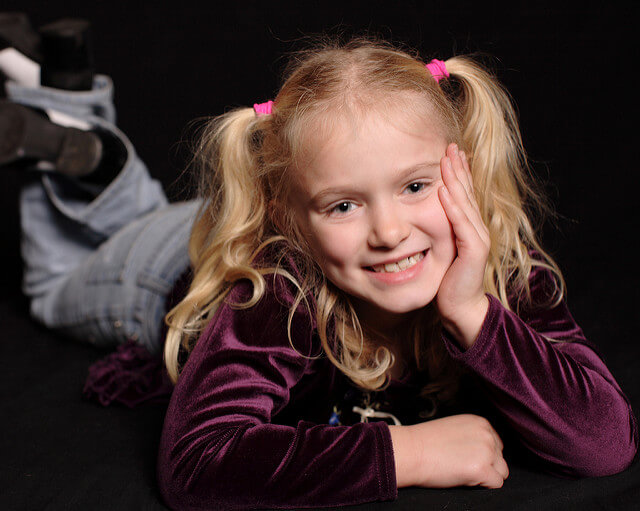
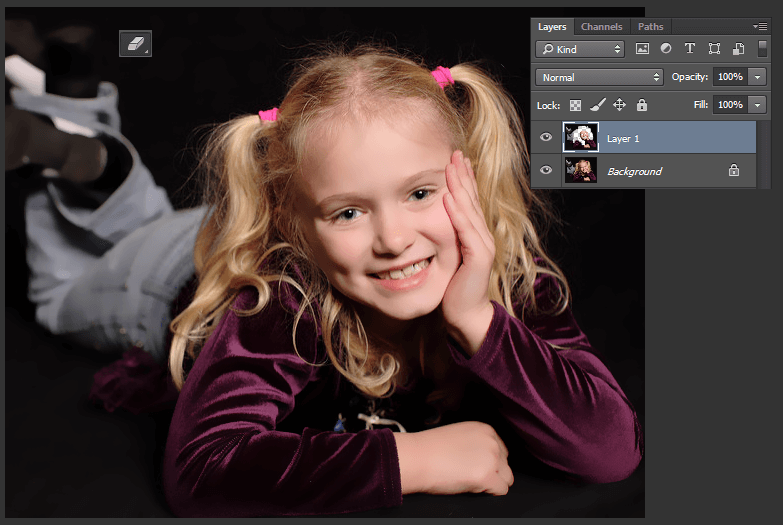
Choose the image to apply the effect to, I chose this free image from Flickr to apply this effect to it.
Open the image in Photoshop, then duplicate the floor layer by pressing the shortcut Ctrl+J.
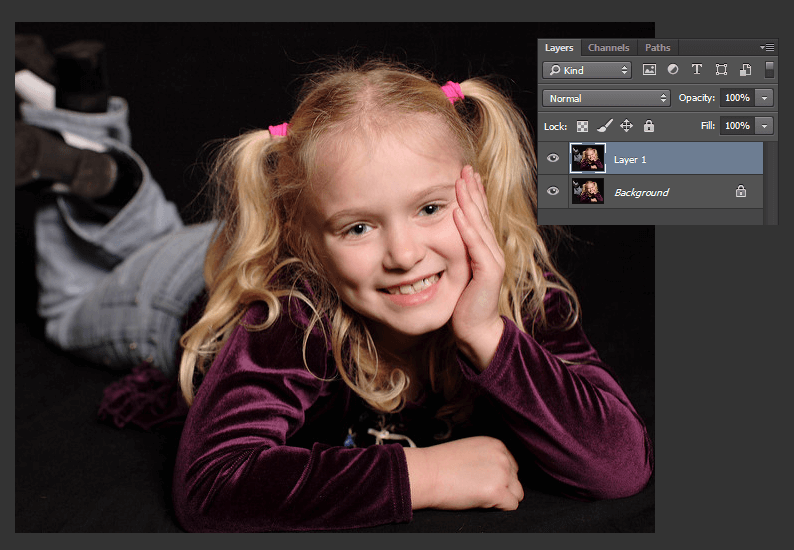
Select the new layer from the Layers panel, then go to the menu
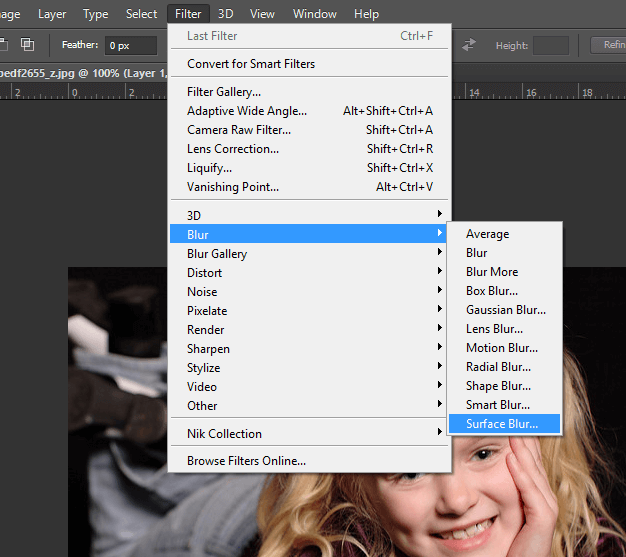
Filter > Blur > Surface Blur
Apply 6 to Radius and 10 to Threshold.
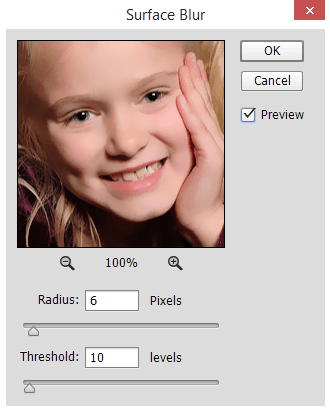
This process will soften the skin, but it will soften the entire area of the image as well, so use the Eraser Tool to erase unwanted parts, such as the eyes, mouth, hair, and other important parts.
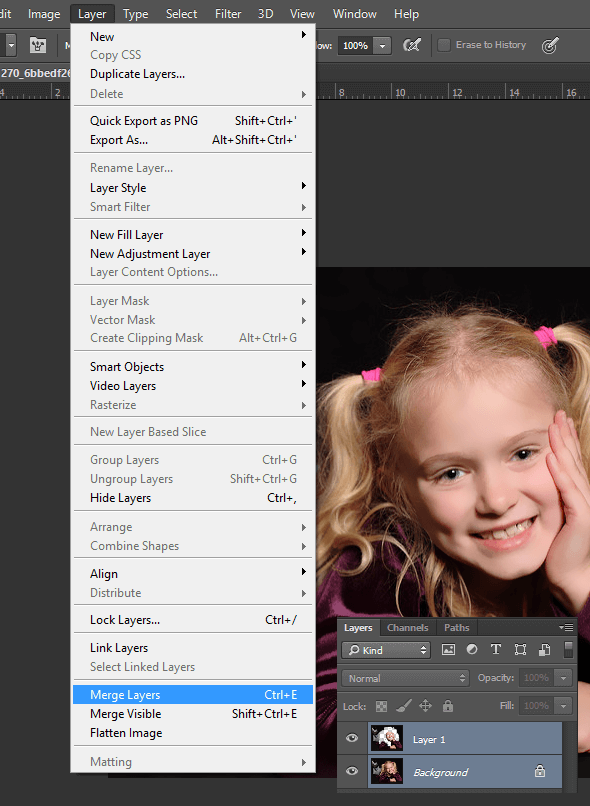
Select both layers and then go to the menu
Layer > Merge Layers
Or tap the shortcut Ctrl+E.
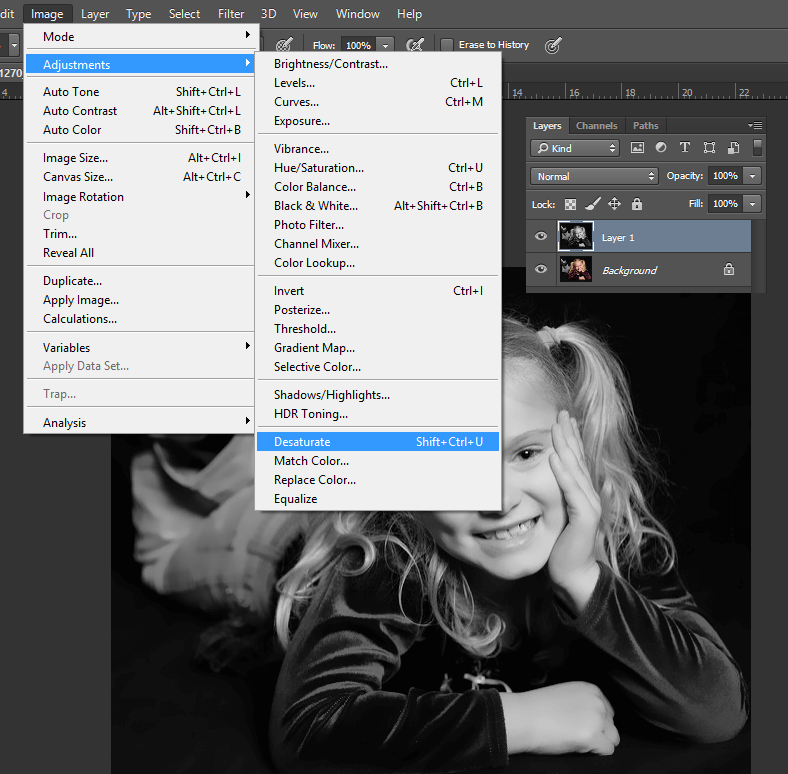
Duplicate the new layer, then select it from the Layers panel, then go to the menu
Image > Adjustment > Desaturate
This is to remove the colors and apply the color saturation effect.
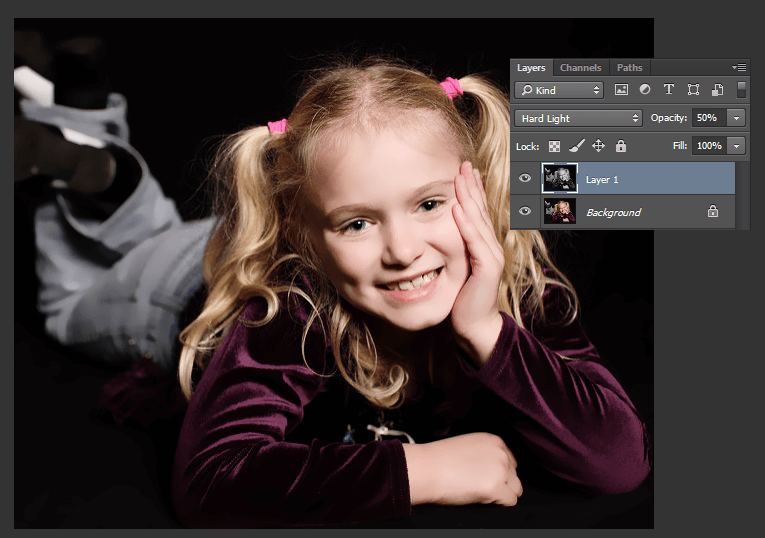
Change the layer's Blending Mode to Hard Light then lower its Opacity to 50%.
Duplicate the base layer, move it to the top of the layers palette, then go to the menu
Filter > Other > High Pass
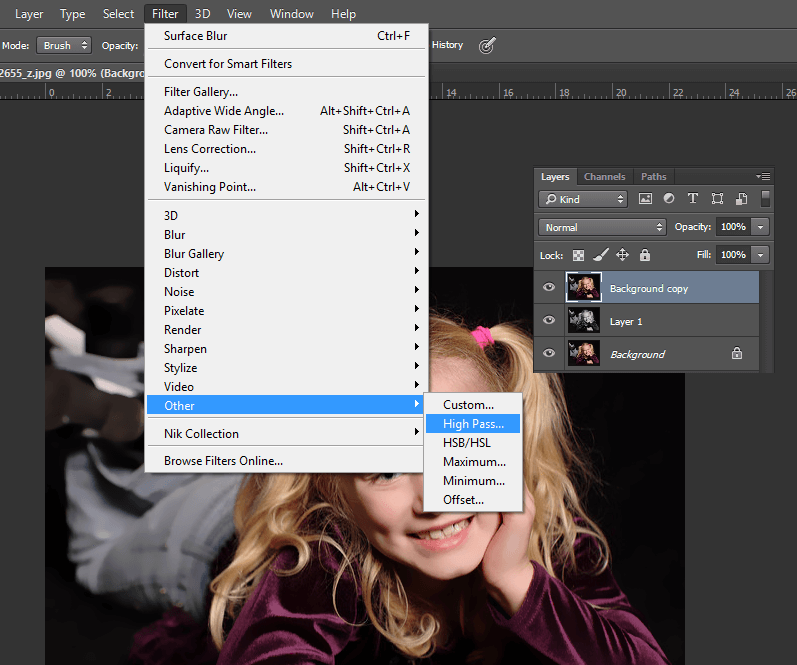
Set the value 10 and press OK.

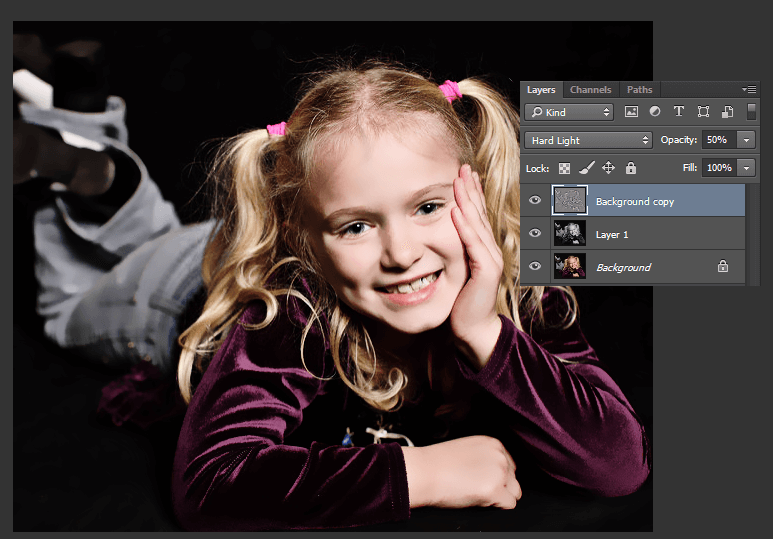
Also, change the layer's blending mode to Hard Light and then lower the Opacity to 50%.
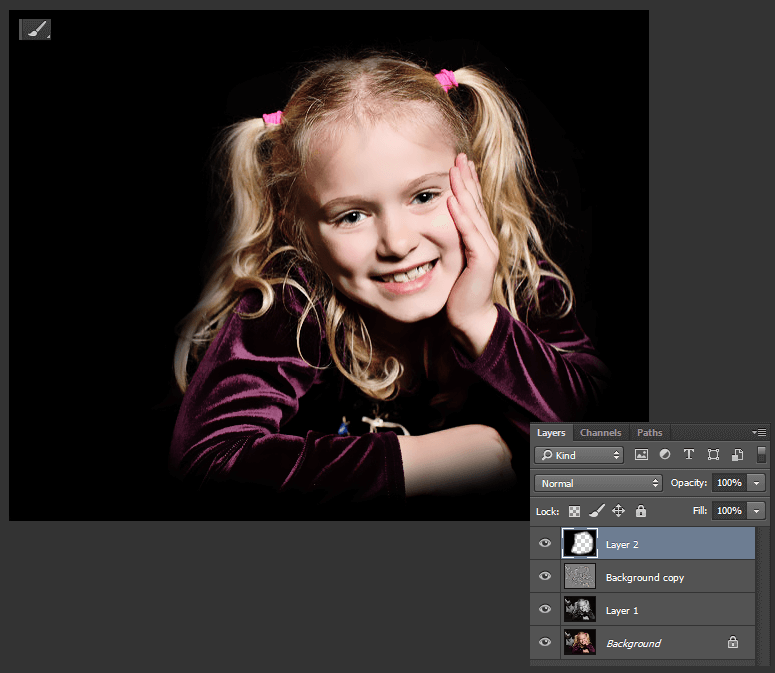
Add a new layer on top, then use a soft black brush and paint all the unwanted areas on the final image
like the background and other parts of the body.
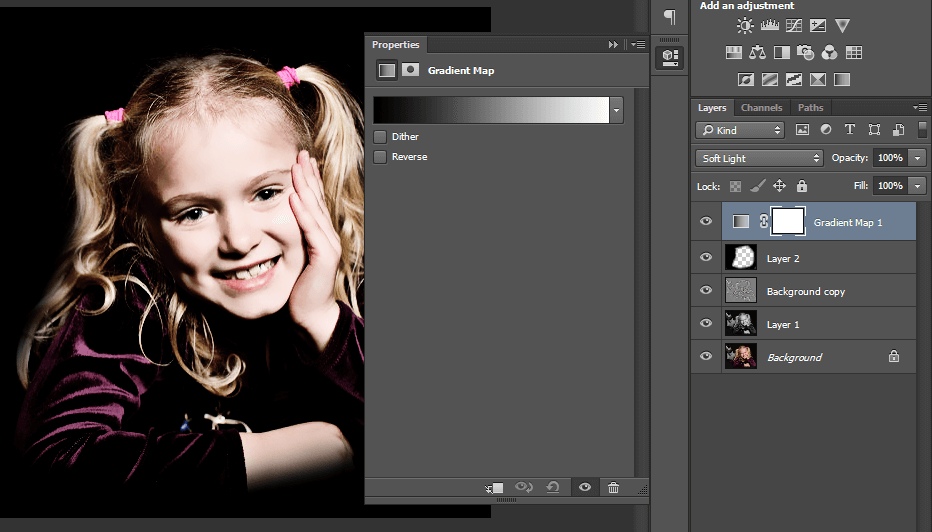
To add the first color effect to the image, go to the menu
Layer > New Adjustments Layer > Gradient Map
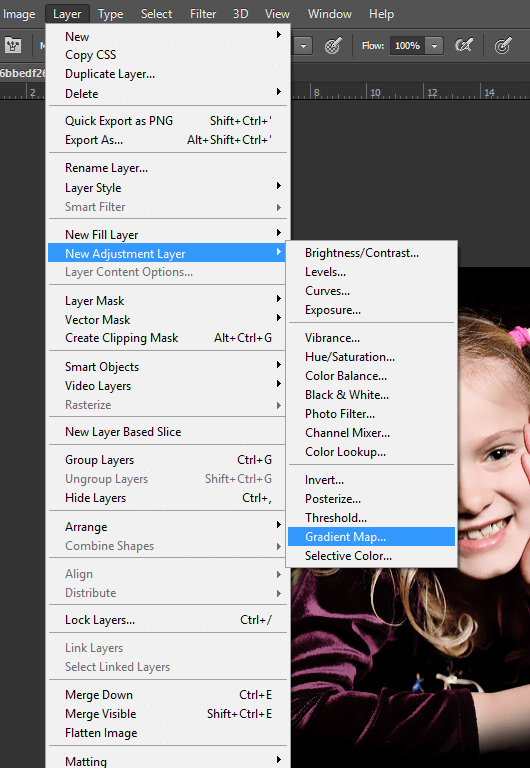
Apply the black and white effect, then change the blending mode to Soft Light.
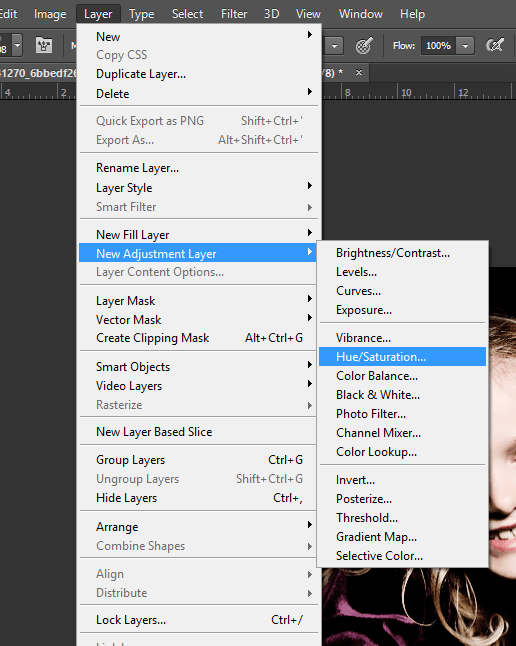
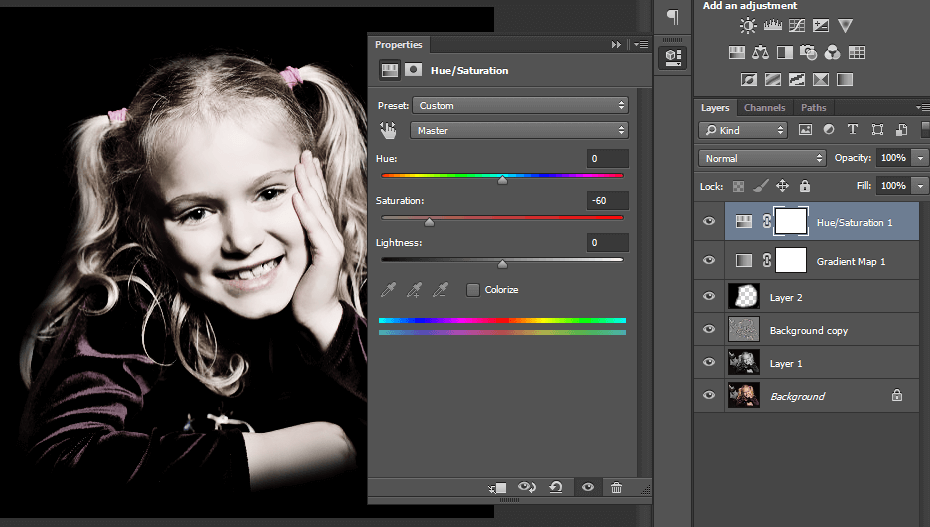
For the second effect, go to the menu
Layer > New Adjustment Layer > Hue/Saturation
Reduce Saturation to -60.
Use a small brush, then select the Layer Mask for the last color adjustments and paint over the child's mouth.
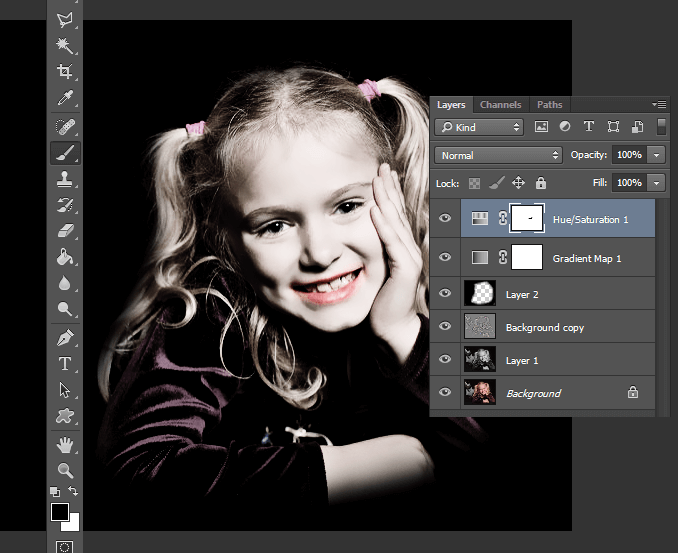
Duplicate this layer then select Layer Mask and then go to the menu
Image > Adjustment > Invert
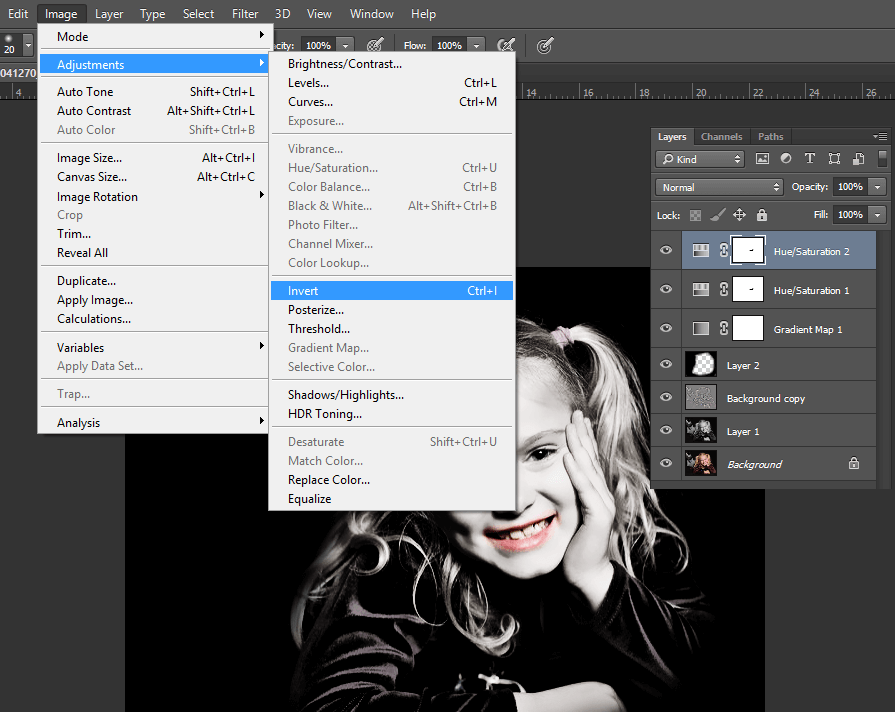
Then adjust the Saturation value to +50 and this process will only bring out the red lip color from the rest of the image.

Search the Internet for a light reflection image like this free image from PSDGraphics .
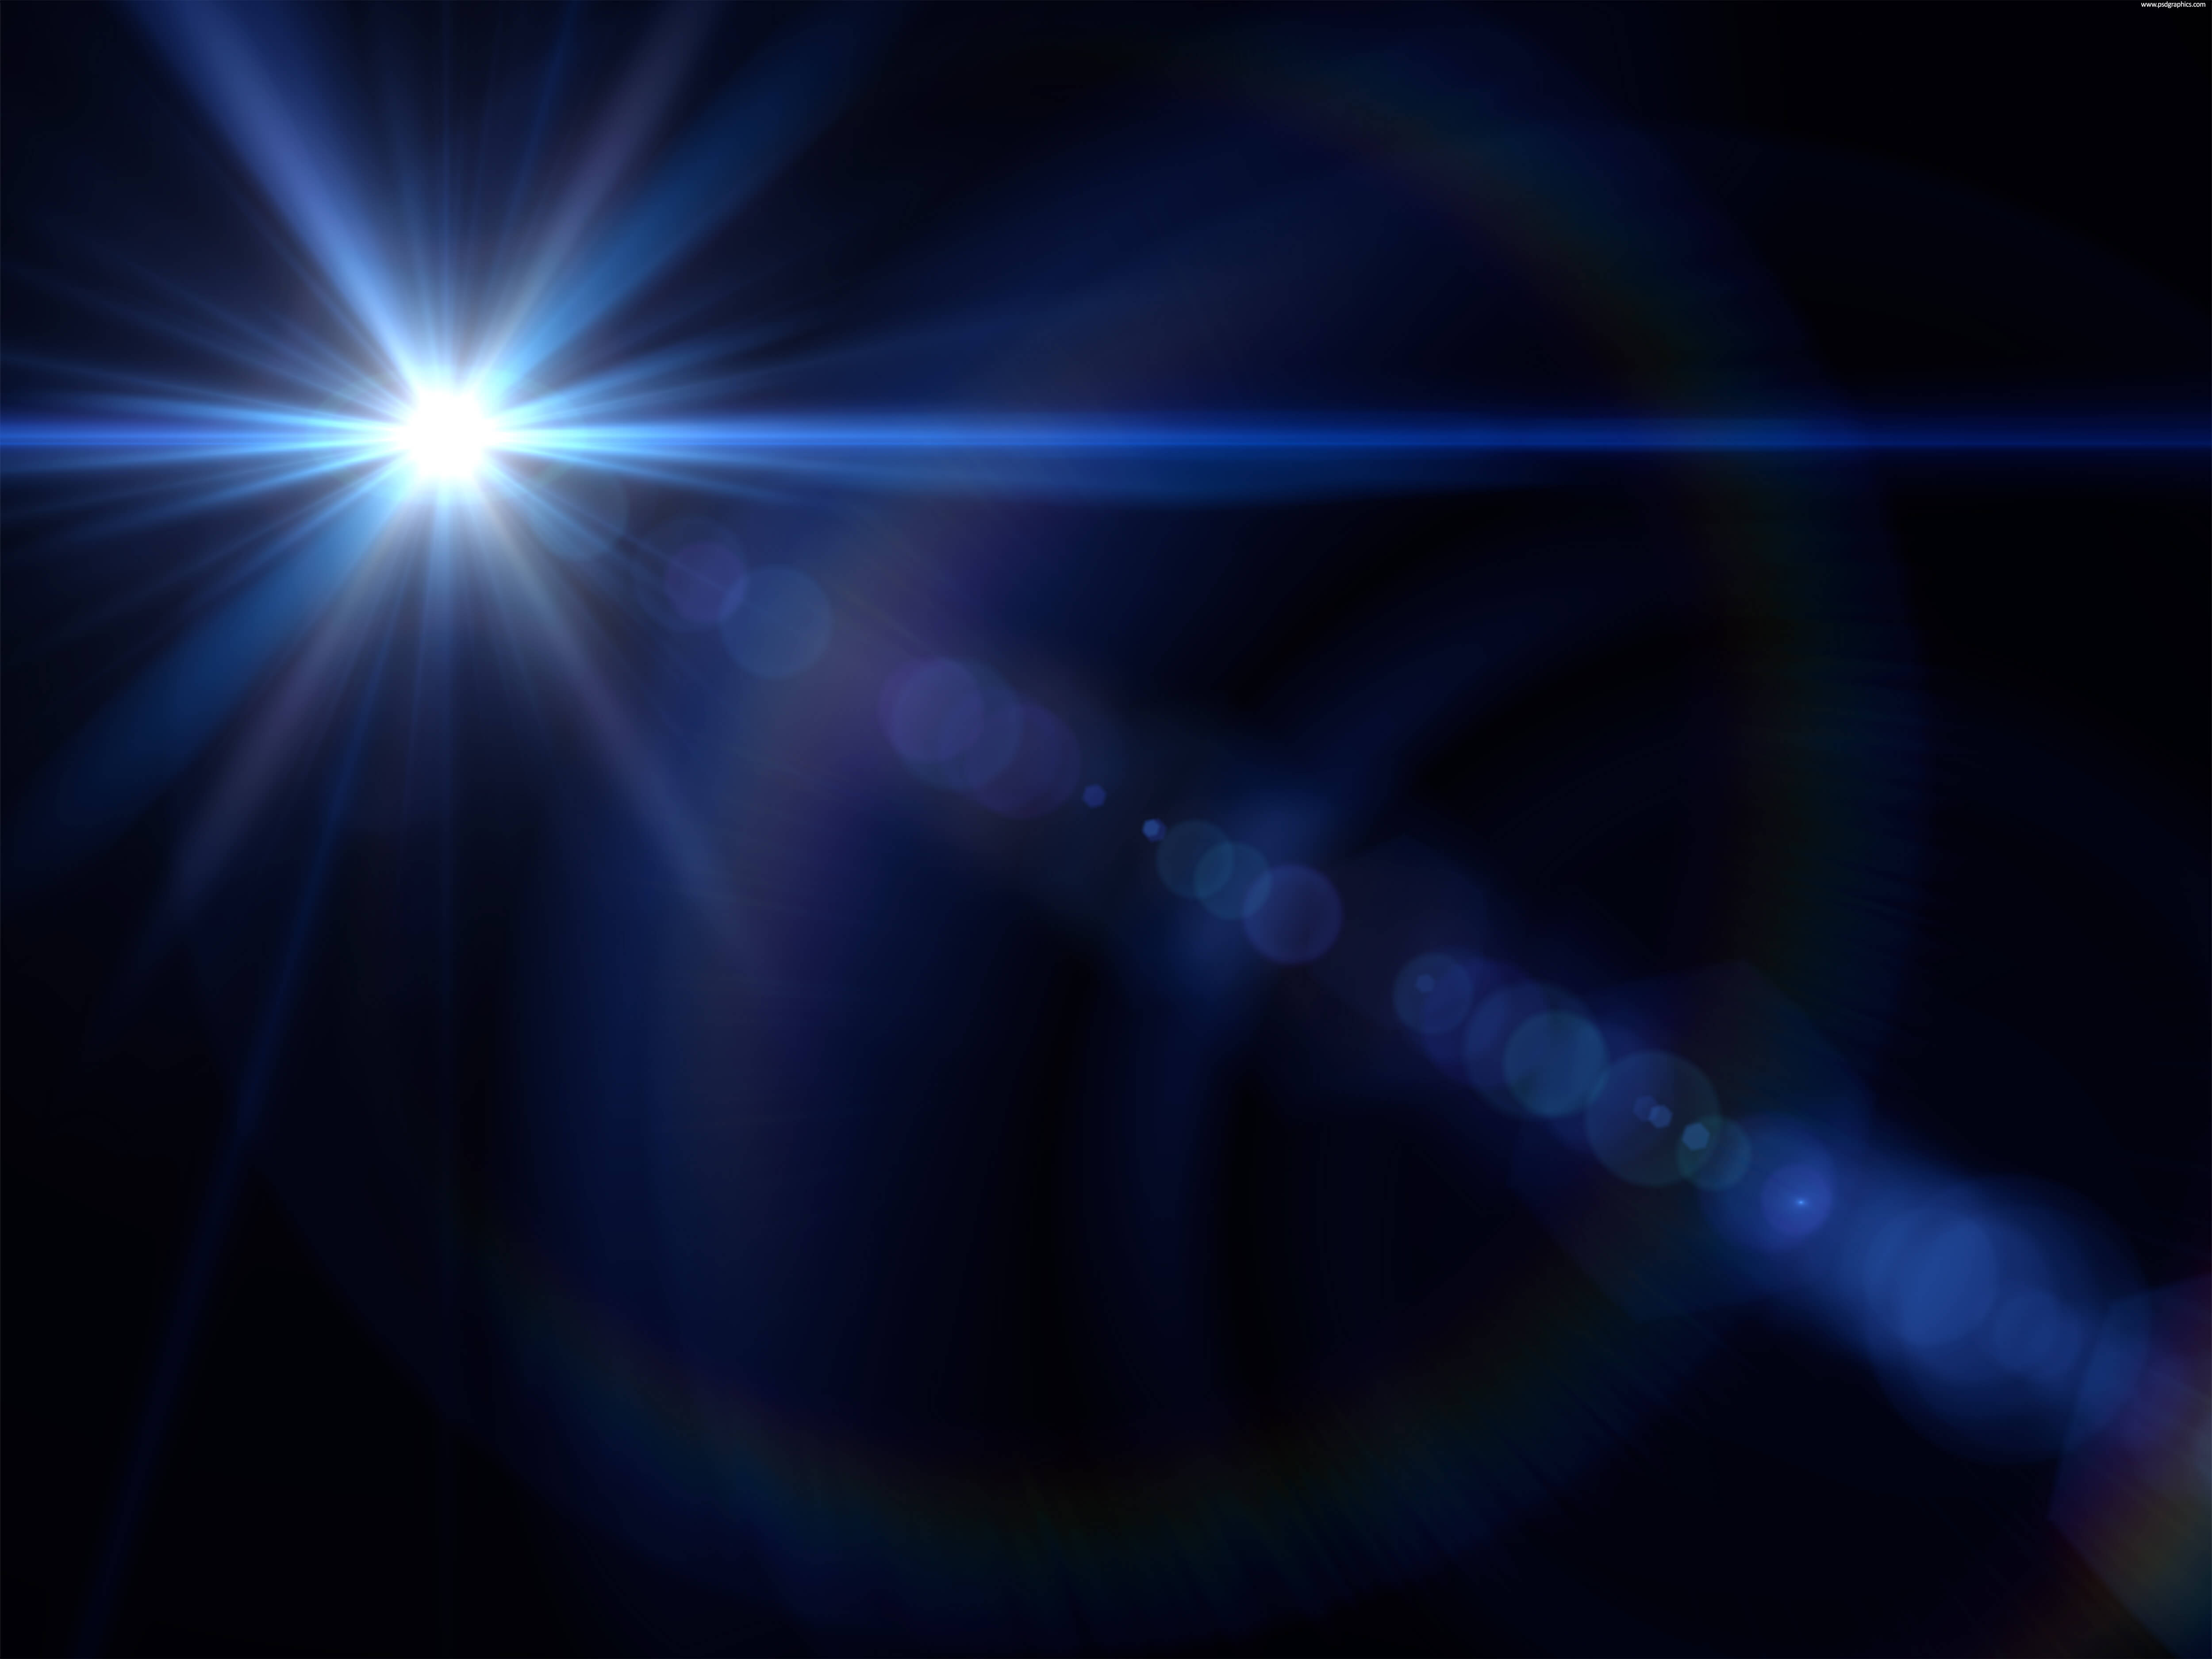
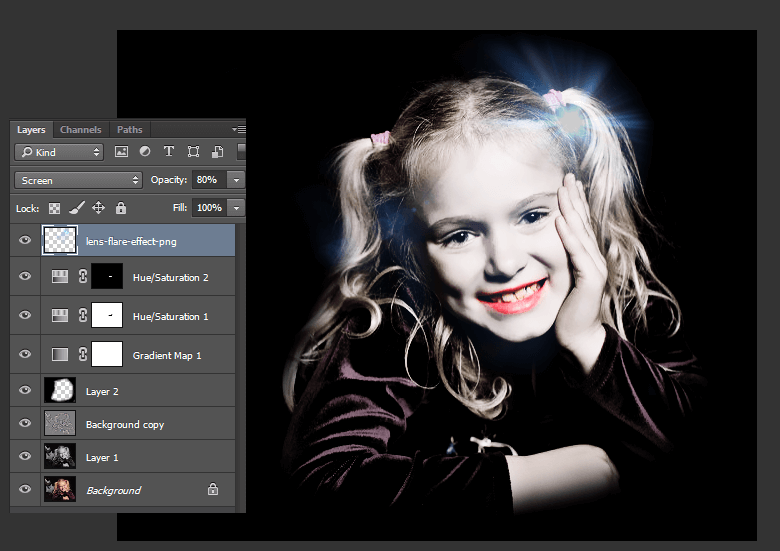
There are two copies of this image, one is in Jpg format with a black background and the other is in PNG format with a transparent background. Any of which can be used, but I used the transparent background image for easy application of the desired effect through it. Paste this image on a new layer on top of the rest of the layers, then flip it horizontally, then adjust the size and location until you reach the most appropriate shape, then change the blending properties to Screen to hide the black color and keep the lighting only, then lower the Opacity to 80%.
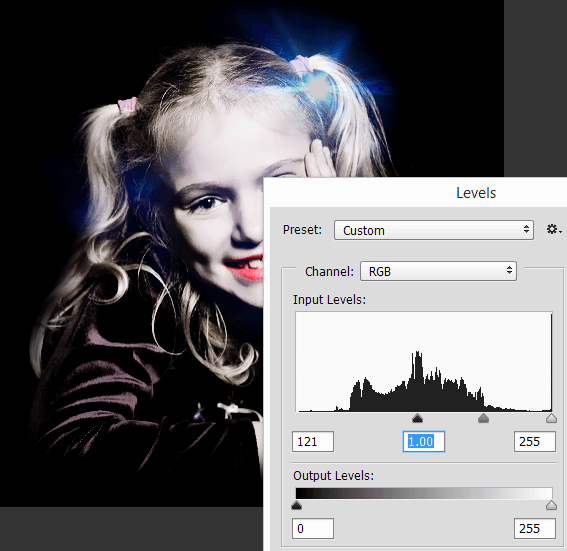
Cut the Levels for this layer roughly in half.
Add a new layer and fill it with a full black color using the Paint Bucket Tool, then use a very large soft pink brush and fill in one spot on the right part of the image. Then change this layer's Blending Mode to Screen.
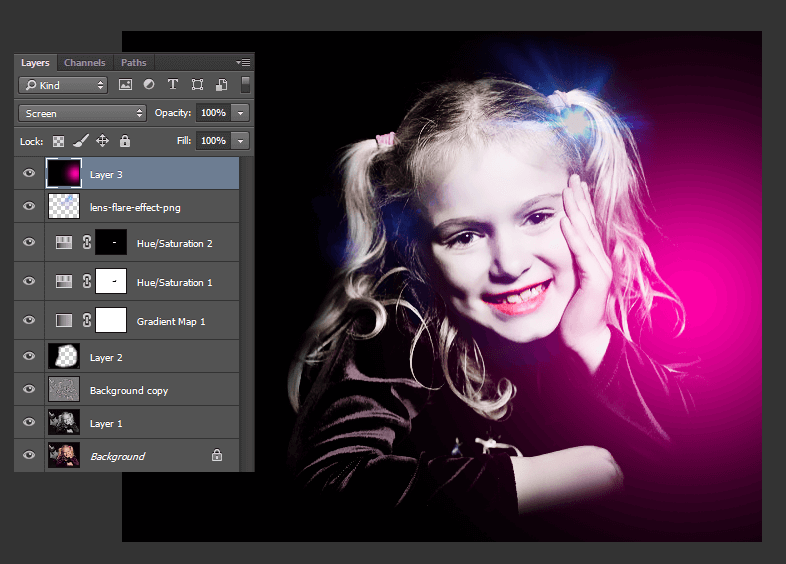
Using a smaller brush, in orange, draw two spots in the rest of the image area.
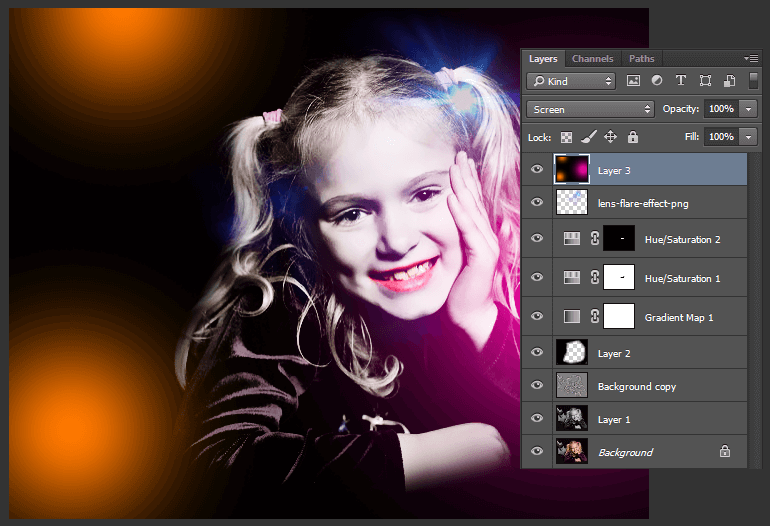
Add a new layer, then paint it black and change its blending mode to Color Dodge, then use the same orange brush and paint over the same orange spots in the previous layer.
We will add more lighting effects. Get a unique blue and pink effect picture from the internet like this free image from Wallpapercave .
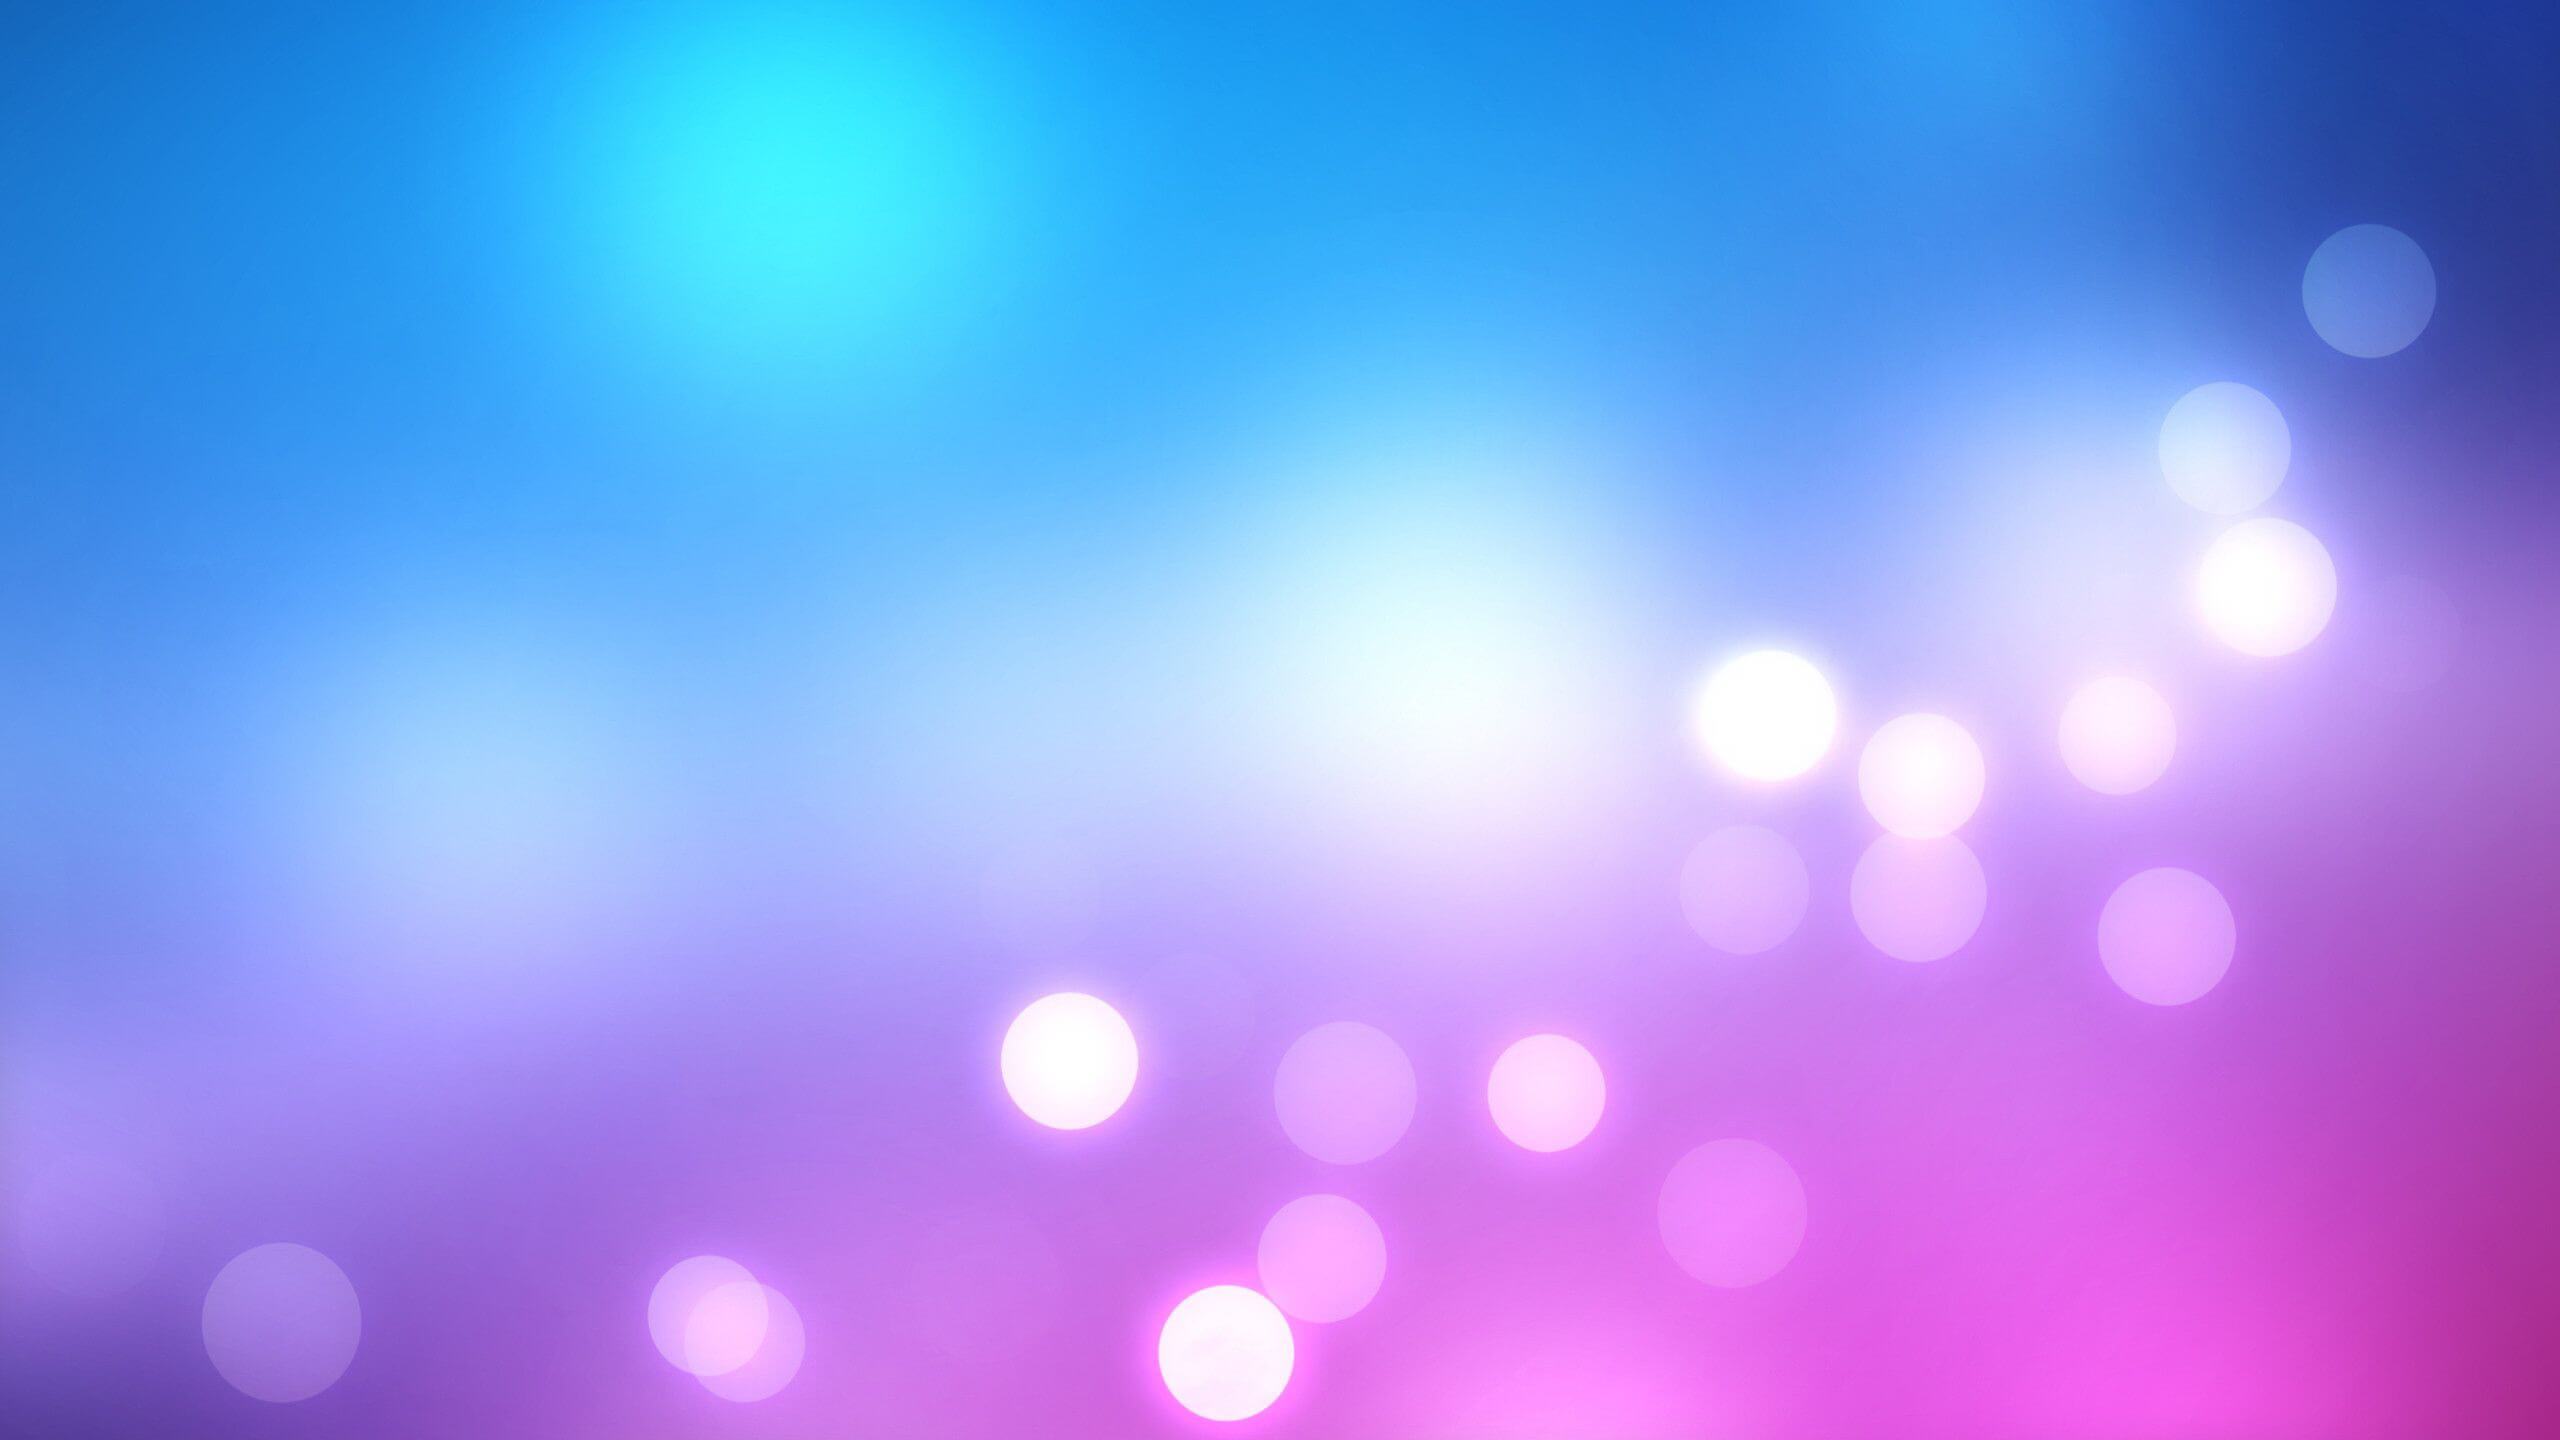
Paste this image in a new layer above all the layers and change the blending mode to Soft Light.
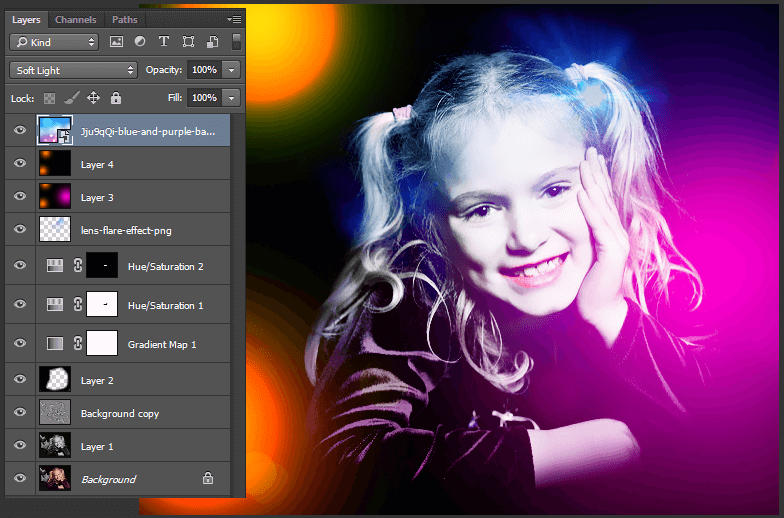
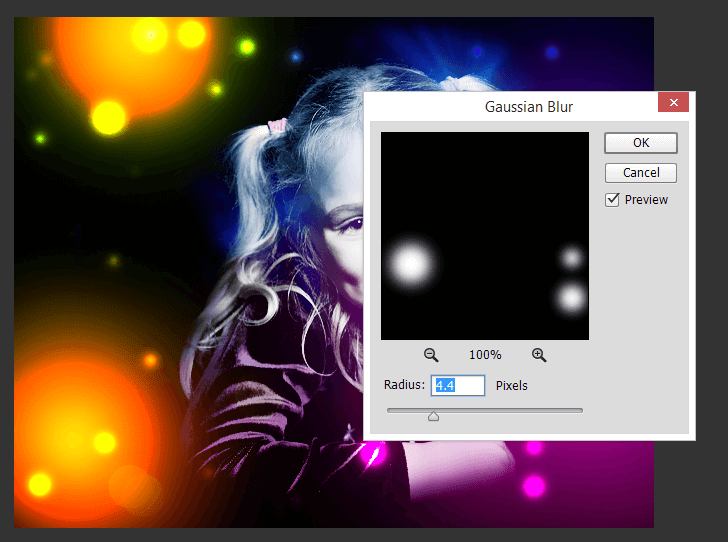
Add a new black layer and change its blending mode to Color Dodge, then use a soft white brush of various small sizes to paint unevenly sized spots all over the image.

Select this layer, then go to the menu
Filter > Blur > Gaussian Blur
Then apply the value 4.4
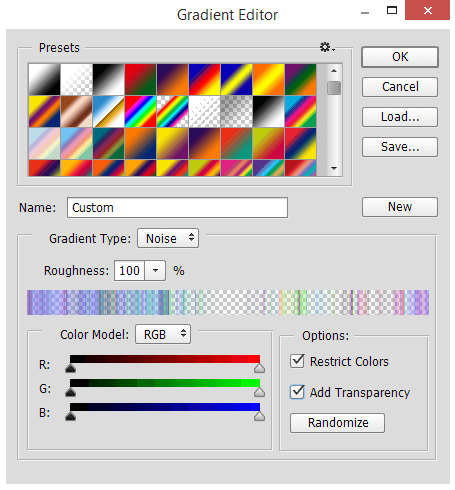
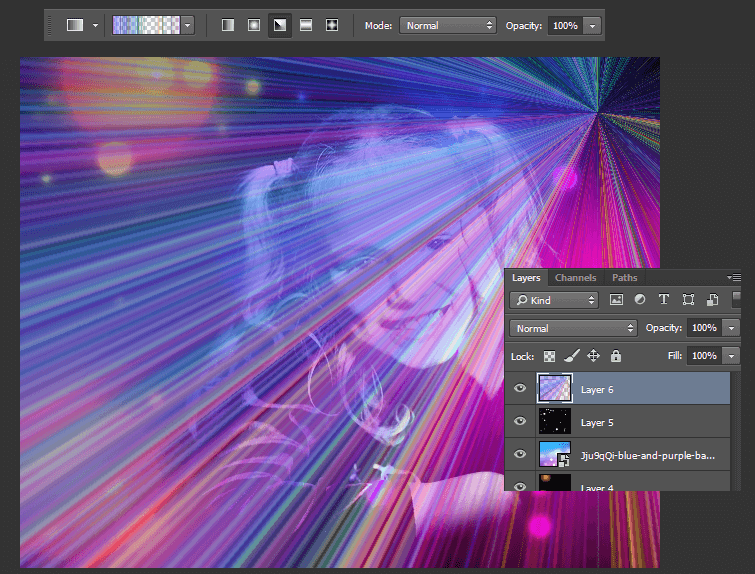
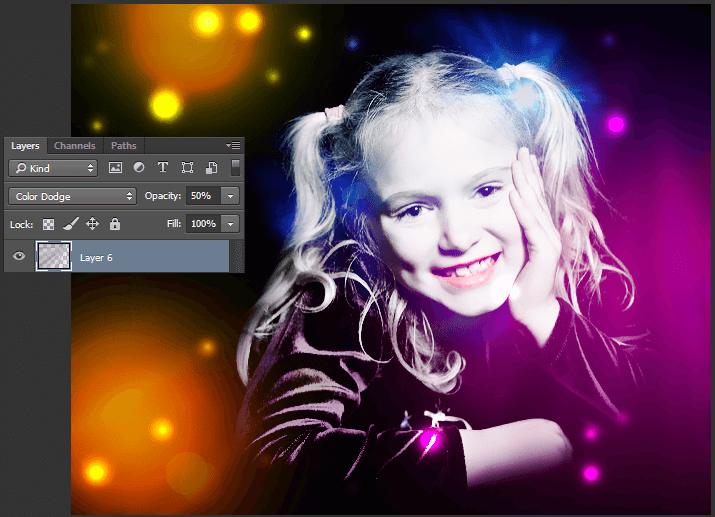
Create a new layer, then use the Gradient tool, then click on the gradient shape thumbnail from the gradient toolbar to open the gradient adjustment window, then choose the Noise gradient, then enable the Restrict Colors and Add Transparency options and set the Roughness value to 100%.
Use an angular gradient and color from the top right toward the diagonal to the bottom left.
Select this layer, then go to the menu
Image > Adjustment > Desaturate
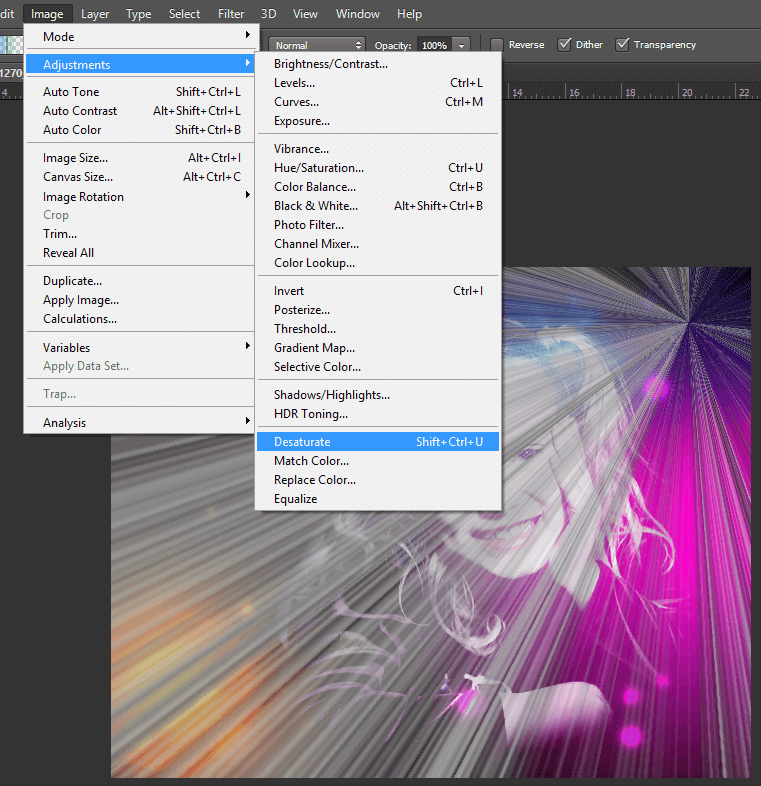
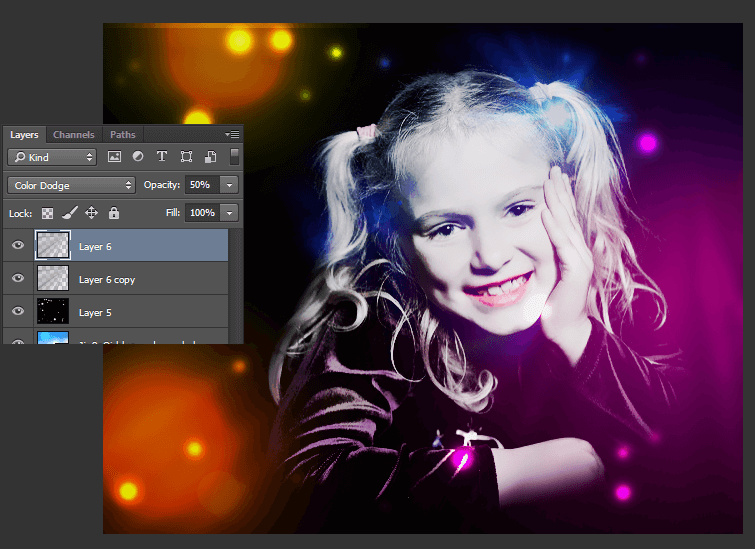
Change the blending mode to Color Dodge and lower the Opacity to 50%. Reduce the Opacity of all different lighting effects layers to 50%.
Duplicate this layer, then move the new copy underneath the base layer, then move it down a little.
You can crop the image to slightly hide the imperfections on the edges and this will be the final result.
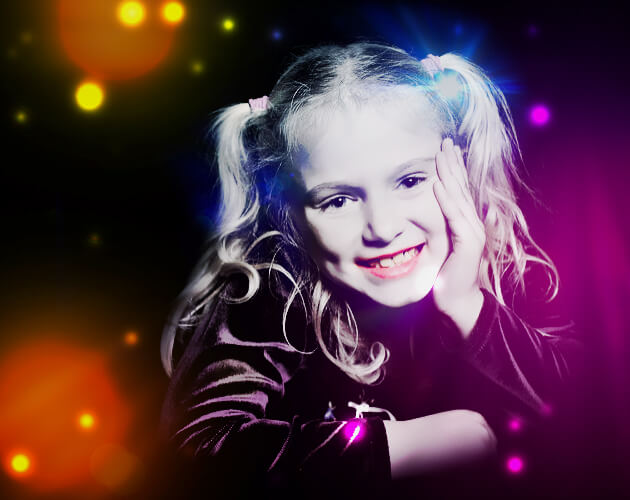
This modified image is distinguished by its splendor and aesthetics, and you can adjust the steps according to each image and according to your own view of the lighting colors that you intend to use or add or remove any of the lighting effects used.
تعليقات
إرسال تعليق