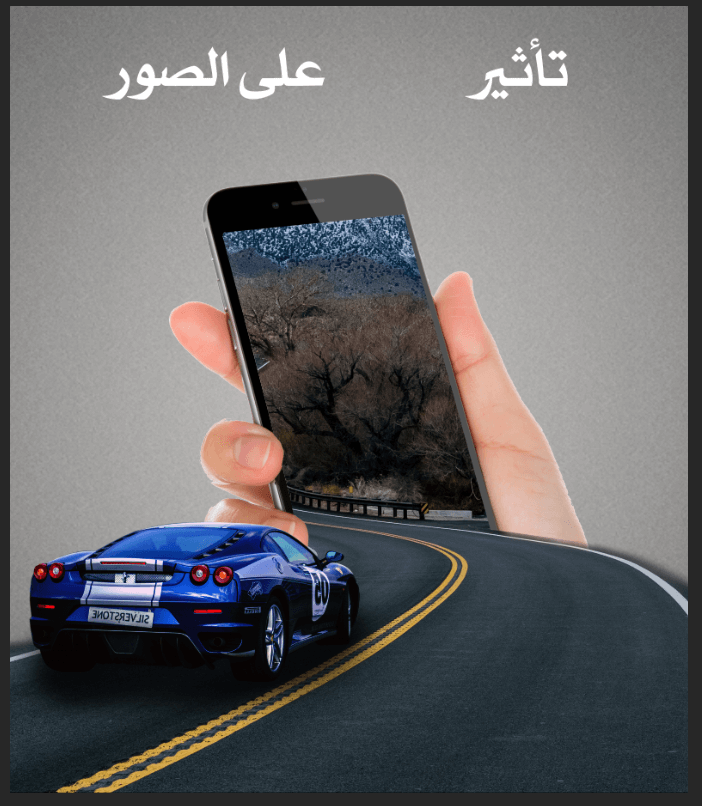
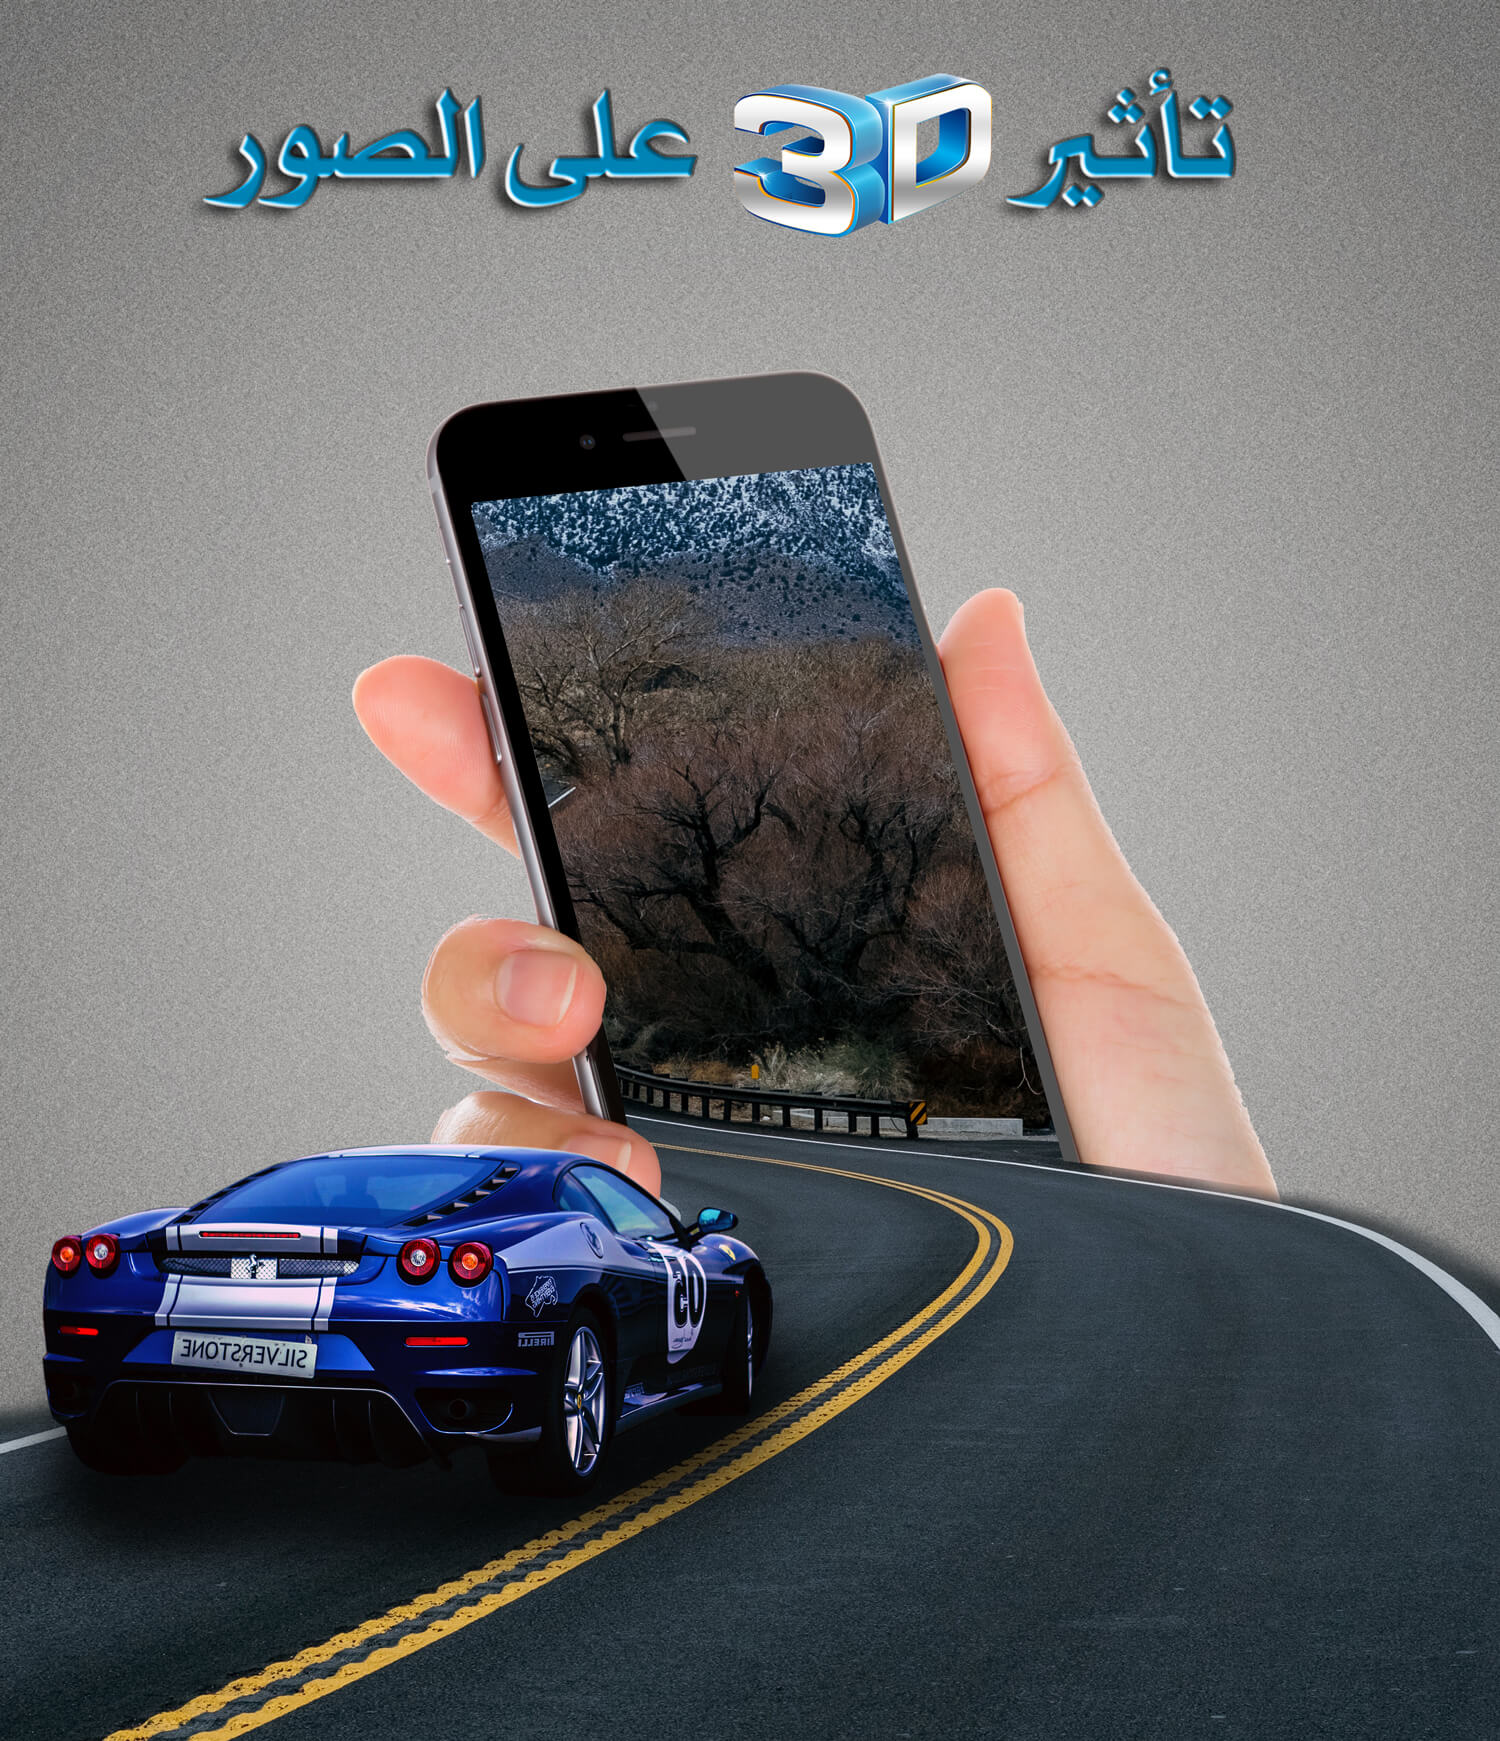
Create a 3D photo effect design in Photoshop
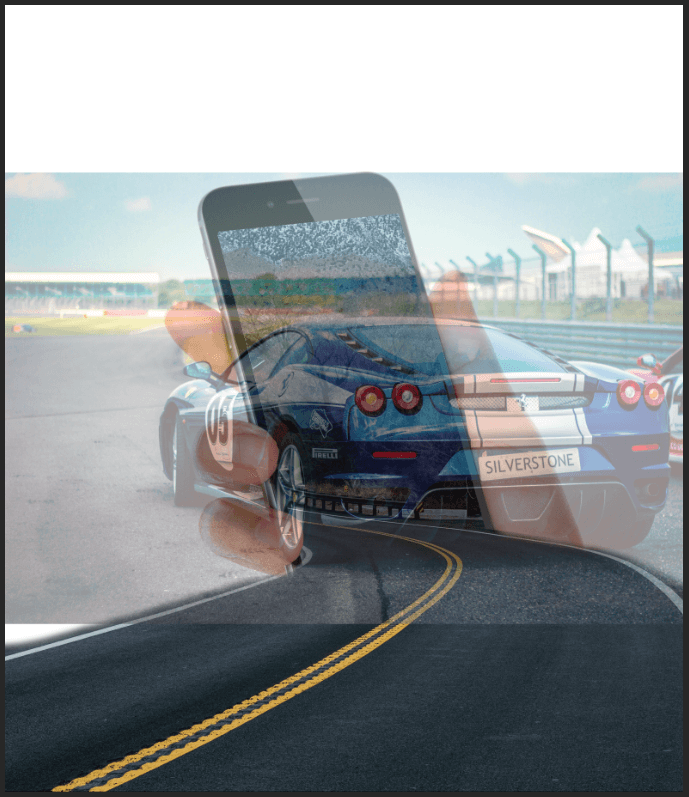
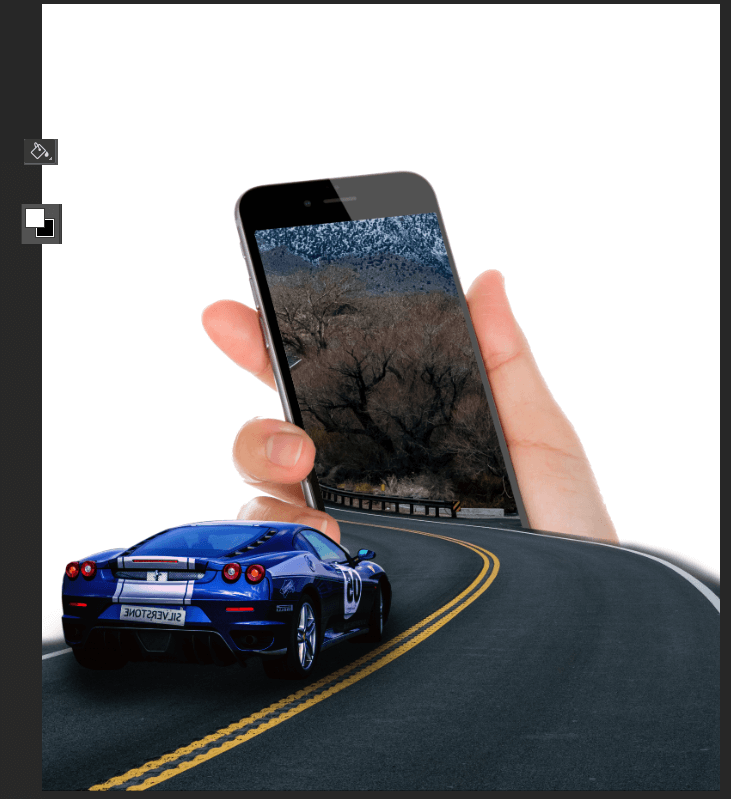
This lesson does not give you an idea about using the new 3D features in modern versions of Photoshop, but rather teaches you how to make simple images vibrant and out of the ordinary, such as leaving elements from a television screen or jumping a deer from a painting, or as in this lesson, where it will seem that the road comes out The mobile phone screen and that there is a car driving on that road.

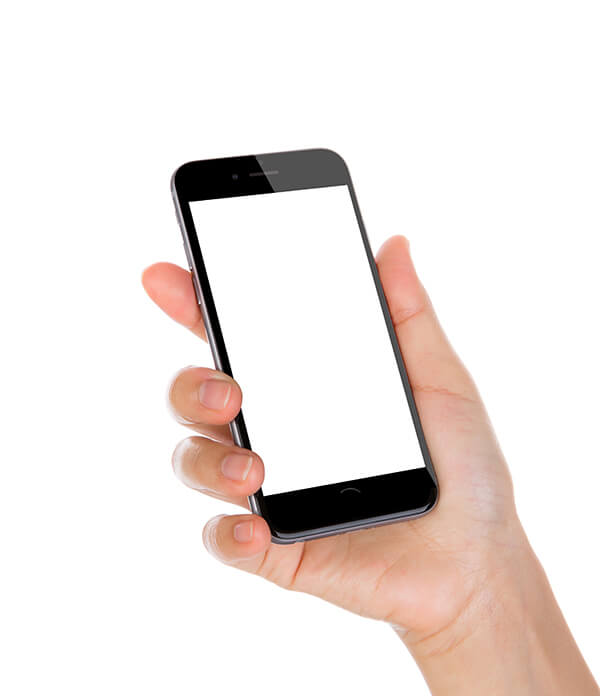
We'll first start by getting the mobile phone image. I chose this image of a handheld phone that is fully vacuumed and ready (you can get a better, unbroken image and unpack it yourself using one of the different vacuum methods ).
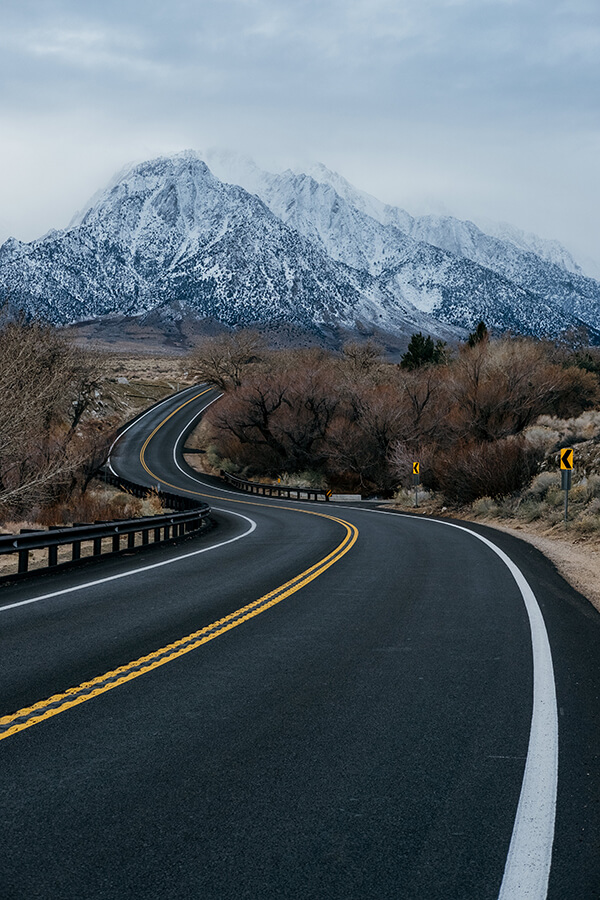
Then we will need the image of the road. I uploaded this image of a winding road at the end to fit the design I'm working on.
Drag the image into the open mobile document in Photoshop, or import it into the document via Import, then adjust the size and location so that the white bottom edges almost closely touch the bottom of the mobile screen. To do this more easily, lower the Opacity to 50%, then use the shortcut Ctrl+Tto adjust the size and position, then press a key Enterto install the new adjustments. Don't change the Opacity level to the original state because we haven't finished working on this image yet.
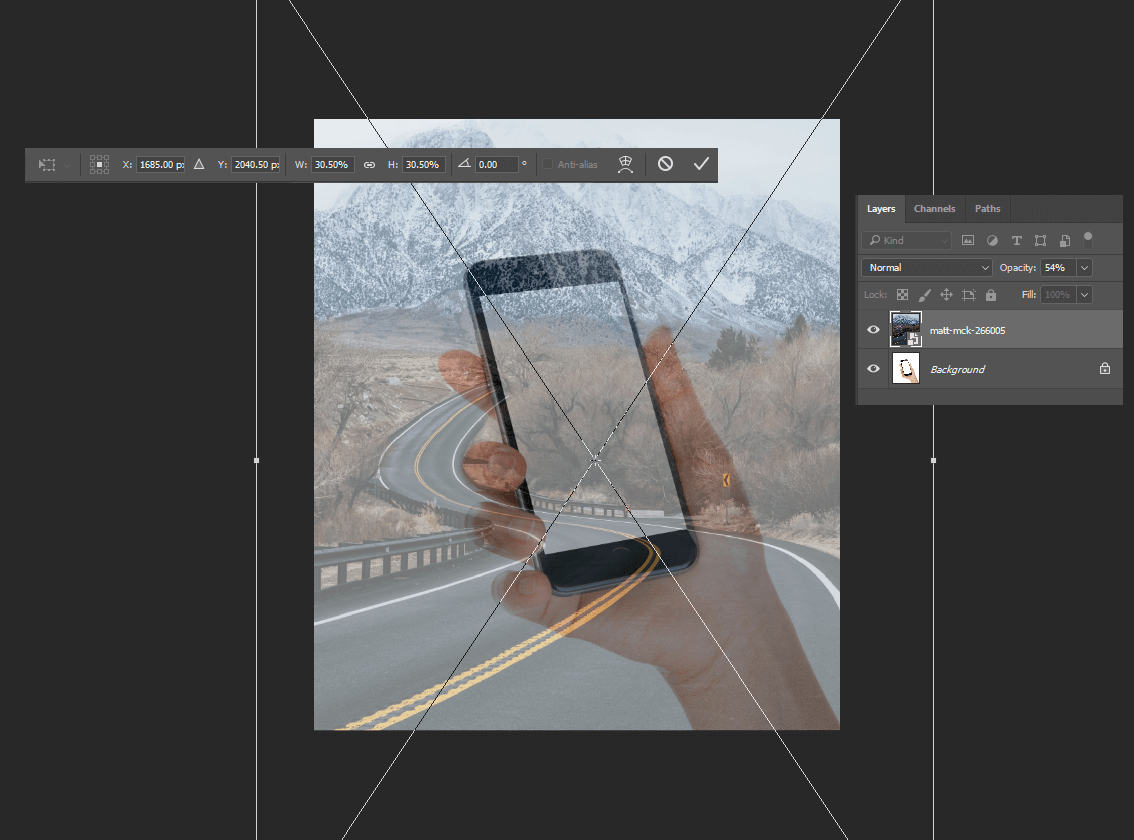
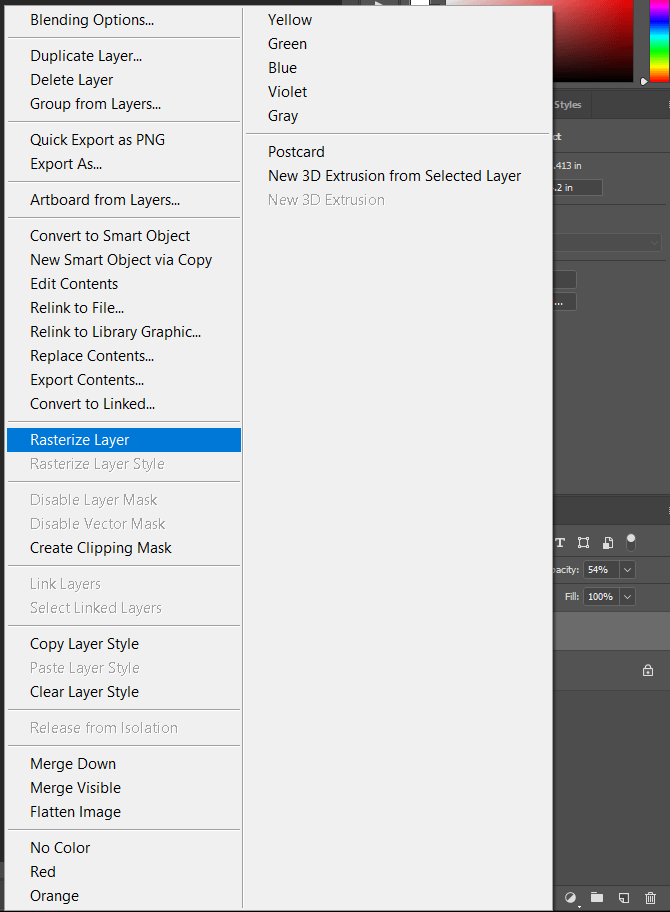
Right-click on the layer of this image from the Layers panel and choose Rasterize Layer , so that we can directly modify this layer within this document, and this layer is not a smart element.
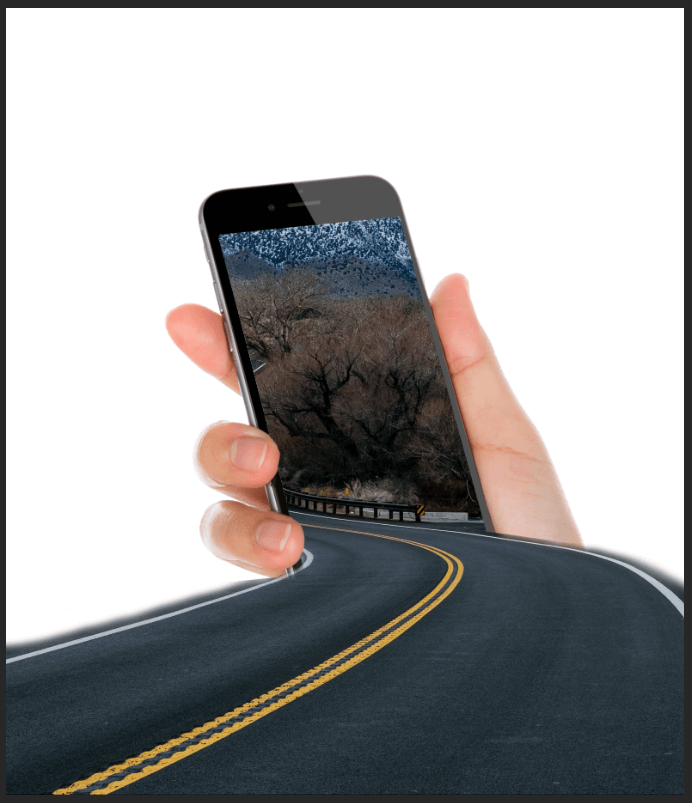
Use the Polygonal Lasso Tool to select the screen from the inside of the mobile phone with the exception of the tips of the fingers of the hand and when you specifically reach the bottom of the screen, continue with the outer edges of the road to select from the road the part outside of the mobile phone and when the selection is completed press the shortcut Shift+Ctrl+Ito reverse the selection then click on the key DeleteTo delete everything outside the mobile screen and outside of the road from the public road image.
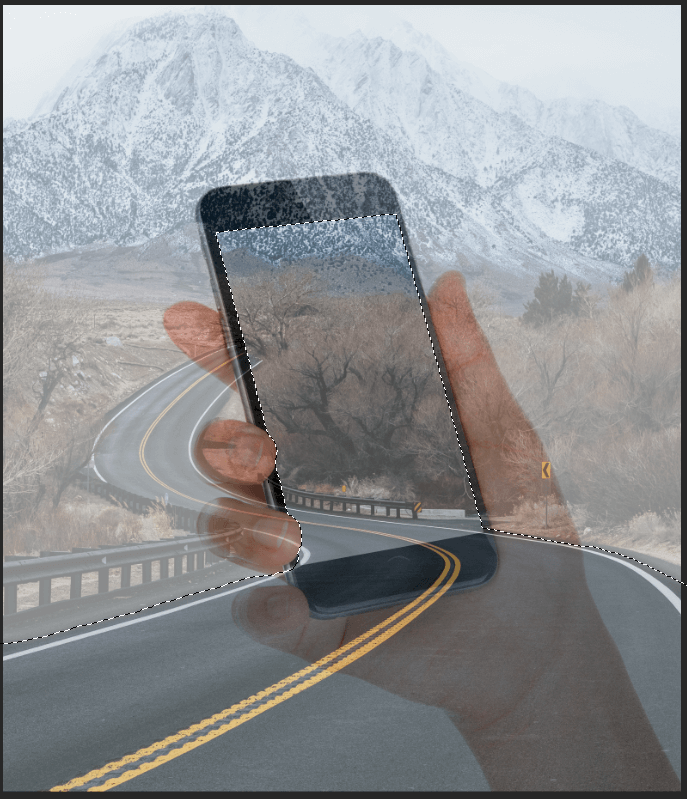
Now use the Eraser Tool with a soft brush to erase the outer edges of the road and make it soft, blending into the contour around it.
Return this layer's Opacity to 100% to see the current result.
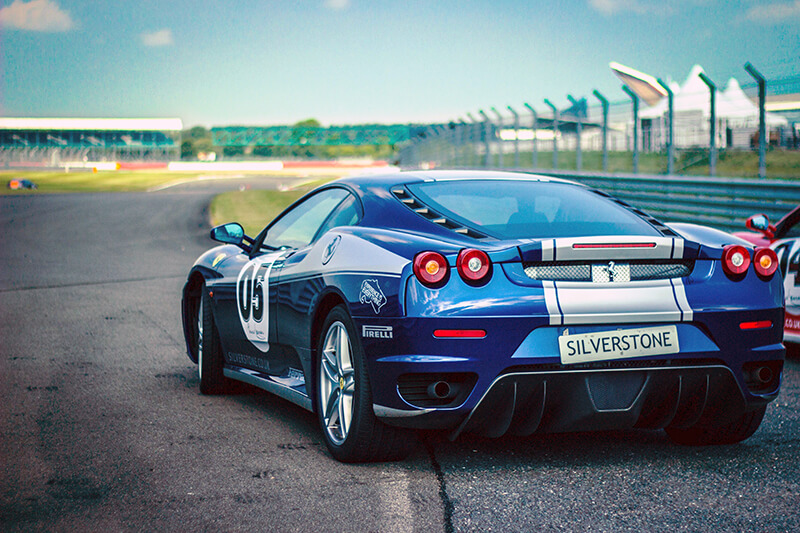
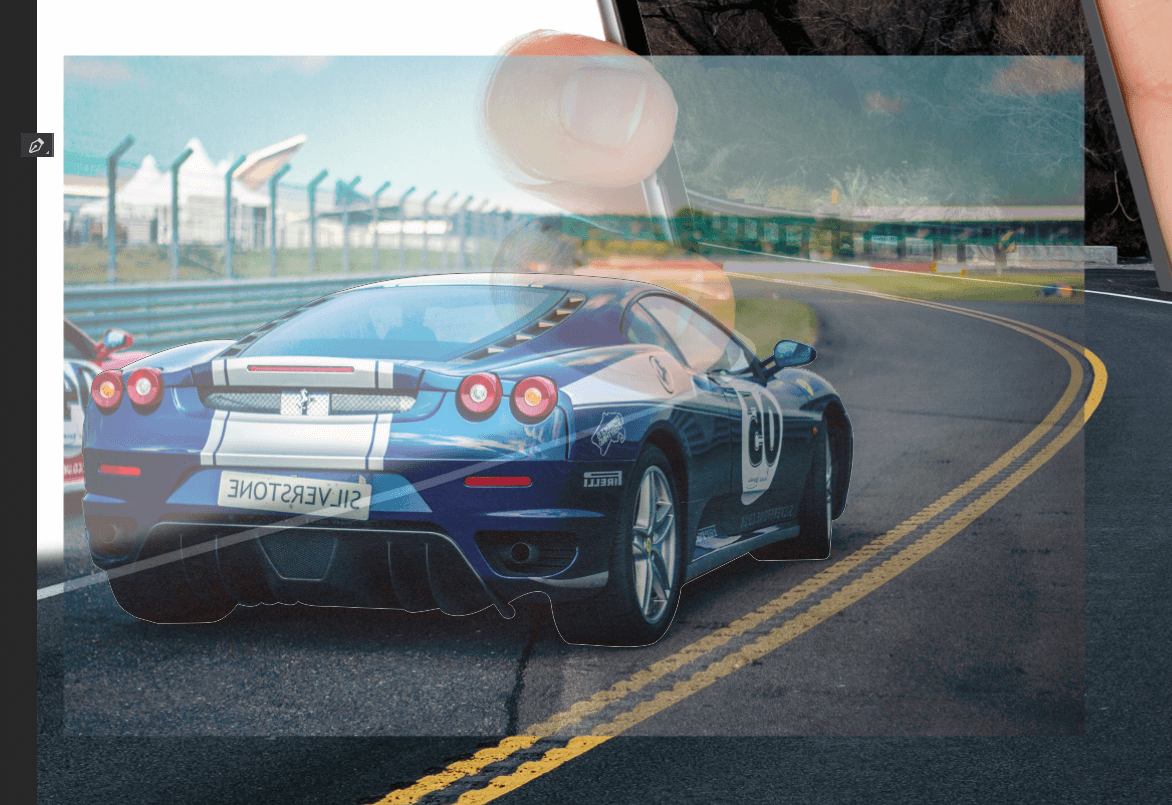
We will now need the image of the car. I uploaded this free image for this sports car. The most important thing in collecting images in any design is that the image directions and views match the nature of the basic design, there are millions of car pictures on the Internet, but we must choose a car image with an angle and perspective that matches the position of the road that we will place it on.
Insert this image into the document and also lower the opacity to let us, to work more easily on the image.
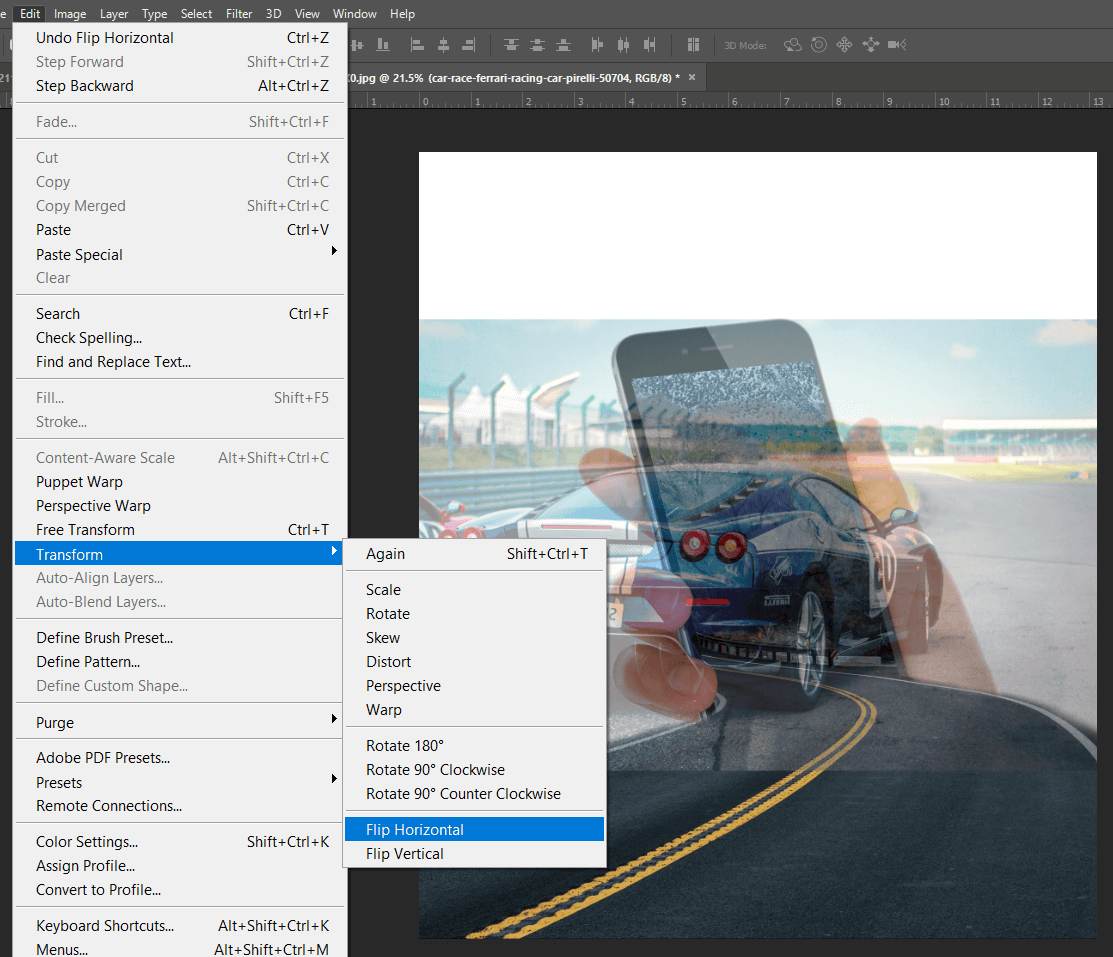
The current car has a different direction than the road, so select the car layer, then go to the menu
Edit > Transform > Flip Horizantal
In doing so, the image is flipped horizontally
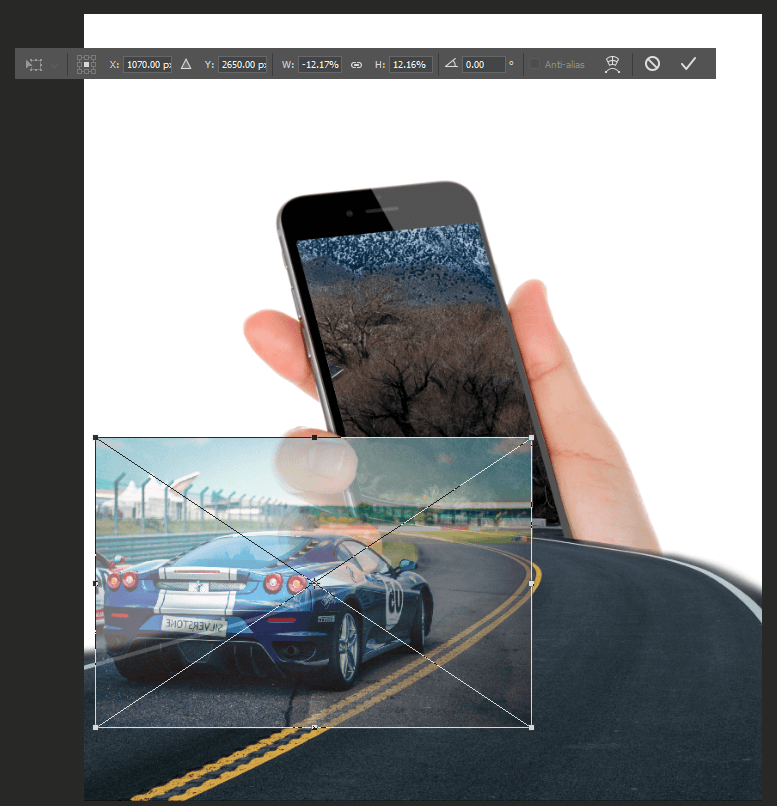
Press Ctrl+Tand then adjust the size and position of the car until it fits as if it's actually on the road.
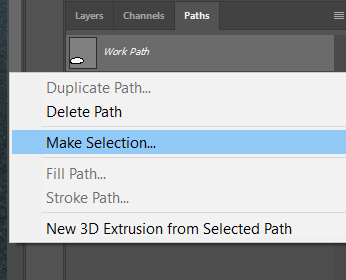
Use the Pen Tool and start drawing around the shape of the car to define it. The pen tool is considered one of the most accurate tools for identification, but its use may seem difficult at first glance for beginners, but it is necessary to learn and master the use of this tool for those who really want to be a professional design.
Click the Path panel to reveal the path with the pen, then right-click the path and choose Make Selection
Click on the shortcut Ctrl+Jto copy the selection to a new layer and delete the old full car layer. Set the Opacity of the New Car Image to 100%.

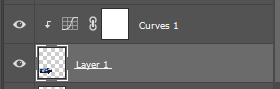
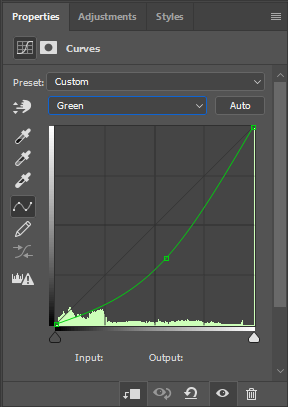
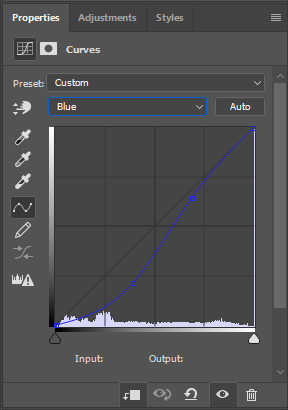
Click the Adjustments button at the bottom of the Layers panel and choose from the Curves menu so that we can integrate the car image with the nature and colors of the road scene.
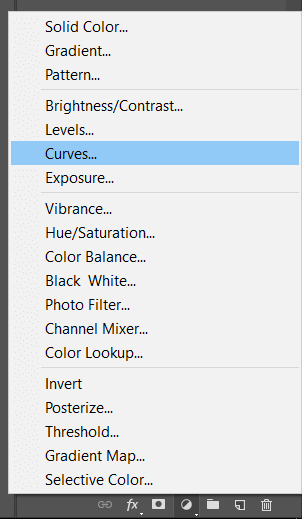
Click on the bottom edge of this adjustments layer and hold down a key Altto make the effects of these adjustments apply to the car layer only and not to the entire document.
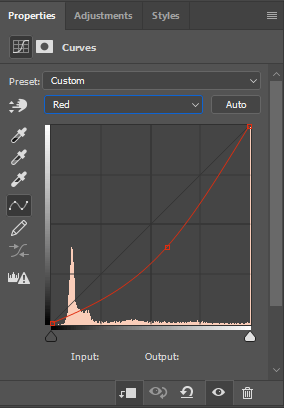
Now from the these adjustments settings window, apply the following adjustments to the three primary colors red, blue and green.
Create a new transparent layer and place it under the car's layer, then use a soft black brush and paint a shadow under the car.
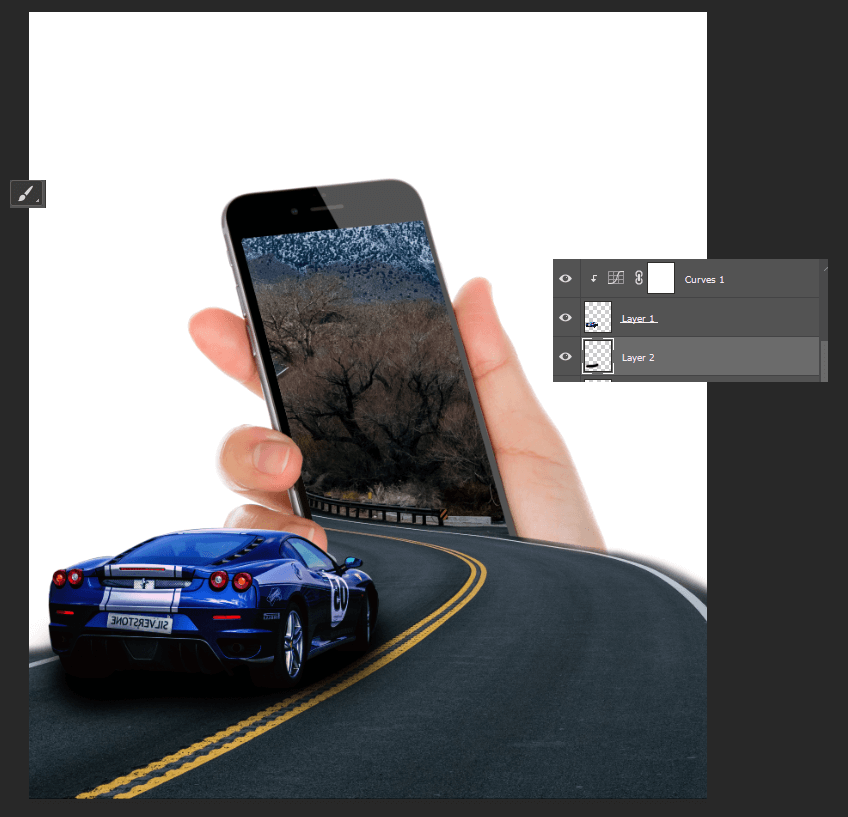
Lower the Opacity of this layer to 80%.
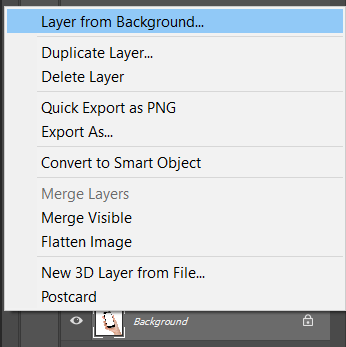
Change the background layer, which is the handheld mobile image layer, to a normal layer by right-clicking on it and selecting Layer from Background .
Create a New Layer under the Mobile Phone layer and then vacuum white into the floor of the Phone layer (you can easily use the Magic Wand Tool).

Fill the new ground layer completely white with the Paint Bucket Tool.
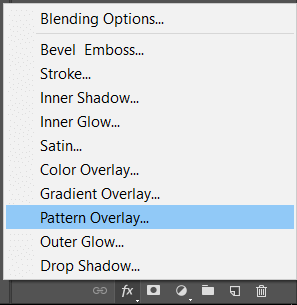
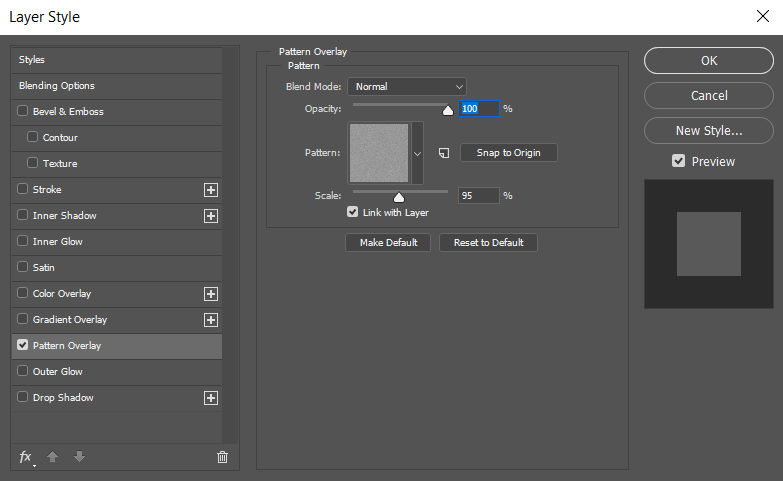
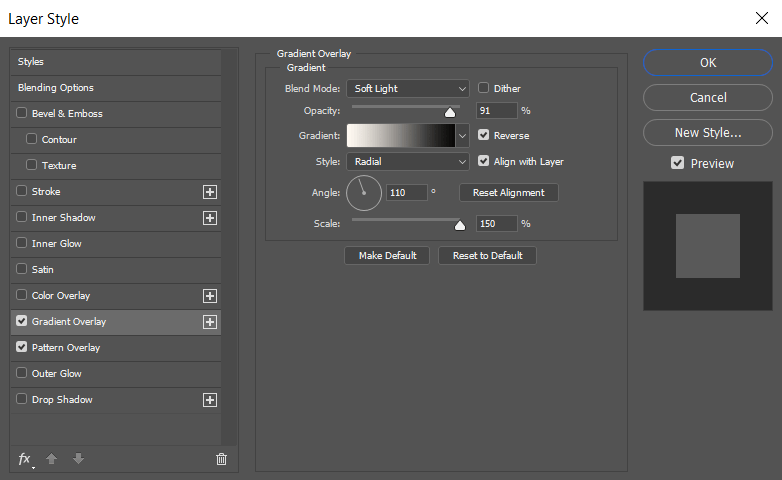
Select this layer and click on the Layer Styles icon at the bottom of the Layers panel. Choose Pattern Overlay.
Prepare the pattern settings as in the following picture. The pattern you've chosen is a basic engraving that comes with Photoshop and is called Sandpaper.
Then also add a Gardient Overlay, adjust the settings as shown in the following image, and make sure to set the Opacity to 91%.
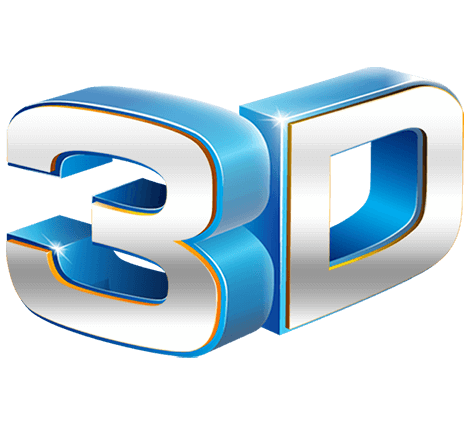
Add text that is the title of this lesson "3D effect on pictures", leaving a blank place for the phrase "3D". Choose bold text for this text.
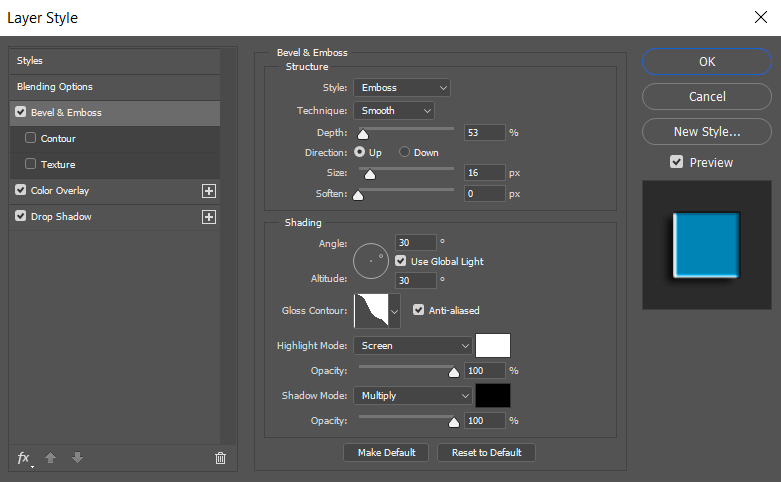
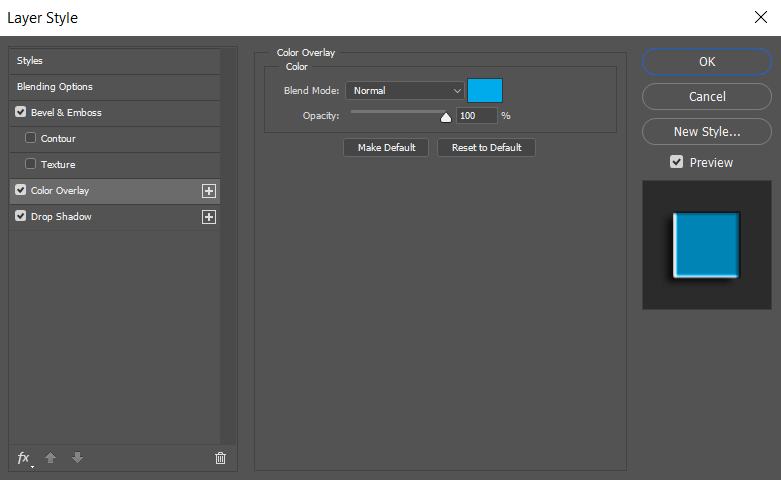
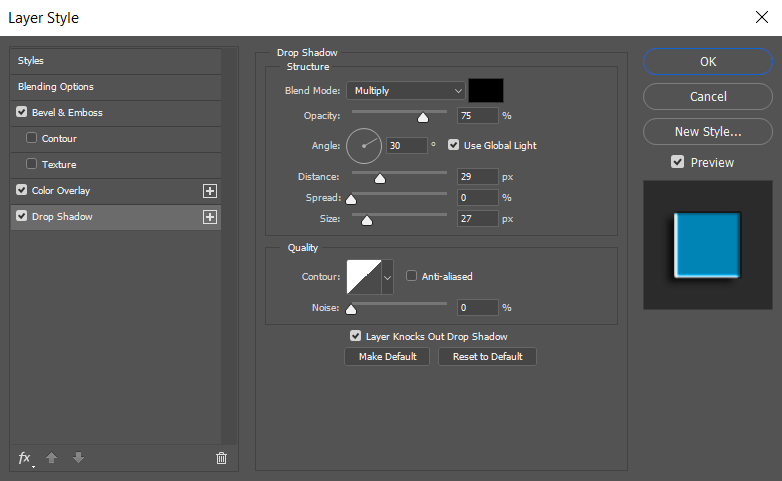
Add the following three text styles to Bevel & Emboss, Color Overlay, and Drop Shadow with an app in the following illustrations
Upload this 3D hologram, add it to the document, and adjust its size and position to fit it into the correct position within the text.
I did not explain some of the steps with additional details, because that will require more than one lesson, especially in terms of unpacking and using the pen tool, so this lesson is considered for intermediate level users of Photoshop.
تعليقات
إرسال تعليق